Pioneer CA-HR-PSA-EVO.002 Handleiding
Pioneer
Niet gecategoriseerd
CA-HR-PSA-EVO.002
Bekijk gratis de handleiding van Pioneer CA-HR-PSA-EVO.002 (7 pagina’s), behorend tot de categorie Niet gecategoriseerd. Deze gids werd als nuttig beoordeeld door 33 mensen en kreeg gemiddeld 3.8 sterren uit 17 reviews. Heb je een vraag over Pioneer CA-HR-PSA-EVO.002 of wil je andere gebruikers van dit product iets vragen? Stel een vraag
Pagina 1/7
Installation manual SPH-EVO82DAB-208 | Version 1.0
EN - Installation Manual
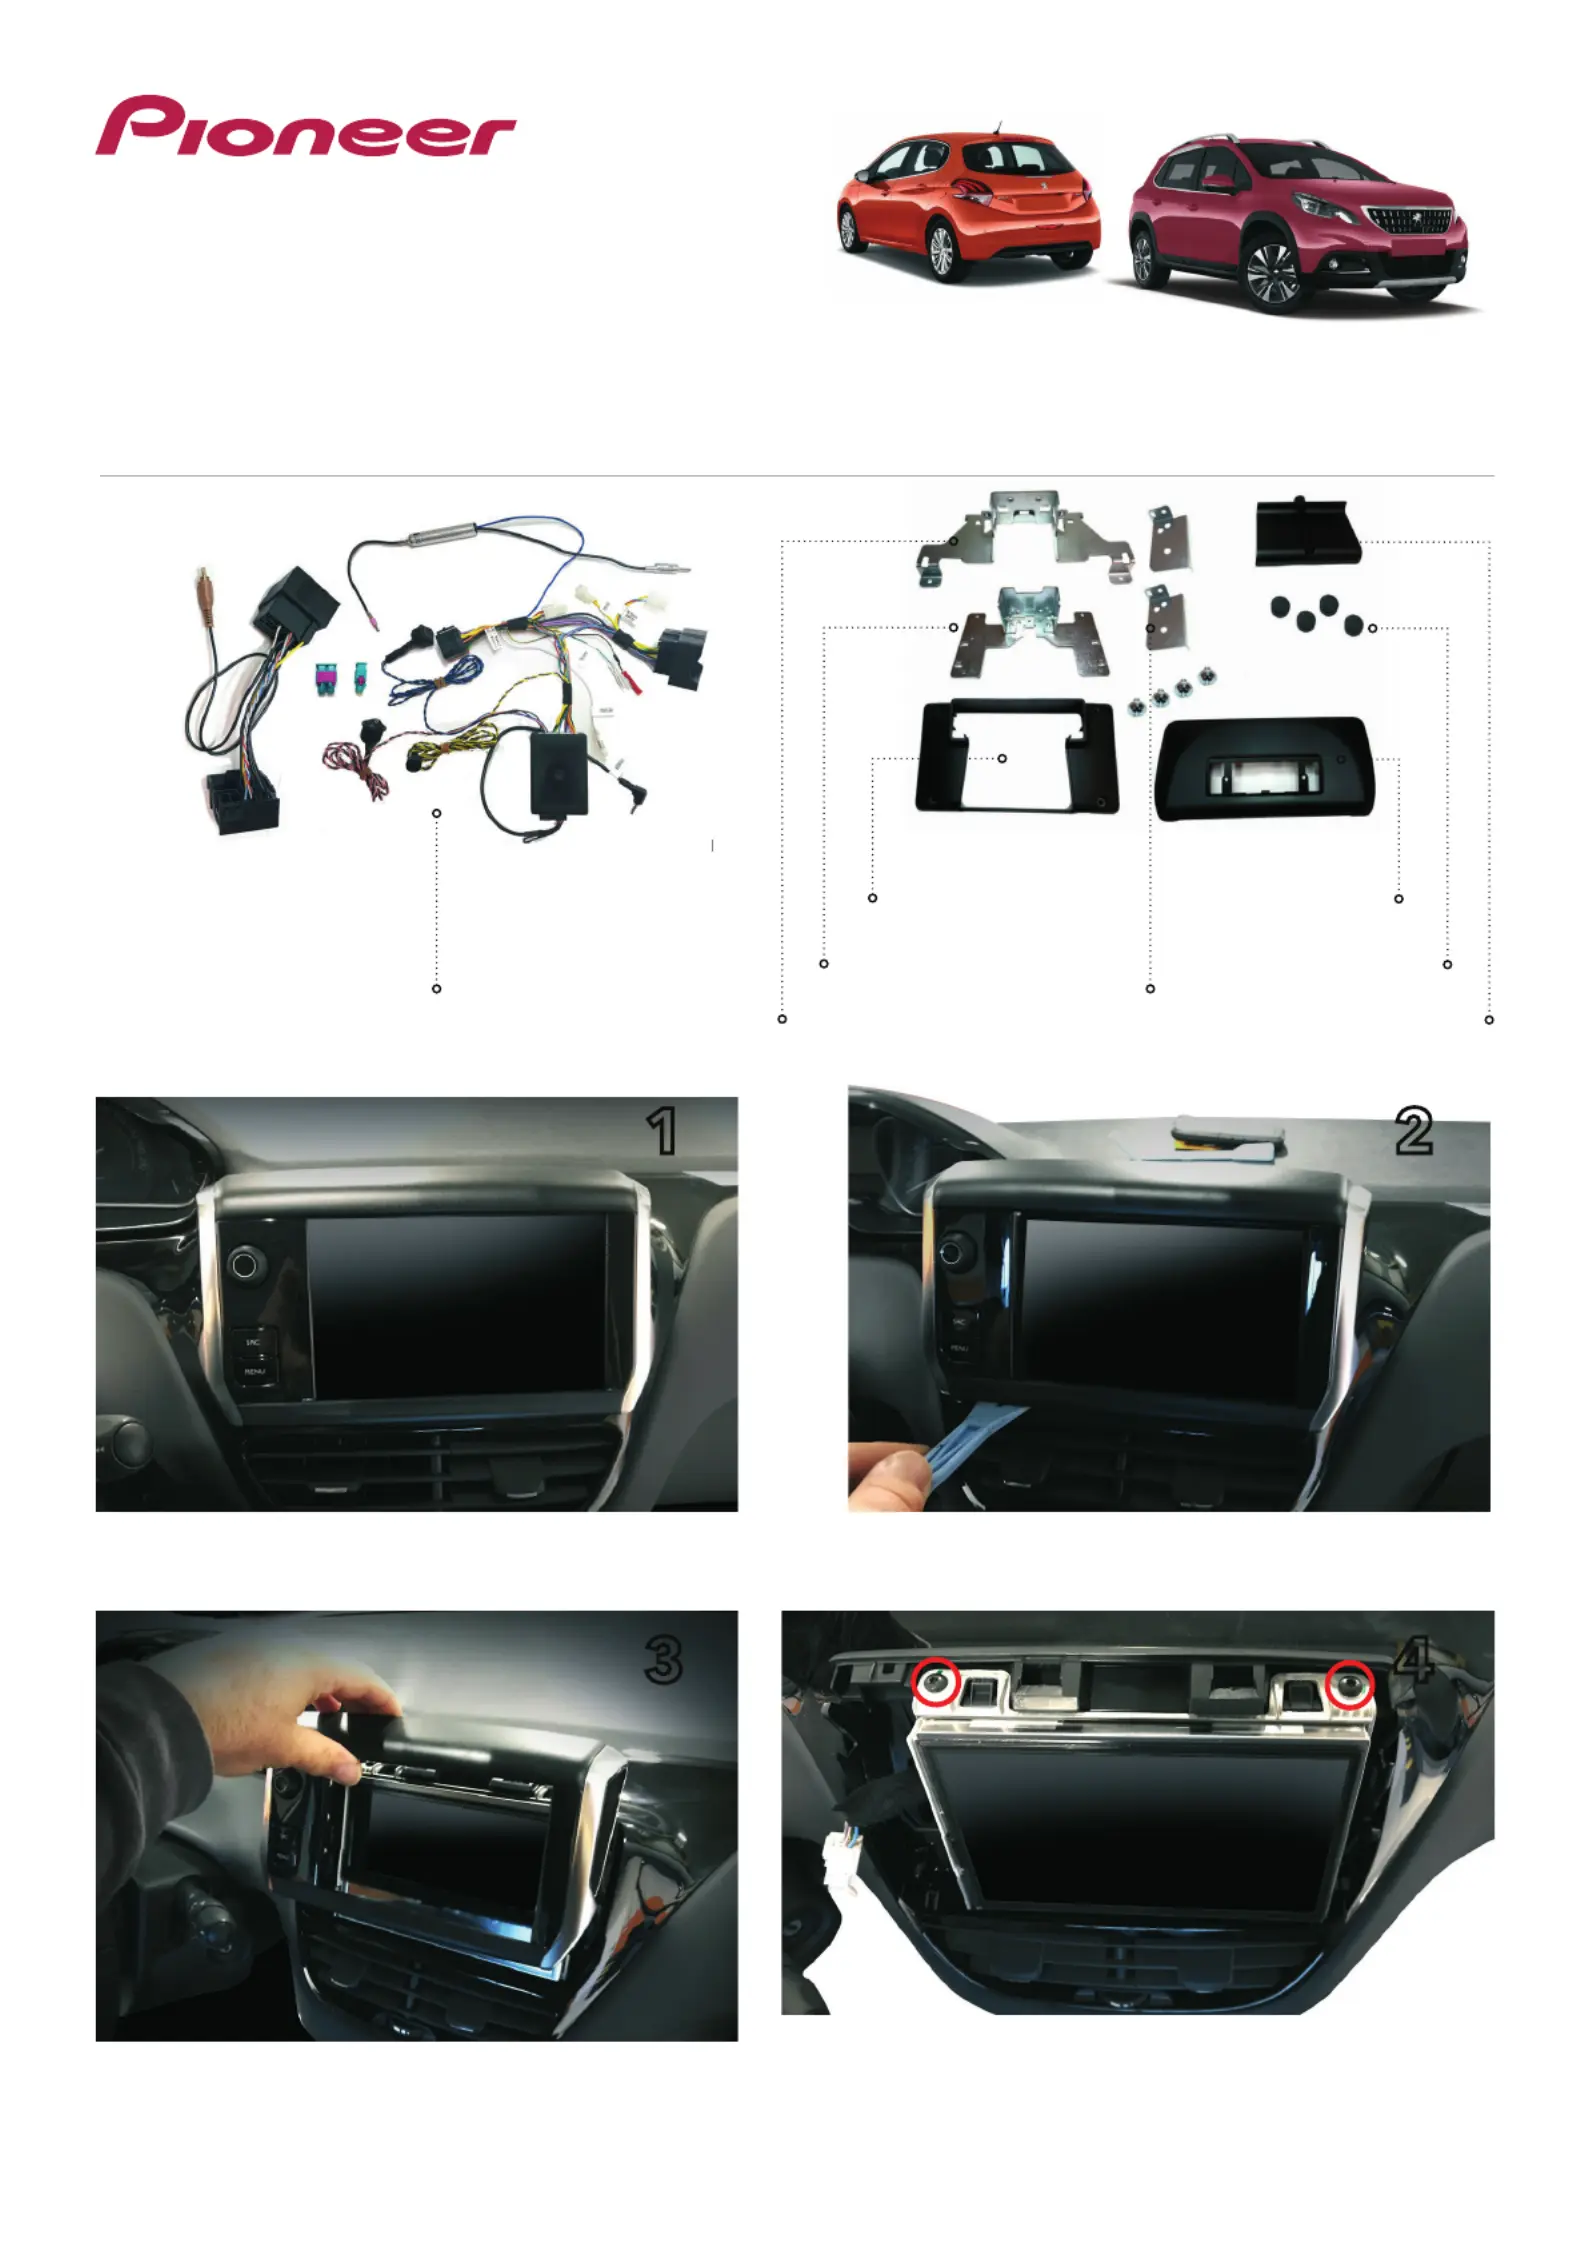
Original radio system
Screen linkage Unit support
Interface
Screen connector cover
Screen support Screw covers
Screen cover Dashboard cover
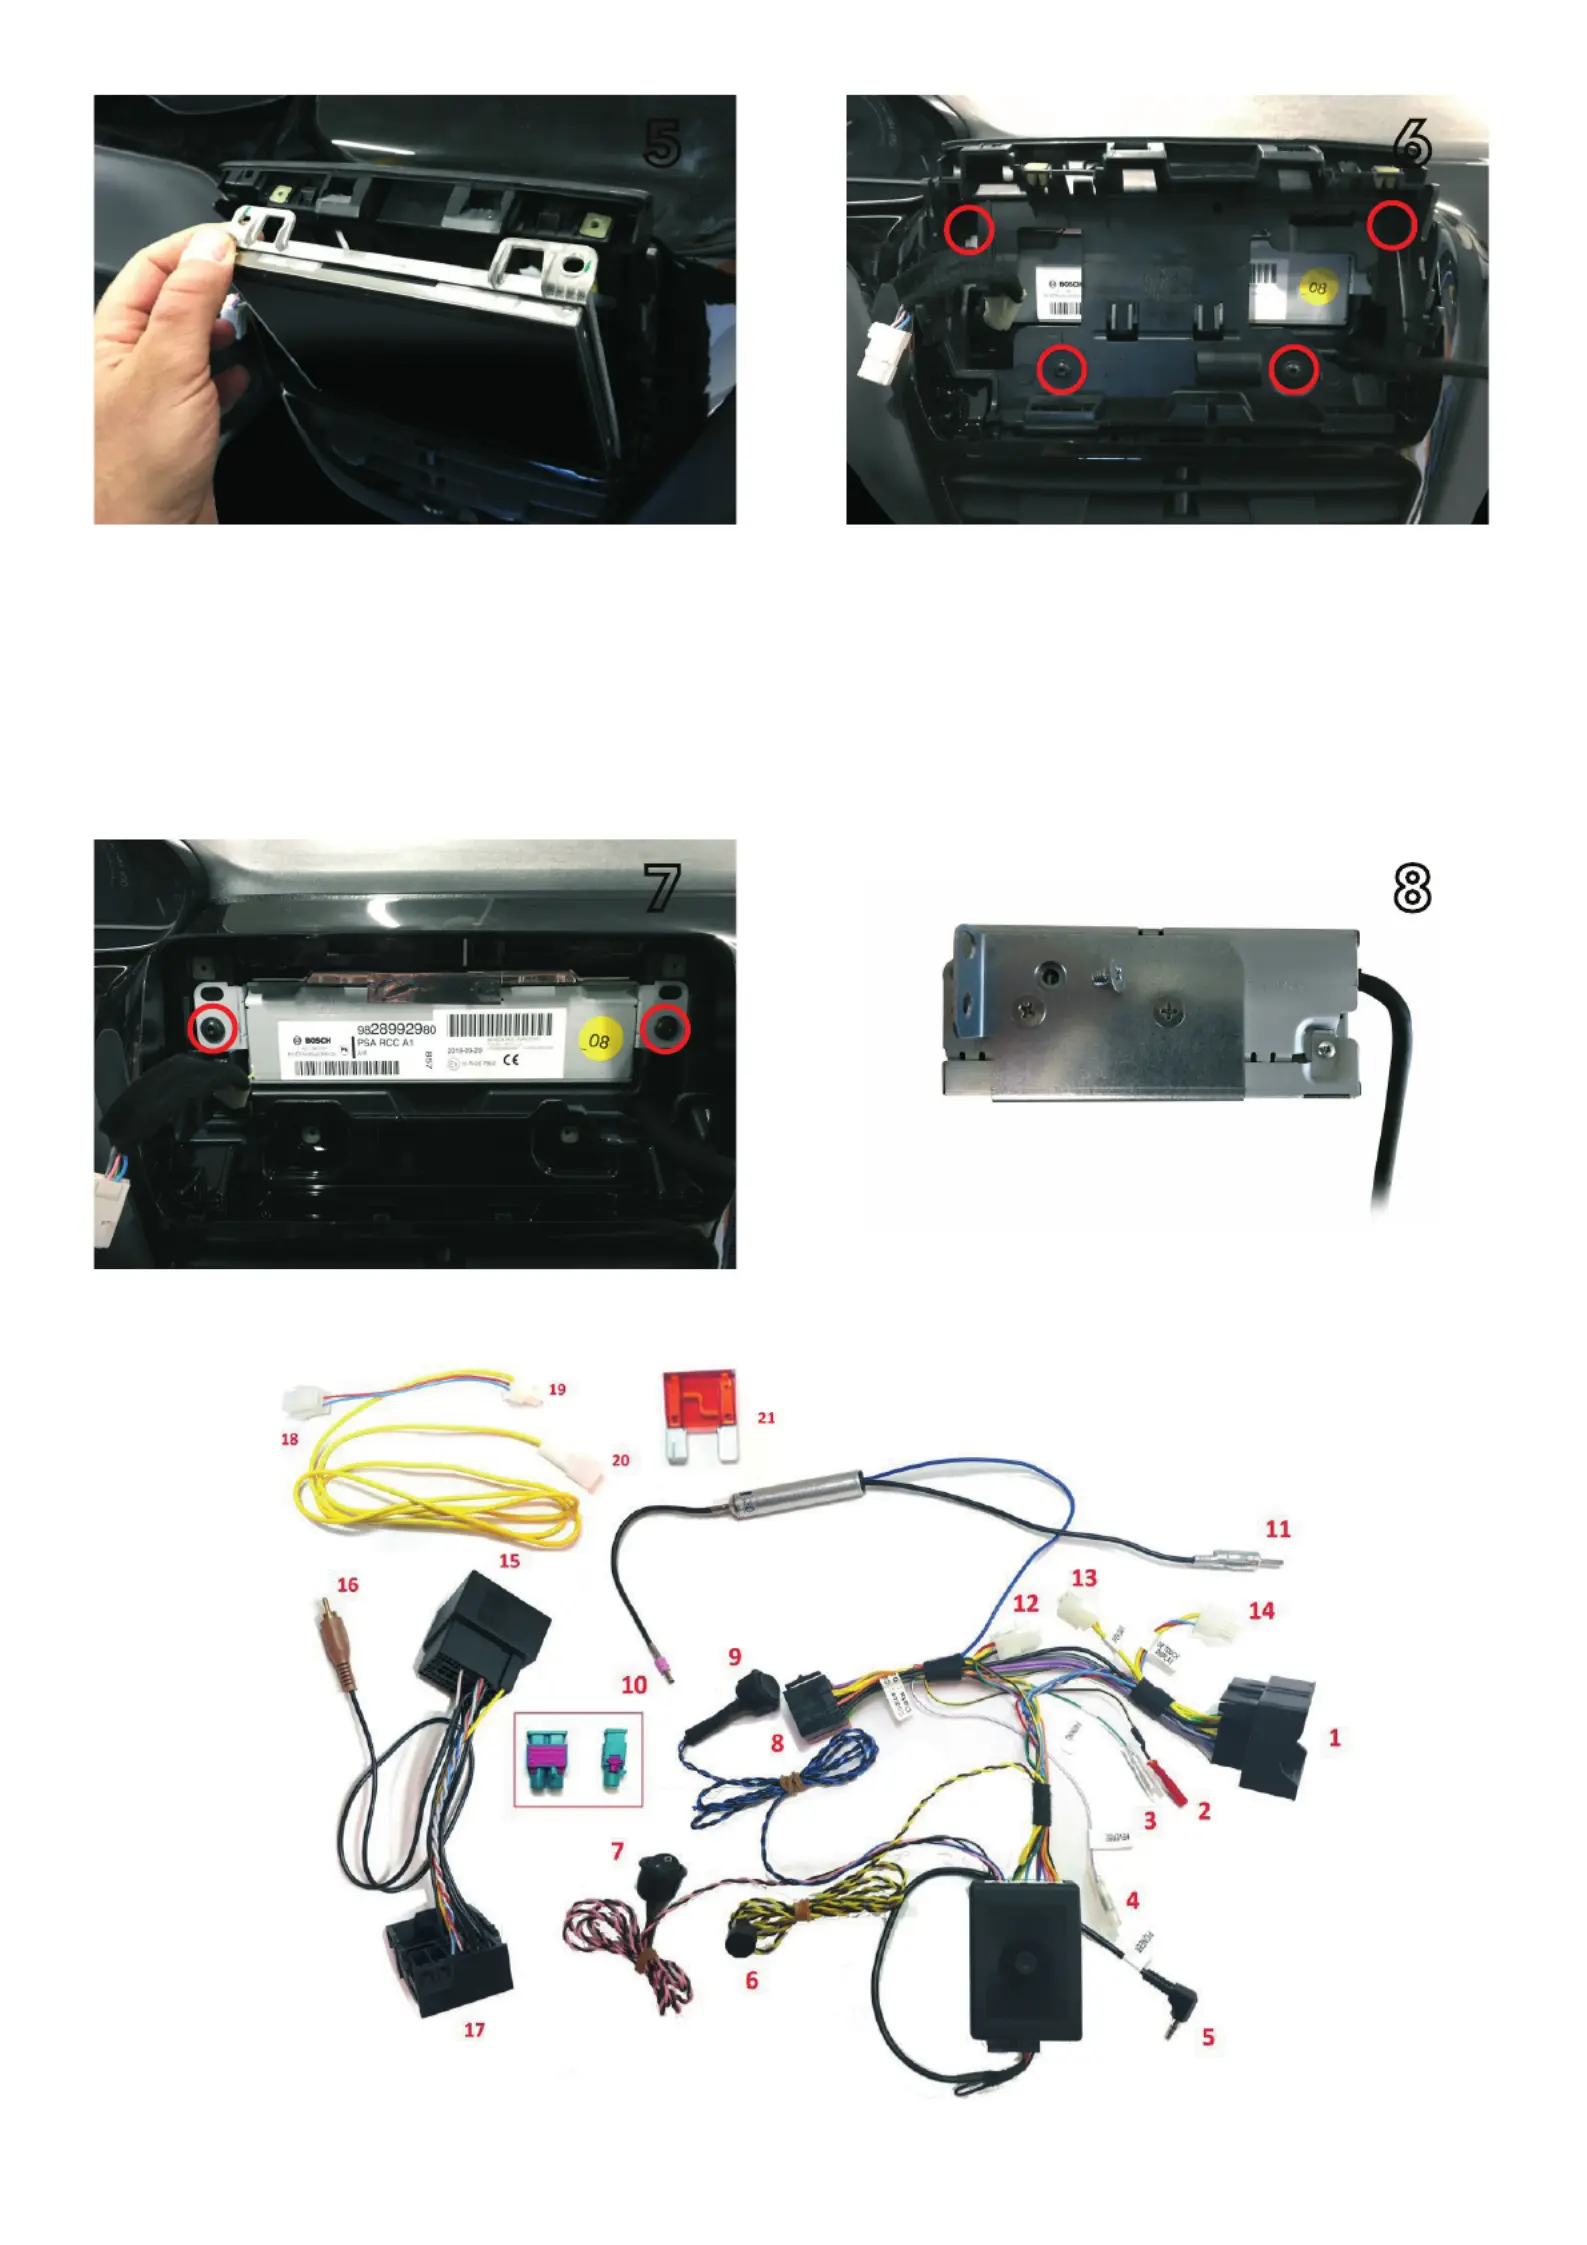
Pull upwards to remove and disconnect buttons
Remove front cover by lifting up as shown
Remove two Torx screws on top
1 2
43
CA-HR-PSA-EVO.002
INSTALLATION KIT FOR SPH-EVO82DAB-208
Installation manual SPH-EVO82DAB-208 | Version 1.0
Remove the screen by pulling it towards you
Remove the original stereo
Remove the plastic screen holder
Mount the unit supports as shown by using the countersunk
screws (supplied with the Pioneer product)
Install the interface (see connections next page)
5 6
87
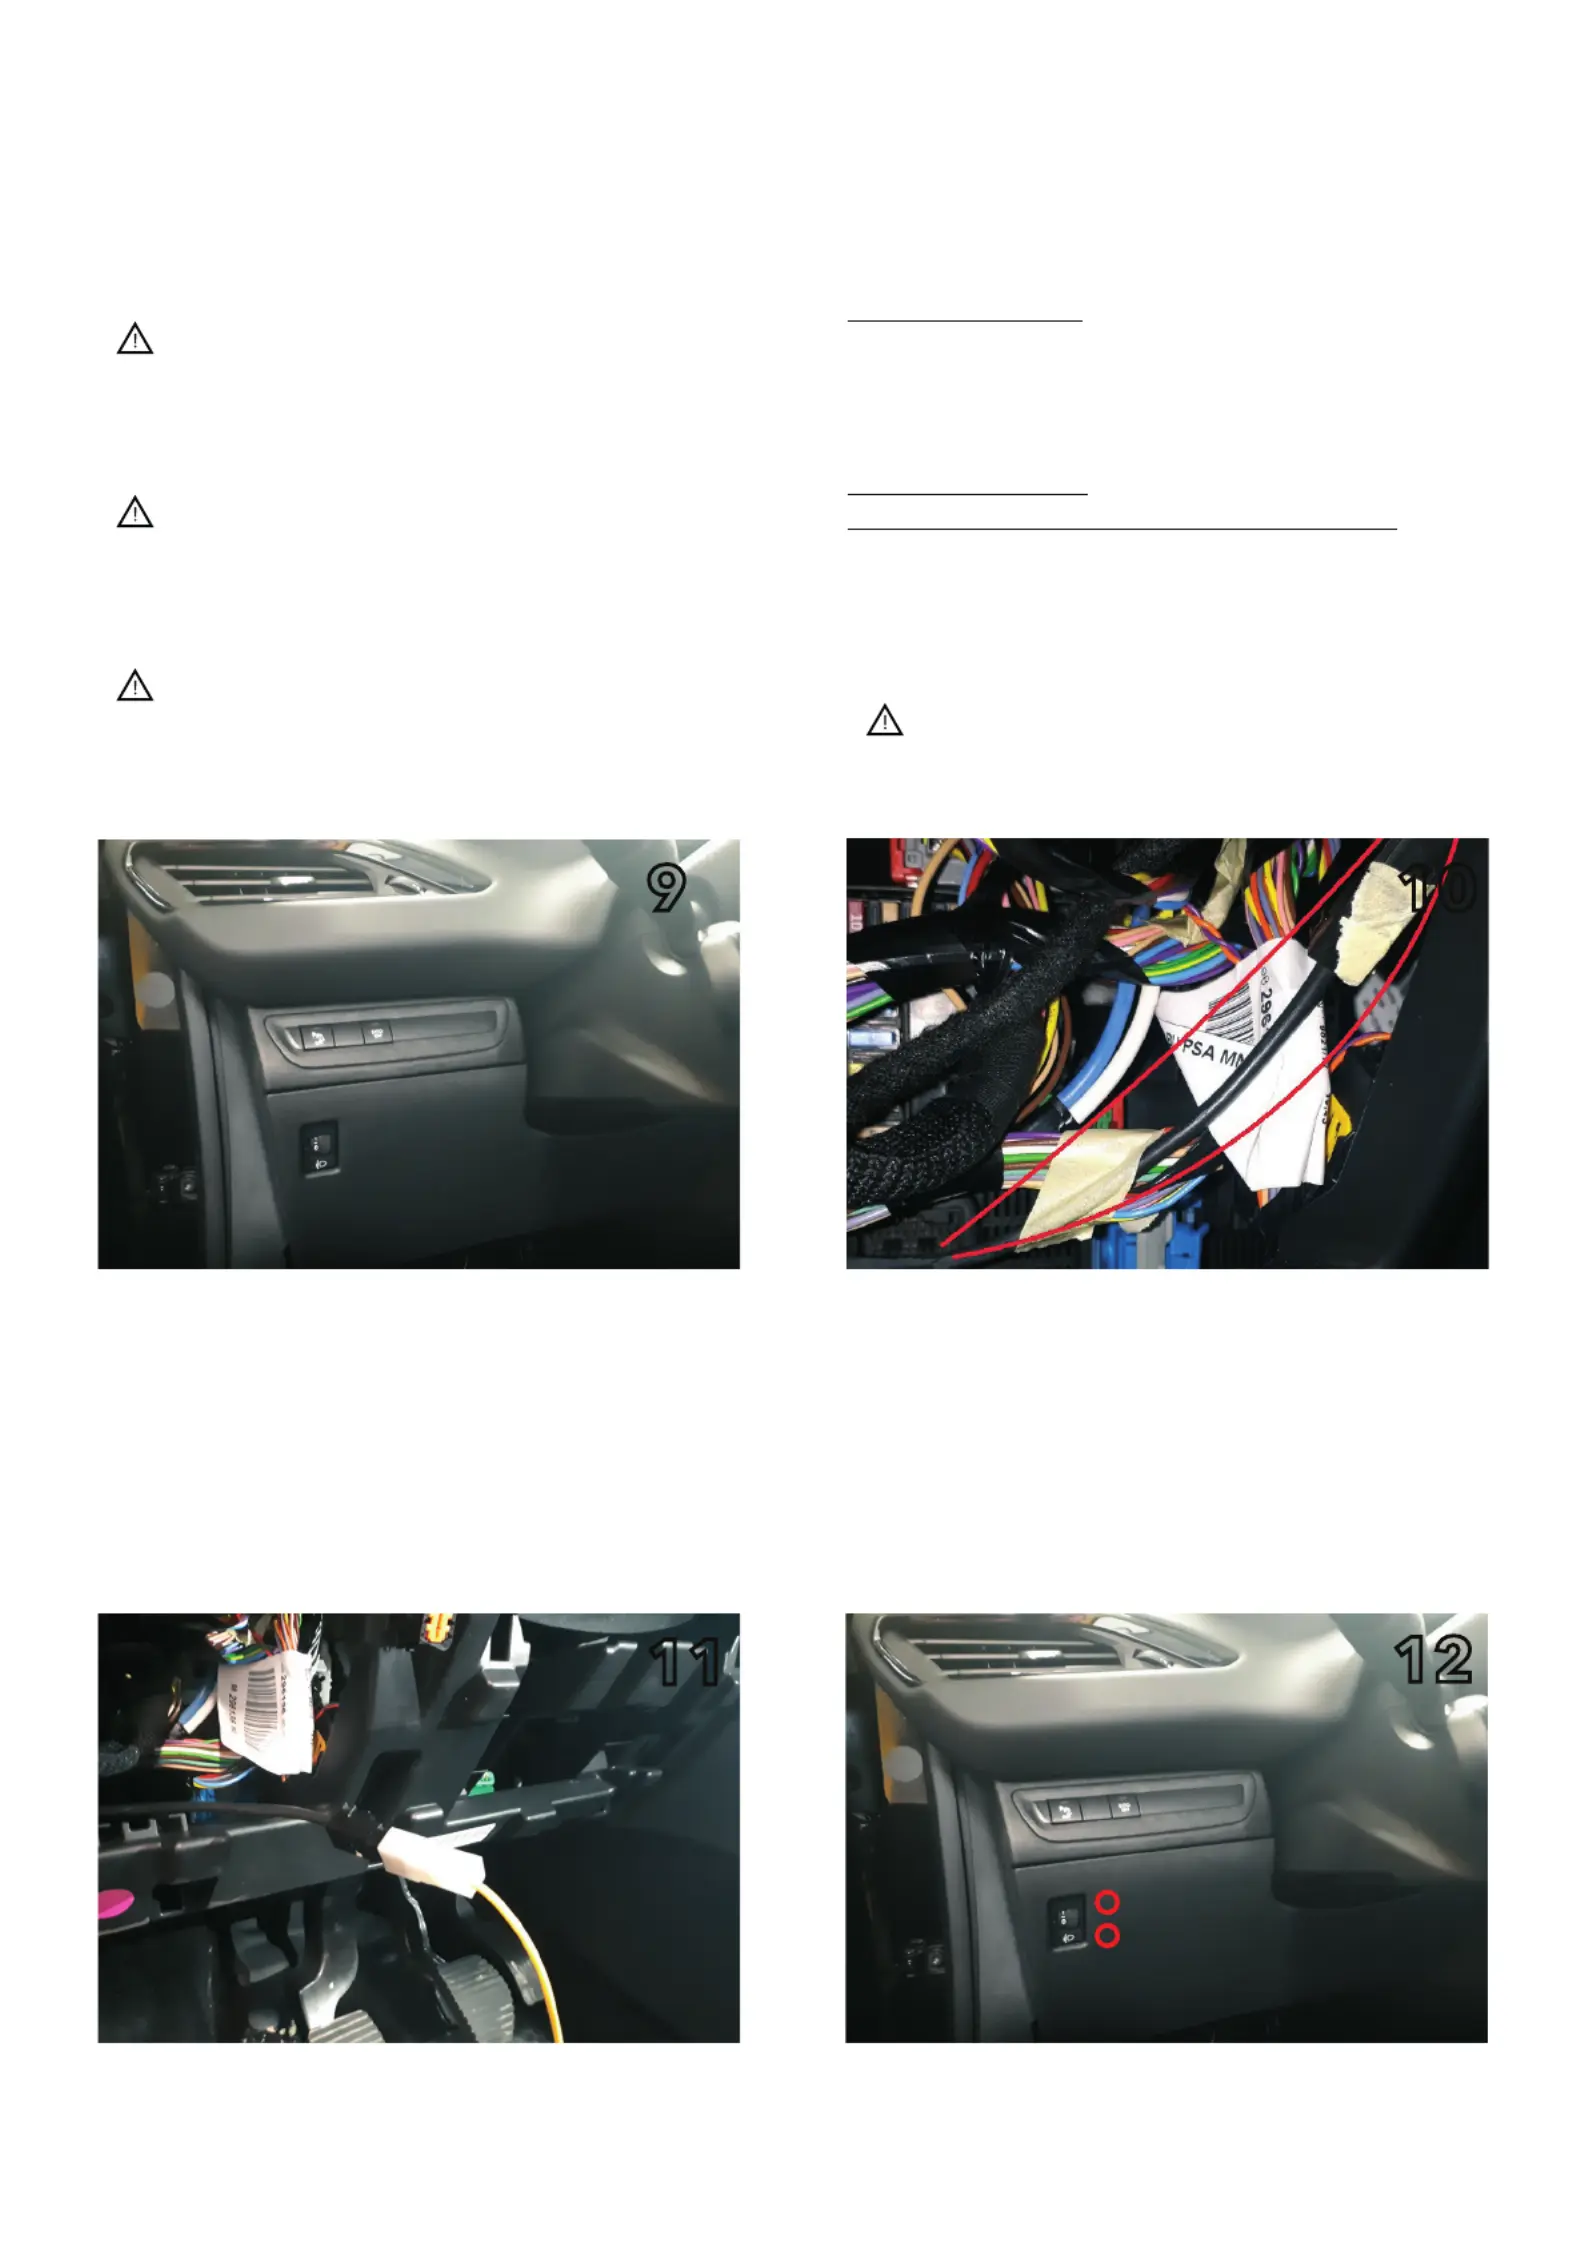
Installation manual SPH-EVO82DAB-208 | Version 1.0
Remove under dash tray Locate the accessory cable as indicated
109
1. To car main connector
2. To radio MUTE (yellow wire on RCA lead from Pioneer radio)
3. To radio PARKING signal
(green wire on power cable from Pioneer)
4. To radio REVERSE signal
(purple wire on power cable from Pioneer)
5. To radio Wired Remote socket
In order to prevent ESD damage the W/R jack must be
connected before any connection to the car side
6. Buzzer
7. Traction control button (ON/OFF toggle)
(necessary to drill an additional 20 mm opening)
Disconnect the interface box for vehicles with 1-DIN radio
or no radio from factory
8. To Pioneer ISO power connector
9. Tire pressure reset button (push 5 seconds to reset)
(necessary to drill an additional 20 mm opening)
Disconnectthe interface box for vehicles with 1-DIN radio
or no radio from factory
10. To car antenna connector
11. To Pioneer FM/AM antenna input (backside of Pioneer unit
12. Connect to:
- Connector 13 for open dash vehicles or 1din radio vehicles
- Connector 14 for cars with touch screen display radio
FOR FACELIFT VEHICLES
15. To car main connector
16. To rear view camera input
(Brown connector on RCA lead from Pioneer radio)
17. To connector number 1
FOR FACELIFT VEHICLES
WITHOUT PERMANENT BATTERY SUPPLY BEHIND RADIO
18. To be connected to number 14
19. To be connected to number 12
20. Accessory power supply terminal
21. Fuse
Make sure connector 12 is closed before proceeding
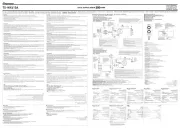
Proposed locations for traction control button
and tire pressure reset button
Connect number 20 onto the accessory cable
12
11
Product specificaties
| Merk: | Pioneer |
| Categorie: | Niet gecategoriseerd |
| Model: | CA-HR-PSA-EVO.002 |
Heb je hulp nodig?
Als je hulp nodig hebt met Pioneer CA-HR-PSA-EVO.002 stel dan hieronder een vraag en andere gebruikers zullen je antwoorden
Handleiding Niet gecategoriseerd Pioneer

2 Juni 2025
28 Januari 2025
28 Januari 2025
4 Januari 2025

4 Januari 2025
4 Januari 2025
4 Januari 2025

31 December 2025

31 December 2025

31 December 2025
Handleiding Niet gecategoriseerd
- Dreame
- Deaf Bonce
- Colt
- X4-Tech
- VALOI
- Enduro
- Biostar
- Yeastar
- Eligent
- Harper
- Memphis Audio
- Owon
- Clever Family Homes
- True & Tidy
- Duromax
Nieuwste handleidingen voor Niet gecategoriseerd

13 September 2025

13 September 2025

13 September 2025

13 September 2025

13 September 2025

13 September 2025

13 September 2025

13 September 2025
13 September 2025
13 September 2025