Palsonic PMO-555 Handleiding
Bekijk gratis de handleiding van Palsonic PMO-555 (8 pagina’s), behorend tot de categorie Magnetron. Deze gids werd als nuttig beoordeeld door 66 mensen en kreeg gemiddeld 4.3 sterren uit 2 reviews. Heb je een vraag over Palsonic PMO-555 of wil je andere gebruikers van dit product iets vragen? Stel een vraag
Pagina 1/8
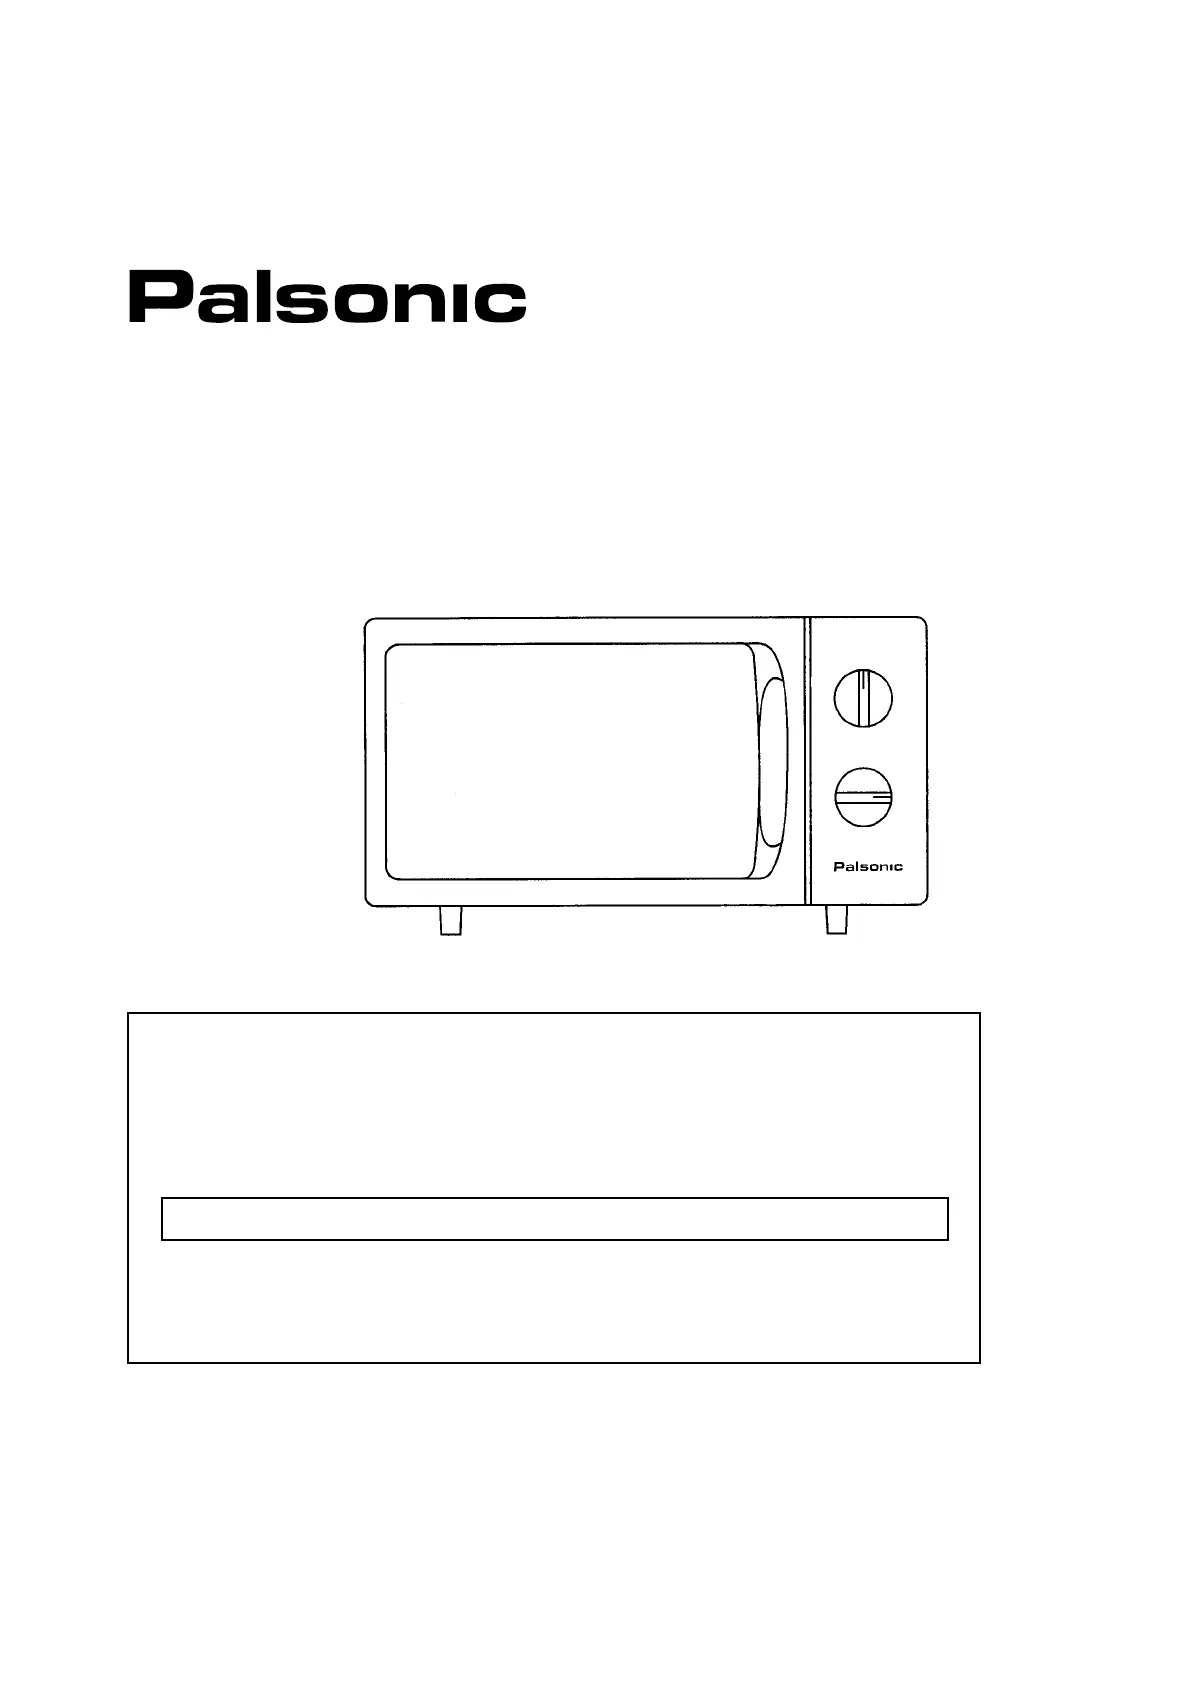
OWNER’S MANUAL
Microwave Oven
This owner’s guide book is for the following 550 Watts microwave oven models:
PMO-555
1. READ these instructions carefully before installing and operating the oven. Keep them for further refer-
ence.
2. Record in the space below the MODEL NO. and the SERIAL NO. found on the nameplate on your oven
and retain this information for future reference.
MODEL NO.SERIAL NO.
Then complete the registration card which is attached to the warranty card, and return it.
YOU ARE REQUIRED TO PRESENT YOUR BILL OF SALE WHEN REQUESTING WARRANTY REPAIRS.
For customer service or product assistance,
please telephone our call centre
1300 657 888
Product specificaties
| Merk: | Palsonic |
| Categorie: | Magnetron |
| Model: | PMO-555 |
Heb je hulp nodig?
Als je hulp nodig hebt met Palsonic PMO-555 stel dan hieronder een vraag en andere gebruikers zullen je antwoorden
Handleiding Magnetron Palsonic

16 Februari 2024
15 Februari 2024
15 Februari 2024
15 Februari 2024
15 Februari 2024
15 Februari 2024
15 Februari 2024
15 Februari 2024
15 Februari 2024
Handleiding Magnetron
Nieuwste handleidingen voor Magnetron
21 Juli 2026
17 Juli 2026
15 Juli 2026
15 Juli 2026
14 Juli 2026
14 Juli 2026
14 Juli 2026
14 Juli 2026
13 Juli 2026
13 Juli 2026