Morrison BL260E S2 Handleiding


Lees hieronder de 📖 handleiding in het Nederlandse voor Morrison BL260E S2 (7 pagina's) in de categorie Niet gecategoriseerd. Deze handleiding was nuttig voor 27 personen en werd door 2 gebruikers gemiddeld met 4.5 sterren beoordeeld

Pagina 1/7
www.morrisonoutdoor.com
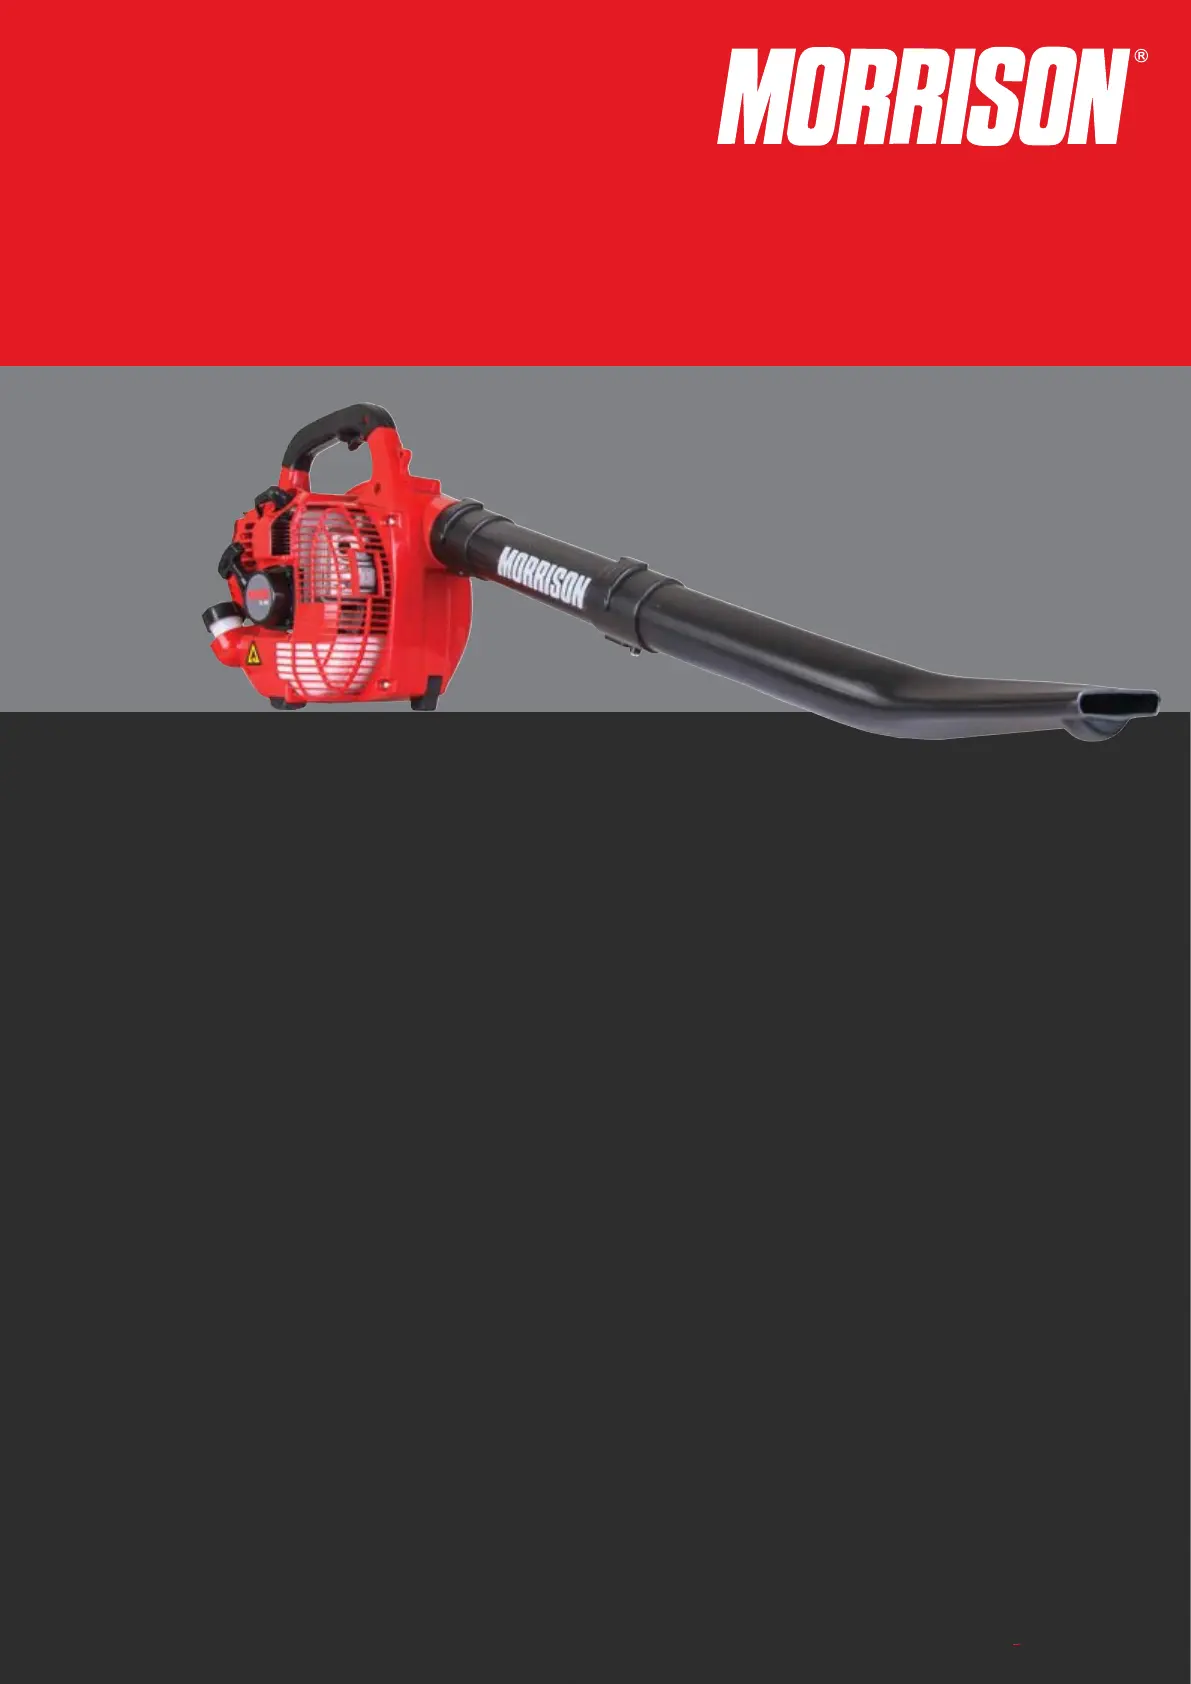
Petrol Blower
BL260E S2 & BL 260 S2
Including Engines 1E34F-2E & 1E34FB
Owner’s Manual
Part No: 548313.B.1
Revised November 2018
Important
Please read this Owner’s Manual and the Express Warranty before using this product. The Warranty does not cover
damage due to misuse or failure to follow the operating and assembly instructions.
Keep these instructions in a safe place for future use.
2
Do not operate this machine before it has
been assembled correctly and you have read
and understood these instructions.
These instructions are intended as a general
guide and do not supersede national or local
codes in any way. Contact local Authorities
for clarity of laws relating to operation of this
appliance.
Keep the instructions in a safe place for future use.
Contents
Warning Symbols on the Machine 2
Symbols in this Owner’s Manual 2
Proper Use 3
Safety Instructions 3
Important Information! 3
Operation Warning! 3
List of Parts 3
Assembling the Blower 4
Mixing Fuel 4
Filling the Fuel Tank 4
Starting the Machine 5
Adjusting Engine Idle Speed 5
Stopping the Engine 6
Using the machine 6
Routine Maintenance 6
Spark Arrestor Maintenance 7
Storage for over 30 days 7
Warning Symbols on the Machine
Caution! Read the operating instructions and
follow the warnings and safety instructions.
This product is for outdoor use only and to
be used in a well ventilated area.
Wear protective eye wear and ear muffs.
1. AVOID DANGEROUS WORK ENVIROMENTS. Do not use
power tool in damp or wet locations or expose power tools
to rain. Do not use power tools in the presence of flammable
liquids or gases as normal sparking of the motor could ignite
fumes. Keep work areas well lit.
2. KEEP CHILDREN AND VISITORS AWAY. Visitors and
children should wear safety glasses and be kept a safe
distance from the work area. Do not let others make contact
with the tool or extension cord.
3. AVOID UNINTENTIONAL STARTING. Always check that the
switch is in the OFF position before plugging in the tool to the
power supply. Do not carry a plugged in tool with your nger on
the switch.
4. STORE TOOLS SAFELY. When not in use, tools should be
stored in a dry place, high and locked-up place, out of reach of
children.
5. DISCONNECT IDLE TOOLS. Switch off the power and
disconnect the plug from the power supply before servicing,
when changing accessories and when the tool is not in use.
6. DO NOT FORCE THE TOOL. The tool willl do the job better
and safer working at the rate for which it was designed.
7. USE THE CORRECT TOOL FOR THE JOB. Do not force
small tools or attachments to do the job of a heavier duty tool.
Never use a tool for a purpose for which it was not intended.
8. DRESS CORRECTLY. Do not wear loose clothing or jewellery,
they can be caught in moving parts. Rubber gloves and non-
slip footwear and recommended when working outdoors. If you
have long hair, wear a protective h air covering.
9. ALWAYS USE SAFETY ACCESSORIES. Safety glasses and
earmuffs should always be worn. Everyday eyeglasses have
impact resistant lenses only, they are not safety glasses. A face
or dusk mask is also required if dust is going to be created.
10. DON’T OVERREACH. Keep proper footing and balance at all
times. Do not use tool on a ladder or unstable support. Secure
tools when working at elevated levels.
11. MAINTAIN TOOLS WITH CARE. Keep tools sharp and
clean for better and safer performance. Follow instructions
for lubricating and changing accessories. Inspect tool cords
periodically and, if damaged have them repaired by an
authorised service facility. Inspect extension cords periodically
and replace them if damaged. Keep tool handles dry, clean
and free from oil and grease. Never use brake fluids, gasoline,
petroleum based products, or any strong solvents to clean your
tools.
12. REMOVE ADJUSTING KEYS AND WRENCHES. Check to
see that keys and adjusting wrenches are removed from the
tool before switching it on.
13. STAY ALERT AND EXERCISE CONTROL. What was you are
doing and use.
Warning! When in use, and in the cool down
period after use this surface is very hot. Do
not touch as doing so can result in serious
burns.
BLOWER IMPELLER CAN CAUSE
SERIOUS INJURY
Make sure to turn the engine off and wait
for the impeller to come to a complete
stop before opening the cage. Never insert
hand into the tube while unit is on.
KEEP HANDS
AND FEET
CLEAR
Warning! Keep hands and feet clear when
machine is operating as rotating parts can
cause serious injury.
FLAMMABL E
FUEL
Warning! Flammable fuel keep away from
naked flames and cigarettes.
4
Assembling the Blower
Place the blower upright on the ground or on a sturdy work surface.
Grasp the straight tube as shown, and push the tube over the
blower discharge port and locking pins.
Lock the straight tube to the blower discharge port by rotating the
tube as shown.
Grasp the nozzle tube with the label “TOP” positioned as shown,
and then push the nozzle over the straight tube and locking pins.
Lock the nozzle tube to the straight tube by rotating the nozzle tube
as shown.
5.Secure the top straight con-
necting tube to the outlet
port with the supplied screw.
13
4
2
Locking pin
Straight tube
Straight tube
Rotate clockwise
to lock
Rotate clockwise
to lock
Label ‘Top’
must face
up
Push the straight
tube over the dis-
charge port and lock-
ing pin.
Push the noz-
zle tube over
the straight
tube and lock-
ing pin.
5Screw M5 x 10
Important!
Blower tube installation affects both blower balance
and performance!
The tube and nozzle are correctly installed when the
label “TOP” is visible to the operator during normal
operation.
Warning!
Danger from rotating impeller! Stop the engine
before installing or removing the blower tubes!
Never perform any maintenance or assembly
procedures on this machine while the engine is
running!
Mixing Fuel
Fuel Requirements
Use only fresh, clean fuel
Use only fuel with an octane rating of 90 or higher
2 Stroke Oil / Fuel Mixing Ratios and Volumes
It is recommended to always use Masport oils as these are
formulated for best results. If Masport oil is not available, check with
a Service Dealer for a suitable alternative.
Important!
Check type of oil, ‘Mineral Oil’ or ‘Semi Synthetic
Oil’
First 20 Hours of Use
Use mixture of 25:1 = of oil for each one (1) litre of Petrol.40ml
After First 20 Hours of Use
If Using Mineral Oil, it is recommend using a mixing Ratio of 25:1
Note - 25:1 = 40ml of oil for each one litre (1) of Fuel
if using Semi Synthetic Oil, it is recommended using a mixing Ratio
of 40:1
Note - 40:1 = 25ml of oil for each one litre (1) of Fuel
Warning!
Incorrect amount of oil will cause failure of the
motor, plus void any warranty claim. Incorrect oil
or poor fuel can cause failure of the motor, plus
void any warranty claim. Do not store fuel for
longer then 3 months; as stale petrol can cause
motor issues. Mix only the required amount of
fuel for the task; ensure petrol is fresh.
Warning!
Danger of re! Never transfer or store fuels in
the presence of combustible materials! Before
starting the engine, always move the blower to a
clear area at least 10 feet (3 metres) away from
fuels and other combustible materials!
Warning!
Never attempt to mix fuel in the blower fuel
tank!Always mix all fuels in a clean, container!
Use 2-stroke engine oil or equivalent oil mixed at
the recommended ratio for your model. Be aware
that generic oils and some outboard mixing oils
may not be intended for use in high performance
air cooled 2-cycle engines, and should never be
used in your engine blower. If unsure seek advice
from your garden product specialist. Add fuel
in a well ventilated area. Wipe away an spilt fuel
before starting the engine.
• Important! Mix only enough fuel for your
immediate needs! If fuel must be stored longer
than 30 days, it should rst be treated with a
stabiliser or equivalent product!
Filling the Fuel Tank
Warning!
Danger of re and burn injury!


Product specificaties

Merk: Morrison
Categorie: Niet gecategoriseerd
Model: BL260E S2

Heb je hulp nodig?

Als je hulp nodig hebt met Morrison BL260E S2 stel dan hieronder een vraag en andere gebruikers zullen je antwoorden


Handleiding Niet gecategoriseerd Morrison

Handleiding Niet gecategoriseerd

Nieuwste handleidingen voor Niet gecategoriseerd