Mikrotik wAP LTE kit Handleiding
Mikrotik Niet gecategoriseerd wAP LTE kit
Bekijk gratis de handleiding van Mikrotik wAP LTE kit (11 pagina’s), behorend tot de categorie Niet gecategoriseerd. Deze gids werd als nuttig beoordeeld door 165 mensen en kreeg gemiddeld 4.2 sterren uit 4 reviews. Heb je een vraag over Mikrotik wAP LTE kit of wil je andere gebruikers van dit product iets vragen? Stel een vraag
Pagina 1/11
wAP kit-series
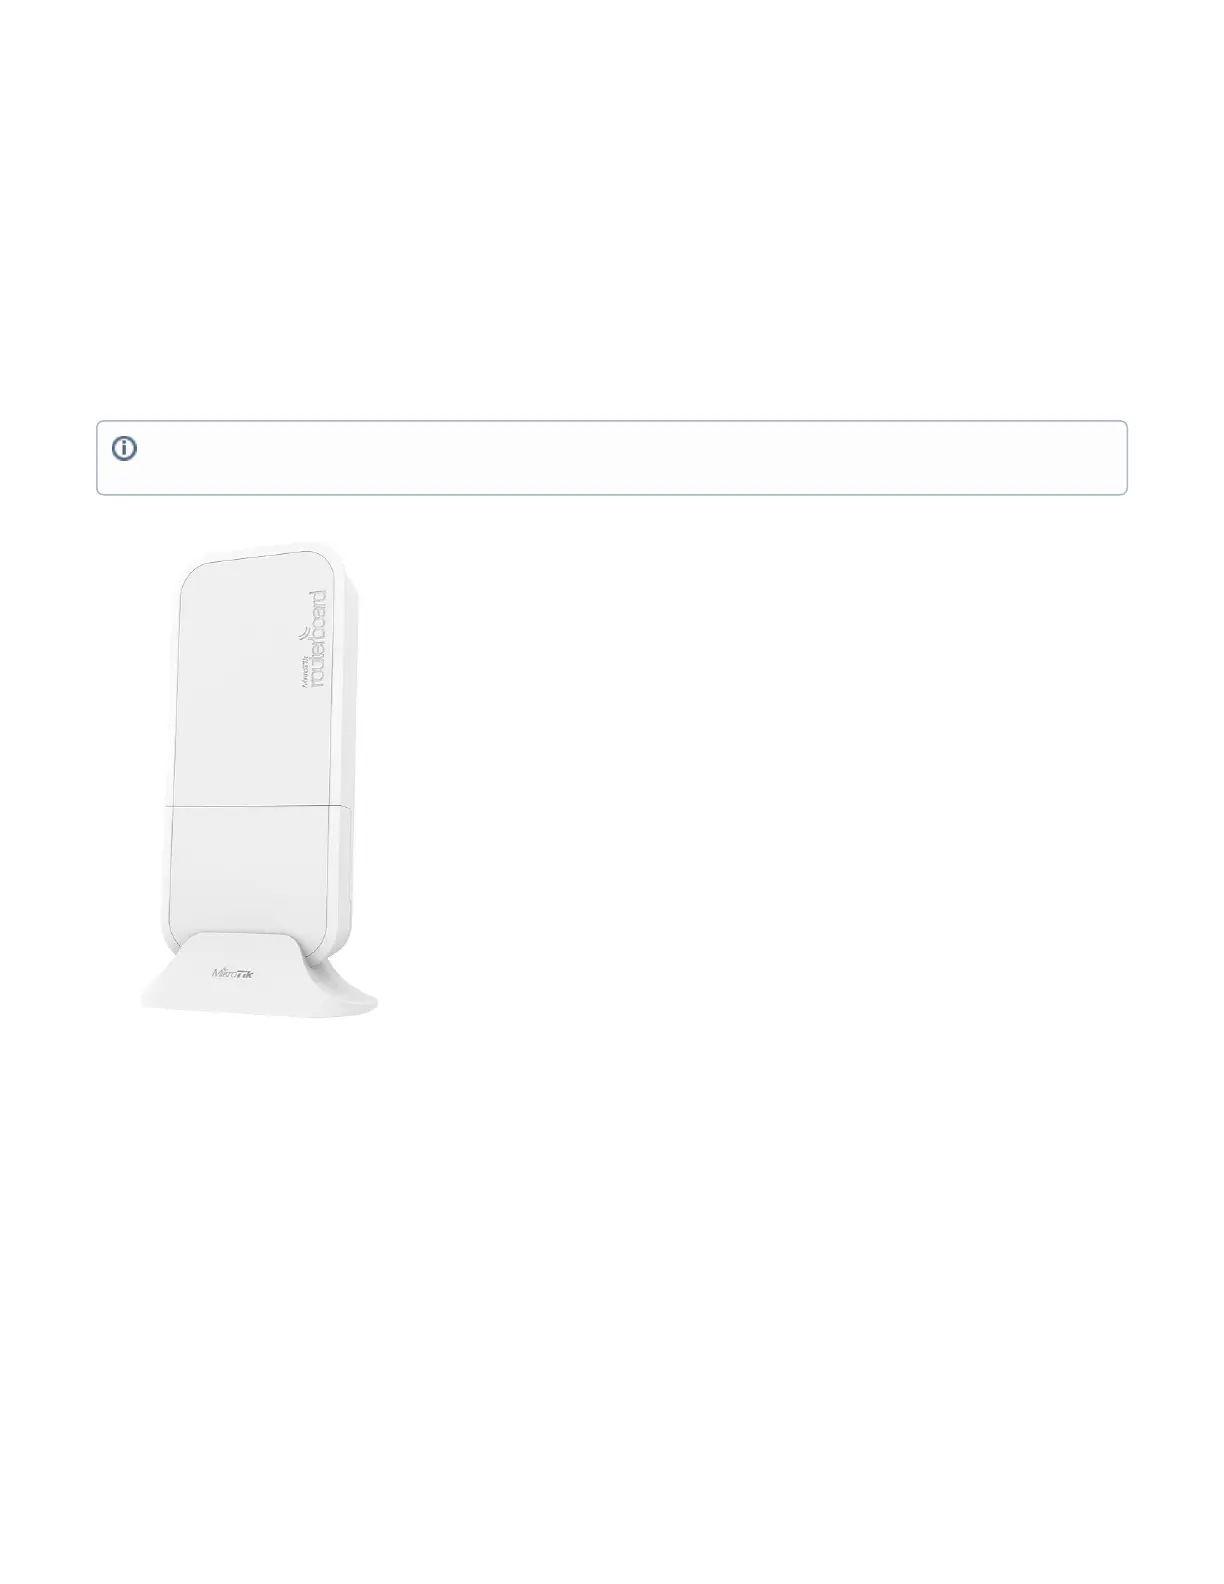
This manual is for wAP kit series models:
wAP LTE kit
wAP LTE kit US
wAP 4G kit
This device needs to be upgraded to RouterOS v6.44.6 or the latest version to ensure compliance with local authority regulations.
Note. The information contained here is subject to change. Please visit the product page on
www.mikrotik.comfor the most up to date version of this
document.
Safety Warnings
It is the customer's responsibility to follow local country regulations, including operation within legal frequency channels, output power, cabling
requirements, and Dynamic Frequency Selection (DFS) requirements. All Mikrotik radio devices must be professionally installed.
Product specificaties
| Merk: | Mikrotik |
| Categorie: | Niet gecategoriseerd |
| Model: | wAP LTE kit |
| Kleur van het product: | Wit |
| Breedte: | 185 mm |
| Diepte: | 85 mm |
| Hoogte: | 30 mm |
| LED-indicatoren: | Ja |
| Inclusief besturingssysteem: | RouterOS |
| Aantal Ethernet LAN (RJ-45)-poorten: | 1 |
| Aansluiting voor netstroomadapter: | Ja |
| Intern geheugen: | 64 MB |
| Type processor: | Ja |
| Gevoeligheid ontvanger: | 1MBit/s 22 -96\n11MBit/s 22 -89\n6MBit/s 20 -93\n54MBit/s\t18 -74\nMCS0 20 -93\nMCS7 16 -71 |
| Ethernet LAN, data-overdrachtsnelheden: | 10, 100 Mbit/s |
| Netwerkstandaard: | IEEE 802.11b, IEEE 802.11g, IEEE 802.11n |
| Ondersteunde beveiligingsalgoritmen: | Niet ondersteund |
| Antenne versterkingsniveau (max): | 2 dBi |
| Intern: | Nee |
| Flash memory: | 16 MB |
| Maximale overdrachtssnelheid van gegevens: | - Mbit/s |
| 2,4 GHz: | Ja |
| 5 GHz: | Nee |
| Power over Ethernet (PoE): | Ja |
| Antennefuncties: | Ingebouwde antenne |
| Relatieve vochtigheid in bedrijf (V-V): | -40 - 60 procent |
Heb je hulp nodig?
Als je hulp nodig hebt met Mikrotik wAP LTE kit stel dan hieronder een vraag en andere gebruikers zullen je antwoorden
Handleiding Niet gecategoriseerd Mikrotik

13 Maart 2026
10 Maart 2026
8 Januari 2026
7 Januari 2026
6 Januari 2026
6 Januari 2026
6 Januari 2026
24 December 2025
23 December 2025
22 December 2025
Handleiding Niet gecategoriseerd
Nieuwste handleidingen voor Niet gecategoriseerd
30 Mei 2026
30 Mei 2026
30 Mei 2026
30 Mei 2026
30 Mei 2026
30 Mei 2026
30 Mei 2026
30 Mei 2026
30 Mei 2026
30 Mei 2026