Lynx Professional LSK30 Handleiding
Bekijk gratis de handleiding van Lynx Professional LSK30 (8 pagina’s), behorend tot de categorie Wastafel. Deze gids werd als nuttig beoordeeld door 63 mensen en kreeg gemiddeld 4.7 sterren uit 8 reviews. Heb je een vraag over Lynx Professional LSK30 of wil je andere gebruikers van dit product iets vragen? Stel een vraag
Pagina 1/8
1
|
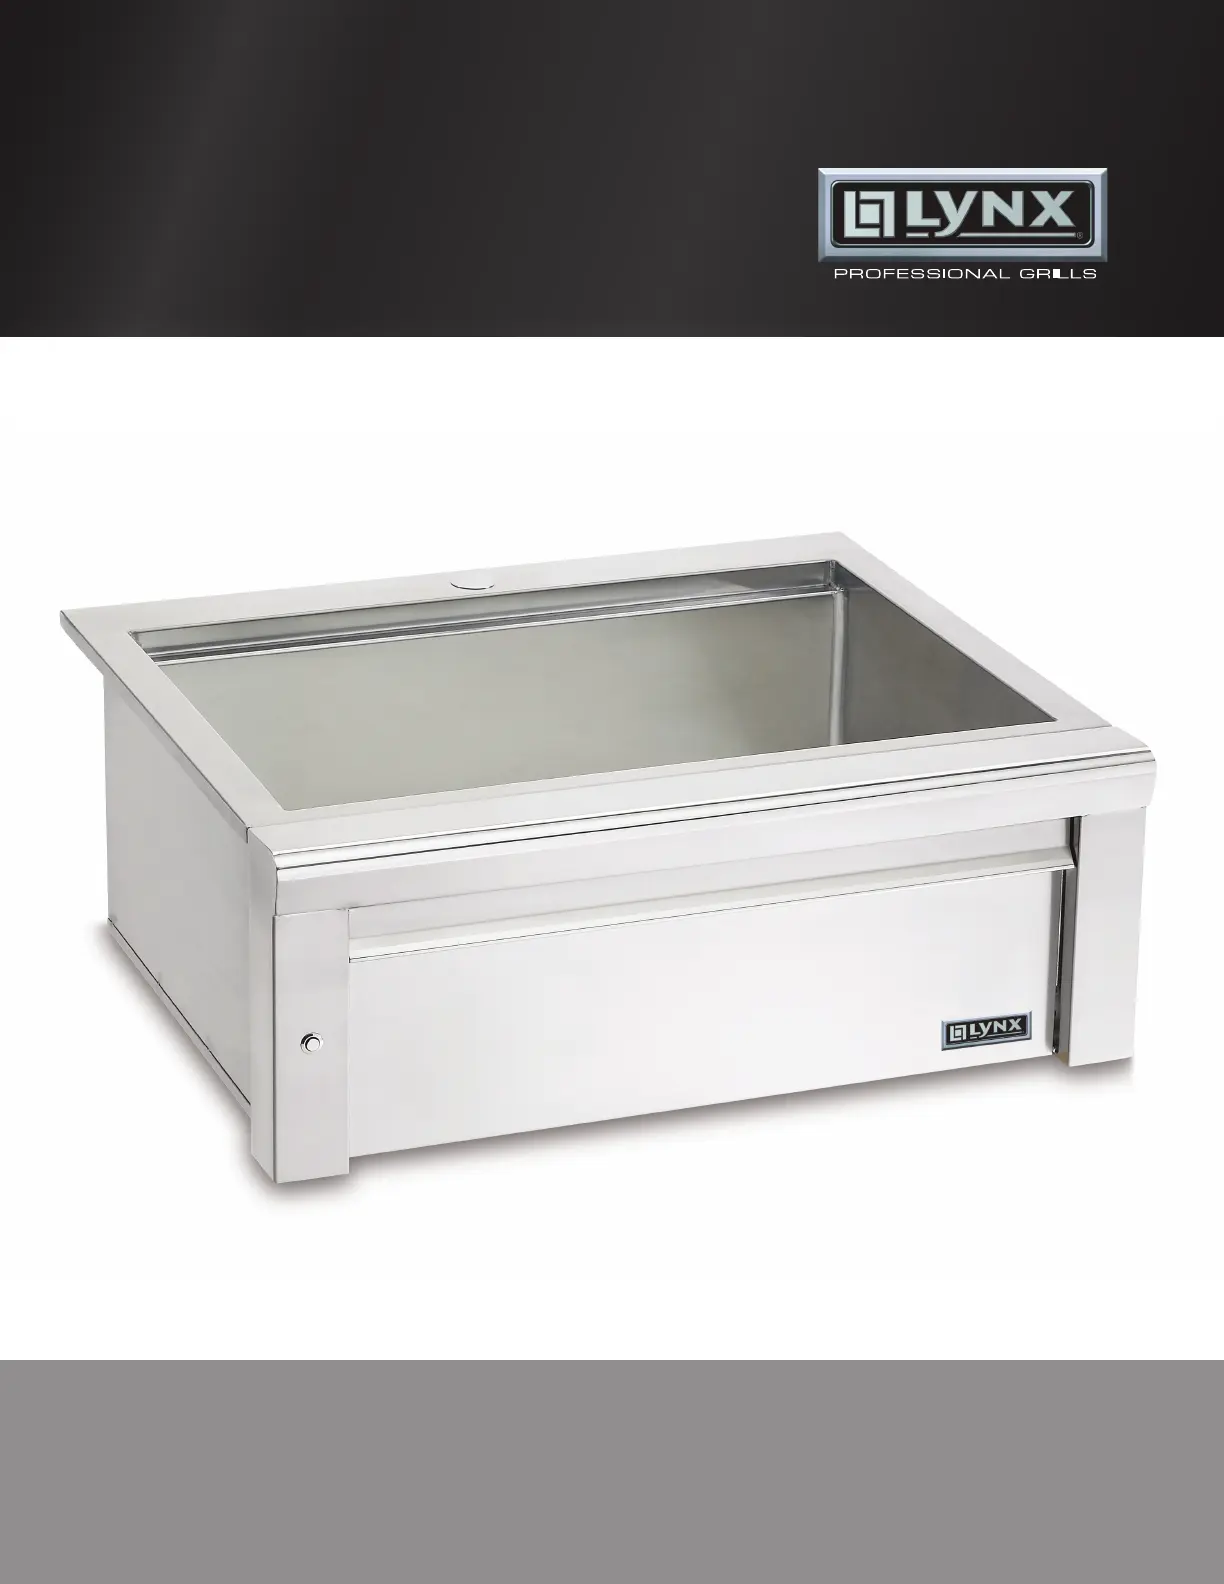
LSK18/LSK24/LSK30 OUTDOOR BUILT-IN SINK CARE & USE/INSTALLATION
CARE & USE/INSTALLATION
MAKE THE MOST OF YOUR
LSK18/LSK24/LSK30 Outdoor Built-In Sink
Sink shown without faucet. The Model LFK is available separately from Lynx Grills.
Product specificaties
| Merk: | Lynx |
| Categorie: | Wastafel |
| Model: | Professional LSK30 |
Heb je hulp nodig?
Als je hulp nodig hebt met Lynx Professional LSK30 stel dan hieronder een vraag en andere gebruikers zullen je antwoorden
Handleiding Wastafel Lynx

9 Februari 2024
9 Februari 2024
9 Februari 2024
Handleiding Wastafel
Nieuwste handleidingen voor Wastafel
27 Mei 2026
25 Mei 2026
13 Mei 2026
25 April 2026
23 April 2026
23 April 2026
23 April 2026
23 April 2026
23 April 2026
23 April 2026