Logik LBSET11 Handleiding
Logik Broodrooster LBSET11
Bekijk gratis de handleiding van Logik LBSET11 (2 pagina’s), behorend tot de categorie Broodrooster. Deze gids werd als nuttig beoordeeld door 33 mensen en kreeg gemiddeld 4.5 sterren uit 6 reviews. Heb je een vraag over Logik LBSET11 of wil je andere gebruikers van dit product iets vragen? Stel een vraag
Pagina 1/2
GB-4GB-5
SAFETY FIRST!
For your continued safety and to reduce the risk of injury or electric shock, please follow
all the safety precautions listed below.
• Read all the instructions carefully before using the appliance and keep them for future
reference.
• Retain the manual. If you pass the appliance onto a third party, make sure to include this
manual.
• Check that the voltage marked on the rating label matches your mains voltage.
Damage
• Please inspect the appliance for damage after unpacking.
• Do not continue to operate the appliance if you are in any doubt about it working
normally, or if it is damaged in any way - switch off, withdraw the mains plug and
consult your dealer.
Location of Appliance
• The appliance must be placed on a at stable surface and should not be subjected to
vibrations.
• Do not place the appliance on sloped or unstable surfaces as the appliance may fall off
or tip over.
• The mains socket must be located near the appliance and should be easily accessible.
• This appliance is designed for indoor use only.
Temperature
• Avoid extreme degrees of temperature, either hot or cold. Place the appliance well away
from heat sources such as radiators or gas/electric res.
• Avoid exposure to direct sunlight and other sources of heat.
• Do not touch hot surfaces. Temperature of accessible surfaces may be very high when
the appliance is operating.
Naked Flames
• Never place any type of candle or naked ame on the top of or near the appliance.
Moisture
• To reduce the risk of re, electric shock or product damage, do not expose this appliance
to rain, moisture, dripping or splashing. No objects lled with liquids, such as vases,
should be placed on the appliance.
• If you spill any liquid into the appliance, it can cause serious damage. Switch it off at the
mains immediately and withdraw the mains plug.
Ventilation
• To prevent the risk of electric shock or re hazard due to overheating, ensure that
curtains and other materials do not obstruct the ventilation vents.
• Do not install or place this appliance in a bookcase, built-in cabinet or in another
conned space. Ensure the appliance is well ventilated.
Safety
• The appliance is not intended to be operated by means of an external timer or separate
remote-control system.
• Always disconnect the appliance from the mains supply before moving the appliance.
• In the interests of safety and to avoid unnecessary energy consumption, never leave the
appliance unattended for long periods of time, e.g. overnight, while on holiday or while
out of the house. Disconnect the mains plug from the mains socket.
• Bread may burn. Your appliance must not be used near or below curtains or other
combustible materials. It must be watched when in use.
• Only place toast bread in your appliance. Do not attempt to toast any pastry or bread
product which is lled with a fruit or sugary lling (pop tarts etc). The stuffings may leak
from the appliance and cause damage to your appliance with the possible risk of a re
occurring.
• Oversize food, metal foil packages or utensils must not be inserted in the appliance as
they may cause re or electric shock.
• Don’t attempt to dislodge food while the appliance is operating.
• Take the bread out carefully after toasting to avoid injuries.
• Do not use the appliance for uses other than its intended use.
Mains Cable
• Make sure the appliance is not resting on top of the mains cable, as the weight of the
appliance may damage the mains cable and create a safety hazard.
• Do not let the mains cable overhang the edge of the work surface or allow it to touch
hot surfaces or sources of heat or ame.
• If the mains cable is damaged it must be replaced by the manufacturer, its service agent,
or similarly qualied persons in order to avoid a hazard.
Supervision
• This appliance is not intended for use by persons (including children) with reduced
physical, sensory or mental capabilities, or lack of experience and knowledge, unless
they have been given supervision or instruction concerning the use of the appliance by
a person responsible for their safety.
• Children should be supervised to ensure that they do not play with the appliance.
• Never let anyone especially children push anything into the holes, slots or any other
openings in the case - this could result in a fatal electric shock.
Service
• To reduce the risk of electric shock, do not remove screws. The appliance does not
contain any user-serviceable parts. Please leave all maintenance work to qualied
personnel.
• Do not open any xed covers as this may expose dangerous voltages.
Maintenance
• Ensure to unplug the appliance from the mains socket before cleaning.
• Allow the appliance to cool completely before cleaning or storing.
• Do not use any type of abrasive pad or abrasive cleaning solutions as these may damage
the appliance’s surface.
• Do not use liquids to clean the appliance.
SPECIFICATIONS
Mains supply: 220-240V ~ 50/60Hz
Power consumption: 730-870W
We continually strive to improve our products. Specications may change without prior
notice.
DSG Retail Ltd • Maylands Avenue • Hemel Hempstead
Herts • HP2 7TG • England
Visit Partmaster.co.uk today for the easiest way tobuy
electrical spares and accessories. With over 1 millionspares
and accessories available we can deliver direct toyourdoor
the very next day. Visit www.partmaster.co.uk or call 0844 800 3456 (UK customersonly)Calls
charged at National Rate.
This symbol on the product or in the instructions means that your electrical
and electronic equipment should be disposed at the end of its life separately
from your household waste. There are separate collection systems for recycling
in the EU. For more information, please contact the local authority or your
retailer where you purchased the product.
(P.N. LBSET11T-001)
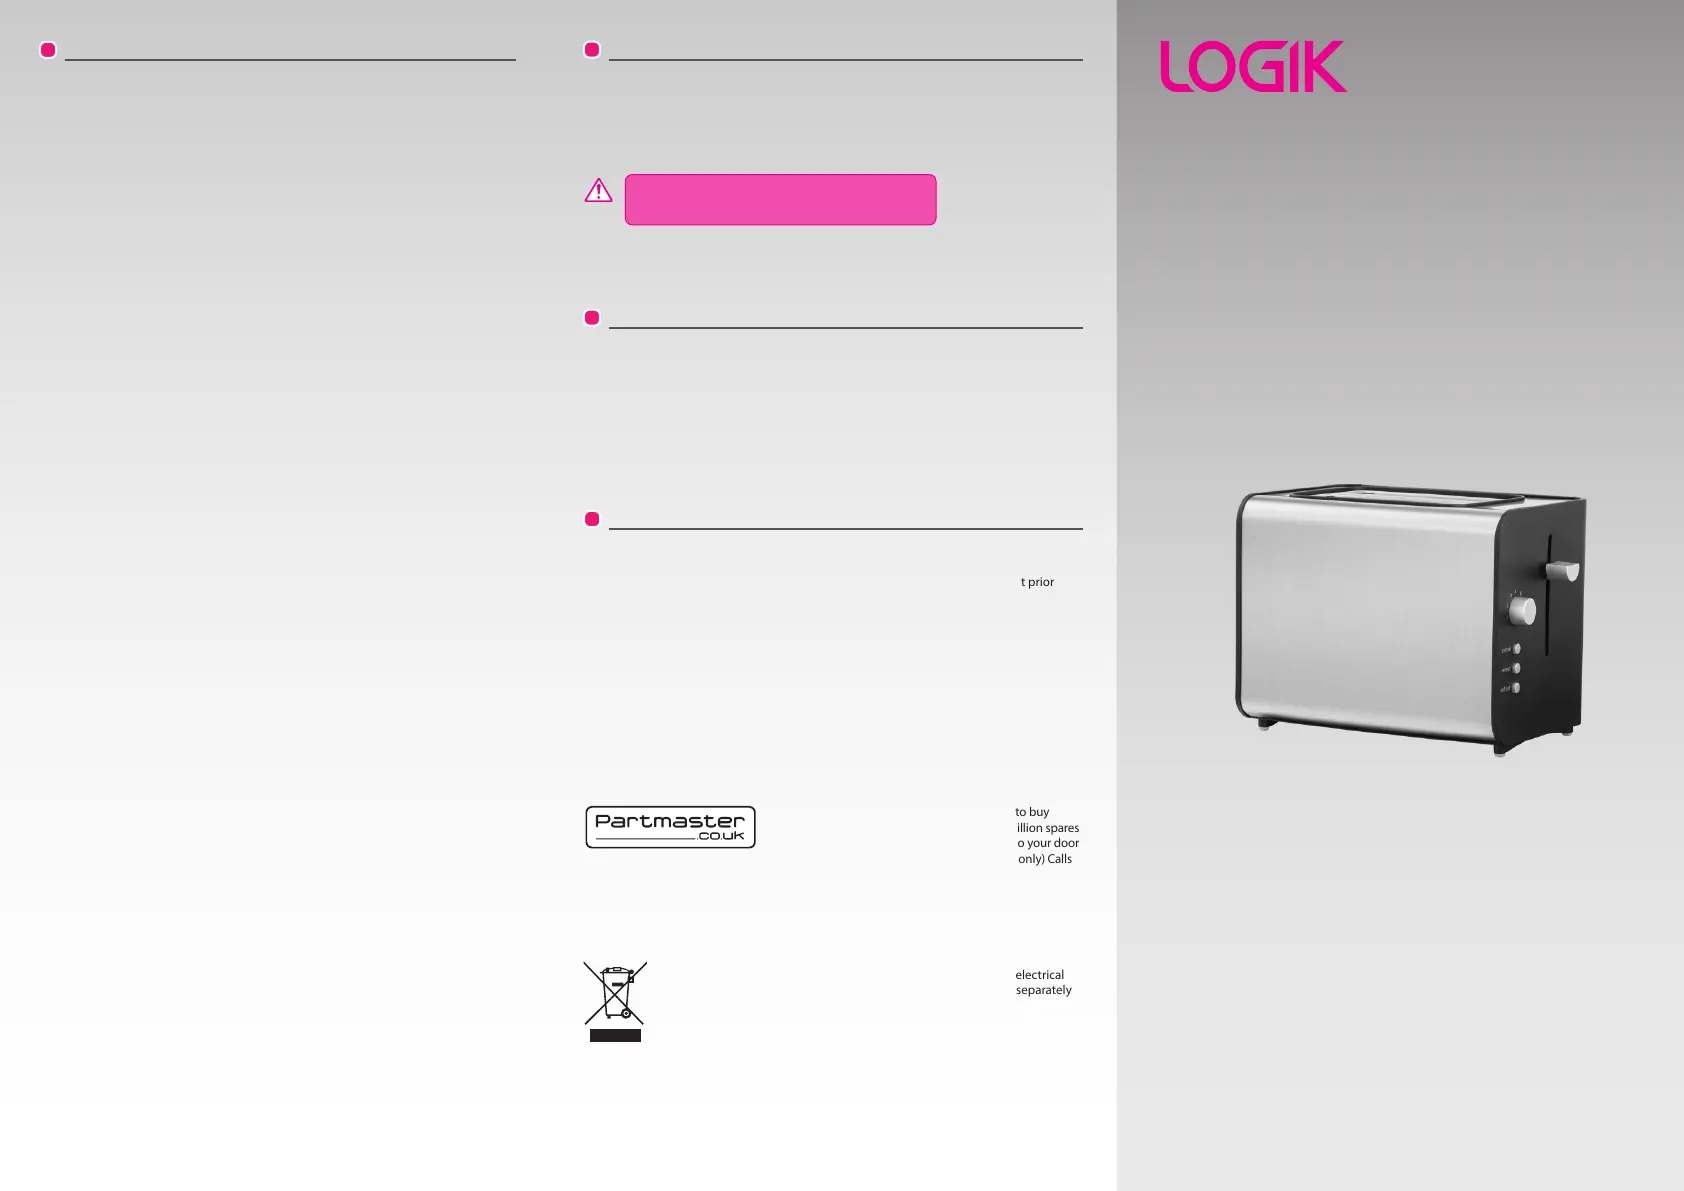
Breakfast Set-Toaster
Instruction Manual
LBSET11
Thank youfor purchasing your new Logik Breakfast Set.
We recommend that you spend some time reading this instruction manual
in order to fully understand all the operational features it offers.
Read all the safety instructions carefully before use and keep this
instruction manual for future reference.
HOW TO CLEAR A PIECE OF BLOCKED BREAD
1. Remove the mains plug from the mains socket.
2. Allow the toaster to completely cool down.
3. Push and hold the toasting lever down then release.
4. Gently dislodge the blockage with a non-metallic object, for example the handle of a
wooden spoon.
5. Lift the toasting lever to remove the blockage.
CLEANING AND MAINTENANCE
Remove the mains plug from the mains socket and allow the toaster to cool down before
cleaning.
Do not use harsh cleaners or solvents as they may damage the casing.
The body of the toaster should be cleaned using a cloth dampened with warm water. Make
sure you do not allow water to seep into the controls or heating elements.
When not in use, the mains cable may be wound under the bottom of the toaster.
Ensure you don’t make contact with the heating
elements, as you may damage them.
LBSET11_IB_toaster_110217.pdf 1 2/17/11 2:13 PM
Product specificaties
| Merk: | Logik |
| Categorie: | Broodrooster |
| Model: | LBSET11 |
Heb je hulp nodig?
Als je hulp nodig hebt met Logik LBSET11 stel dan hieronder een vraag en andere gebruikers zullen je antwoorden
Handleiding Broodrooster Logik

14 September 2023
14 September 2023
14 September 2023
14 September 2023
14 September 2023
14 September 2023
Handleiding Broodrooster
Nieuwste handleidingen voor Broodrooster
12 Juni 2026
11 Juni 2026
10 Juni 2026
4 Juni 2026
14 Mei 2026
12 Mei 2026
12 Mei 2026
5 Mei 2026
5 Mei 2026
4 Mei 2026