Levenhuk DTX 500 Mobi Handleiding
Levenhuk Miscroscoop DTX 500 Mobi
Bekijk gratis de handleiding van Levenhuk DTX 500 Mobi (40 pagina’s), behorend tot de categorie Miscroscoop. Deze gids werd als nuttig beoordeeld door 25 mensen en kreeg gemiddeld 4.2 sterren uit 2 reviews. Heb je een vraag over Levenhuk DTX 500 Mobi of wil je andere gebruikers van dit product iets vragen? Stel een vraag
Pagina 1/40
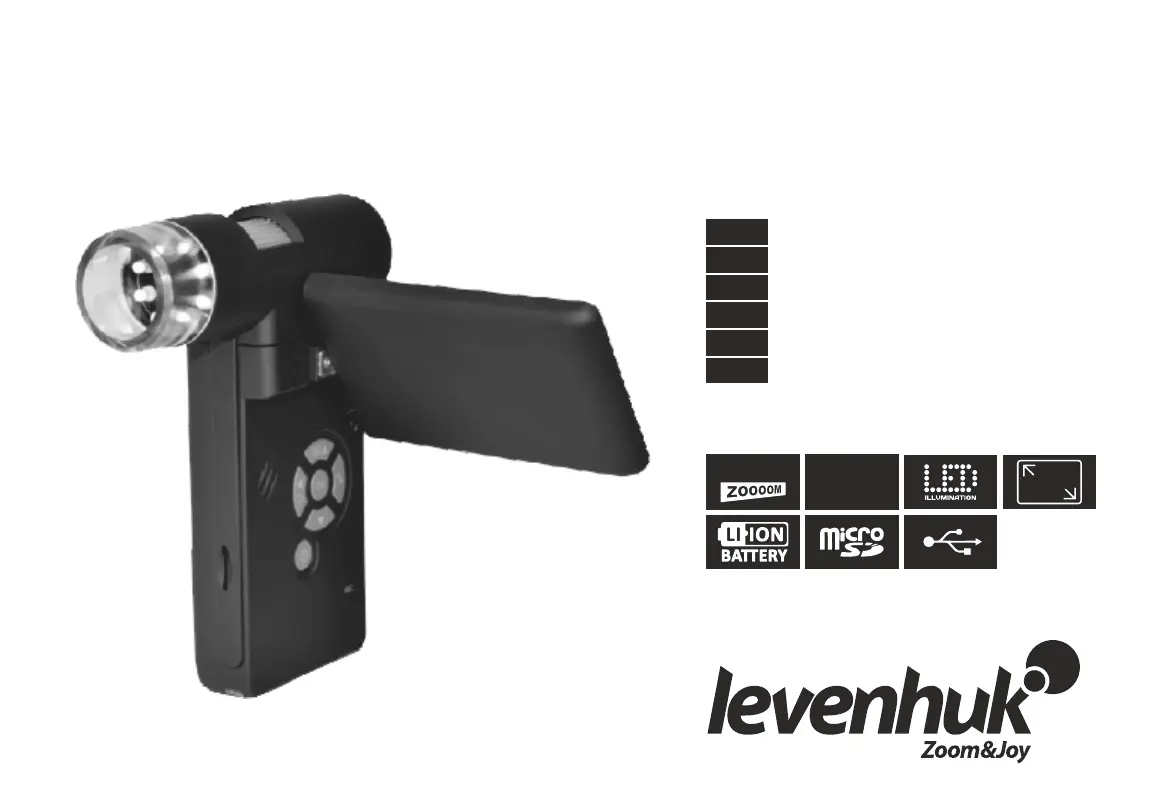
Levenhuk DTX 500 Mobi
DigitalMicroscope
User Manual
Návod k použití
Bedienungsanleitung
Guía del usuario
Instrukcja obsługi
Инструкция по эксплуатации
RU
PL
ES
DE
СZ
EN
5
MEGA
PIXELS
500x
3''
Product specificaties
| Merk: | Levenhuk |
| Categorie: | Miscroscoop |
| Model: | DTX 500 Mobi |
Heb je hulp nodig?
Als je hulp nodig hebt met Levenhuk DTX 500 Mobi stel dan hieronder een vraag en andere gebruikers zullen je antwoorden
Handleiding Miscroscoop Levenhuk

6 Mei 2026
22 December 2025
30 Oktober 2025
16 Juli 2025
15 Juli 2025
15 Juli 2025
15 Juli 2025
15 Juli 2025
15 Juli 2025
15 Juli 2025
Handleiding Miscroscoop
Nieuwste handleidingen voor Miscroscoop
7 Mei 2026
6 Mei 2026
5 Mei 2026
5 Mei 2026
2 April 2026
31 Maart 2026
26 Maart 2026
26 Maart 2026
25 Maart 2026
25 Maart 2026