Konig HAV-TT25USB Handleiding
Bekijk gratis de handleiding van Konig HAV-TT25USB (30 pagina’s), behorend tot de categorie DJ Gear. Deze gids werd als nuttig beoordeeld door 87 mensen en kreeg gemiddeld 4.9 sterren uit 9 reviews. Heb je een vraag over Konig HAV-TT25USB of wil je andere gebruikers van dit product iets vragen? Stel een vraag
Pagina 1/30
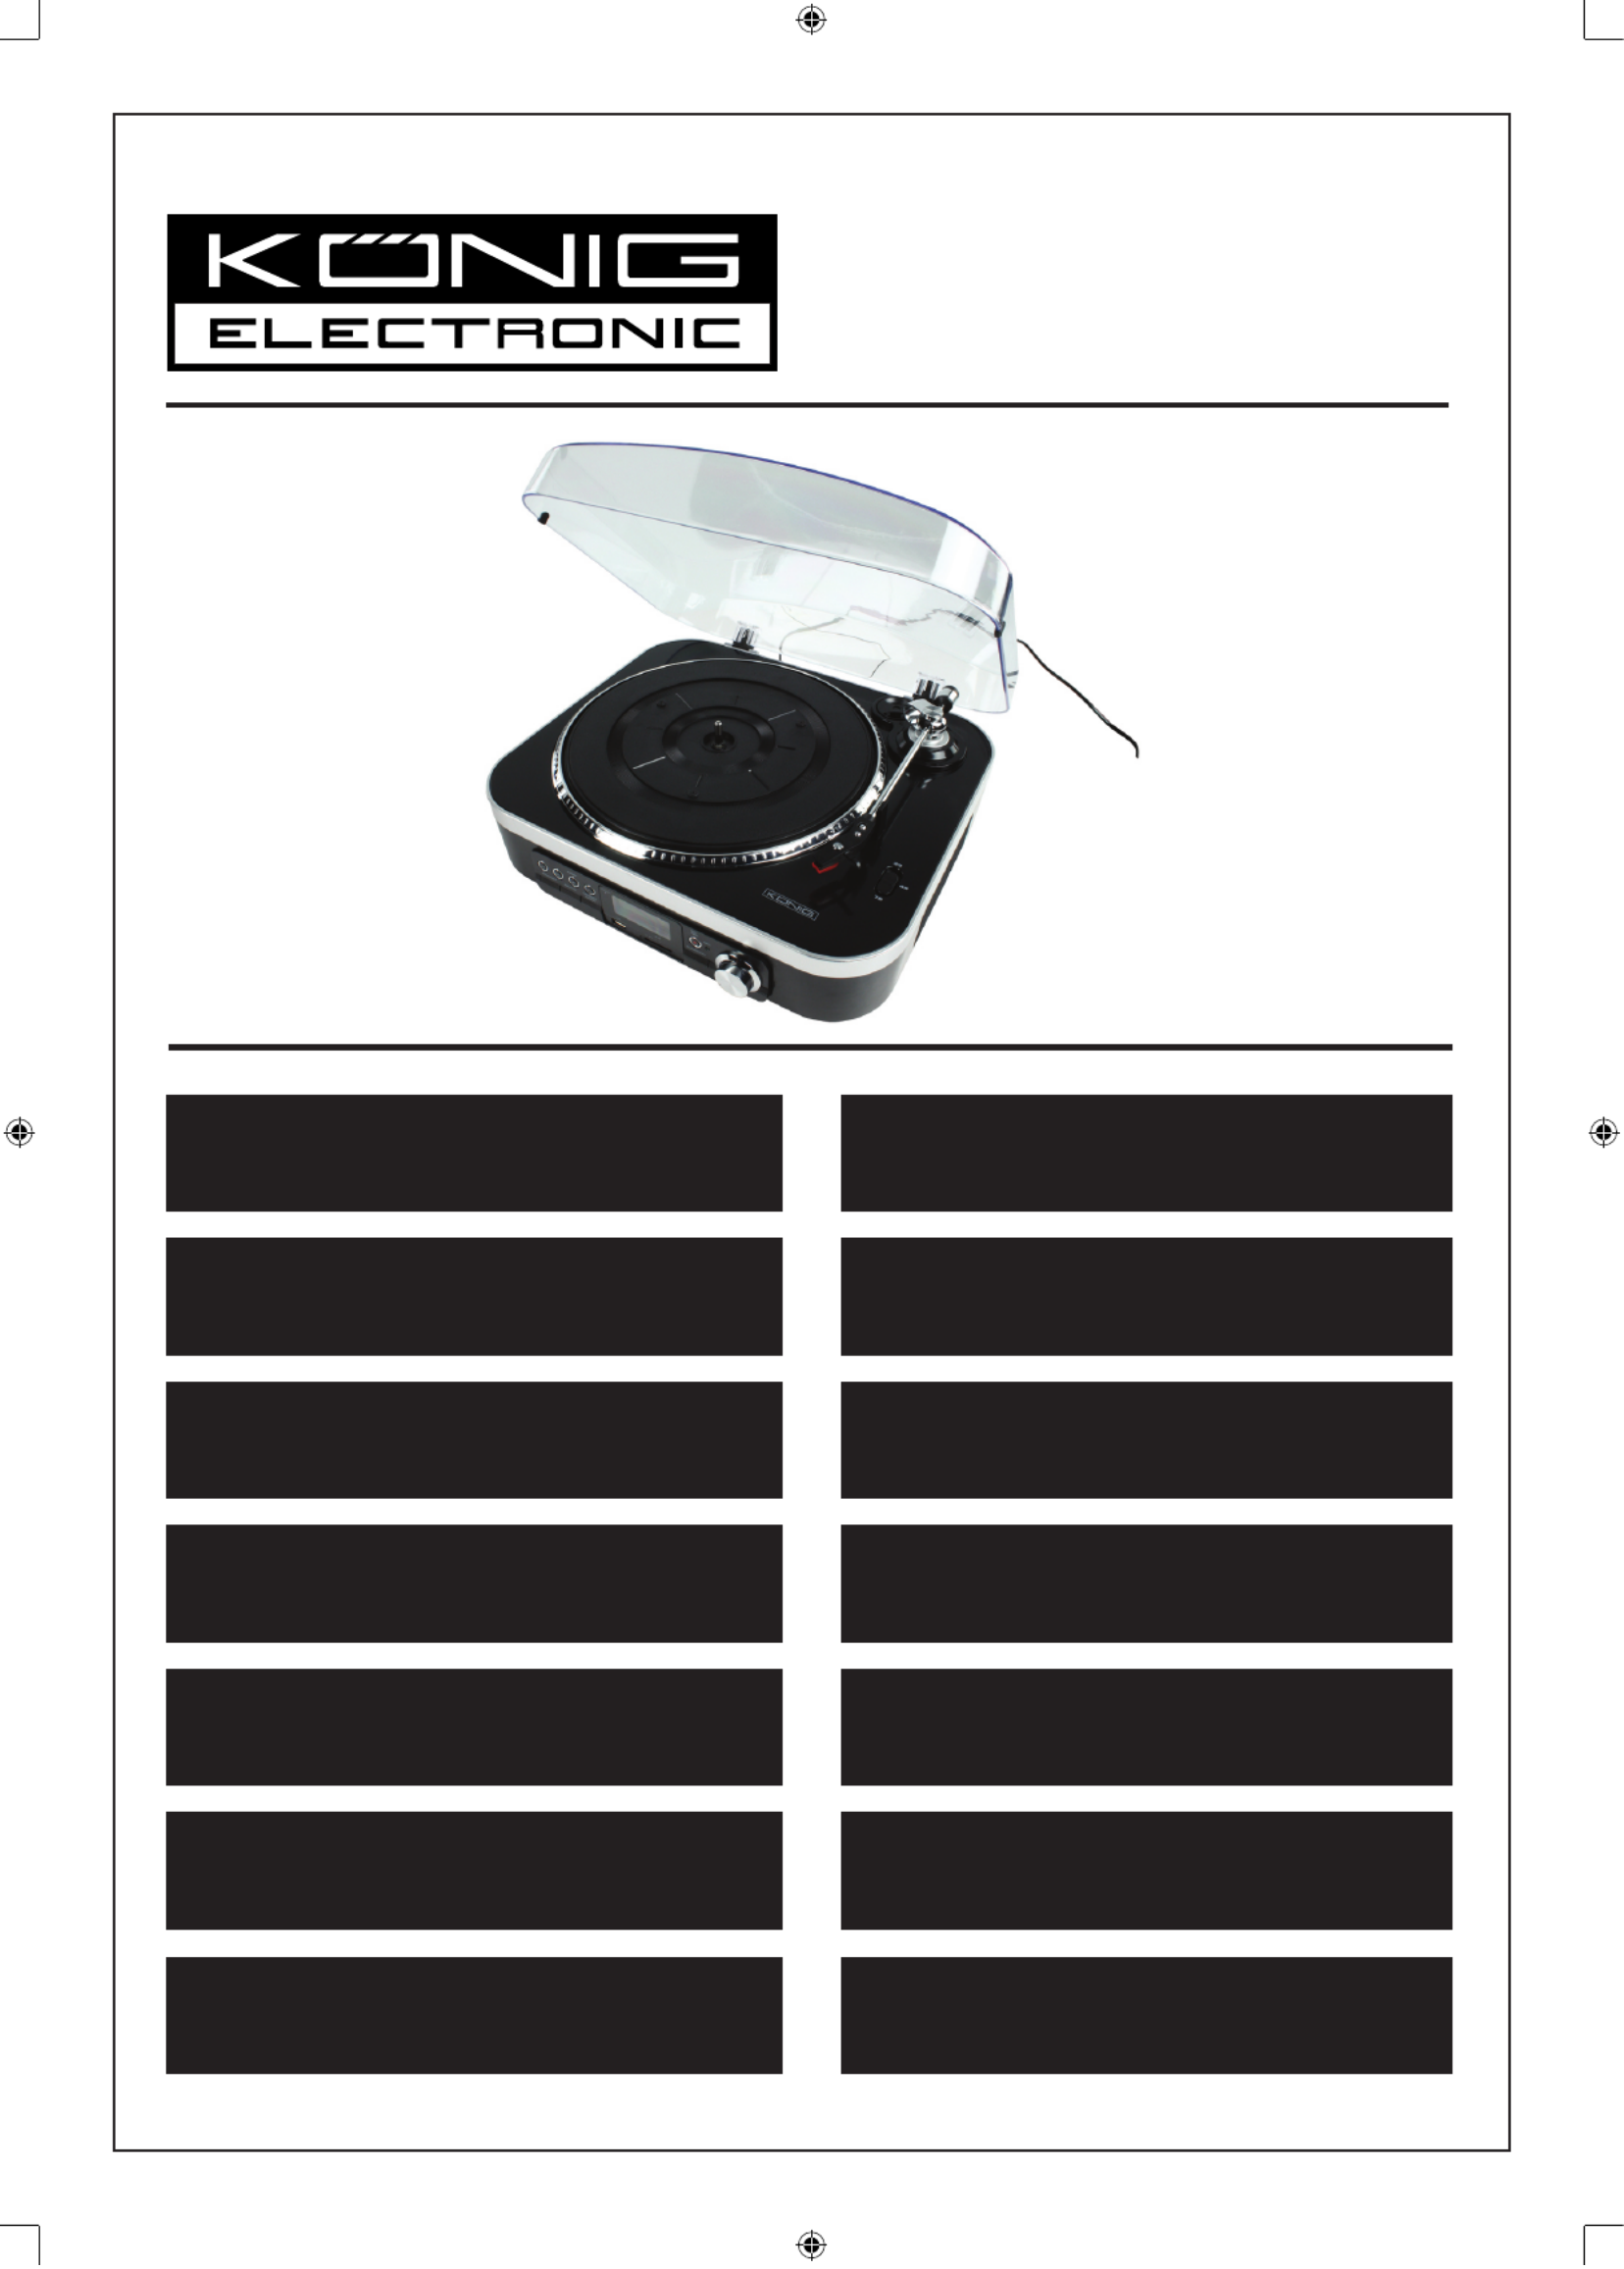
HAV-TT25USB
MANUAL (p. 2)
USB Turntable
MODE D’EMPLOI (p. 6)
Tourne-disque USB
MANUALE (p. 10)
Giradischi USB
BRUKSANVISNING (s. 18)
USB-skivspelare
MANUAL DE UTILIZARE (p. 22)
Platan USB
BRUGERVEJLEDNING (p. 26)
USB Drejeskive
HASZNÁLATI ÚTMUTATÓ (o. 14.)
USB lemezjátszó
KÄYTTÖOHJE (s. 16)
USB-levysoitin
ANLEITUNG (s. 4)
USB-Plattenspieler
GEBRUIKSAANWIJZING (p. 8)
USB Draaitafel
MANUAL DE USO (p. 12)
Tocadiscos USB
NÁVOD K POUŽITÍ (s. 20)
USB gramofon
ΕΓΧΕΙΡΙΔΙΟ XPHΣHΣ (σελ. 24)
Περιστροφική USB
VEILEDNING (p. 28)
USB platespiller
Product specificaties
| Merk: | Konig |
| Categorie: | DJ Gear |
| Model: | HAV-TT25USB |
| Kleur van het product: | Zwart, zilver |
| Soort: | Draaitafel met riemaandrijving |
| Compatibele geheugenkaarten: | SD |
| Aantal USB-aansluitingen: | 1 |
| USB-versie: | 2.0 |
| Peak Music Power Output (PMPO): | 1.6 W |
| MP3 afspelen: | Ja |
| Ondersteunde frequentiebanden: | AM,FM |
| Nominale snelheid: | 33 1/3,45,78 RPM |
Heb je hulp nodig?
Als je hulp nodig hebt met Konig HAV-TT25USB stel dan hieronder een vraag en andere gebruikers zullen je antwoorden
Handleiding DJ Gear Konig

24 April 2023
1 December 2022
16 November 2022
Handleiding DJ Gear
Nieuwste handleidingen voor DJ Gear
27 Juni 2026
24 Juni 2026
22 Juni 2026
1 Juni 2026
1 Juni 2026
13 Mei 2026
12 Mei 2026
12 Mei 2026
5 Mei 2026
4 Mei 2026