Konig Electronic CMP-USBVG6 - USB Video grabber Handleiding
Konig Electronic Video bewerking CMP-USBVG6 - USB Video grabber
Bekijk gratis de handleiding van Konig Electronic CMP-USBVG6 - USB Video grabber (69 pagina’s), behorend tot de categorie Video bewerking. Deze gids werd als nuttig beoordeeld door 44 mensen en kreeg gemiddeld 4.3 sterren uit 8 reviews. Heb je een vraag over Konig Electronic CMP-USBVG6 - USB Video grabber of wil je andere gebruikers van dit product iets vragen? Stel een vraag
Pagina 1/69
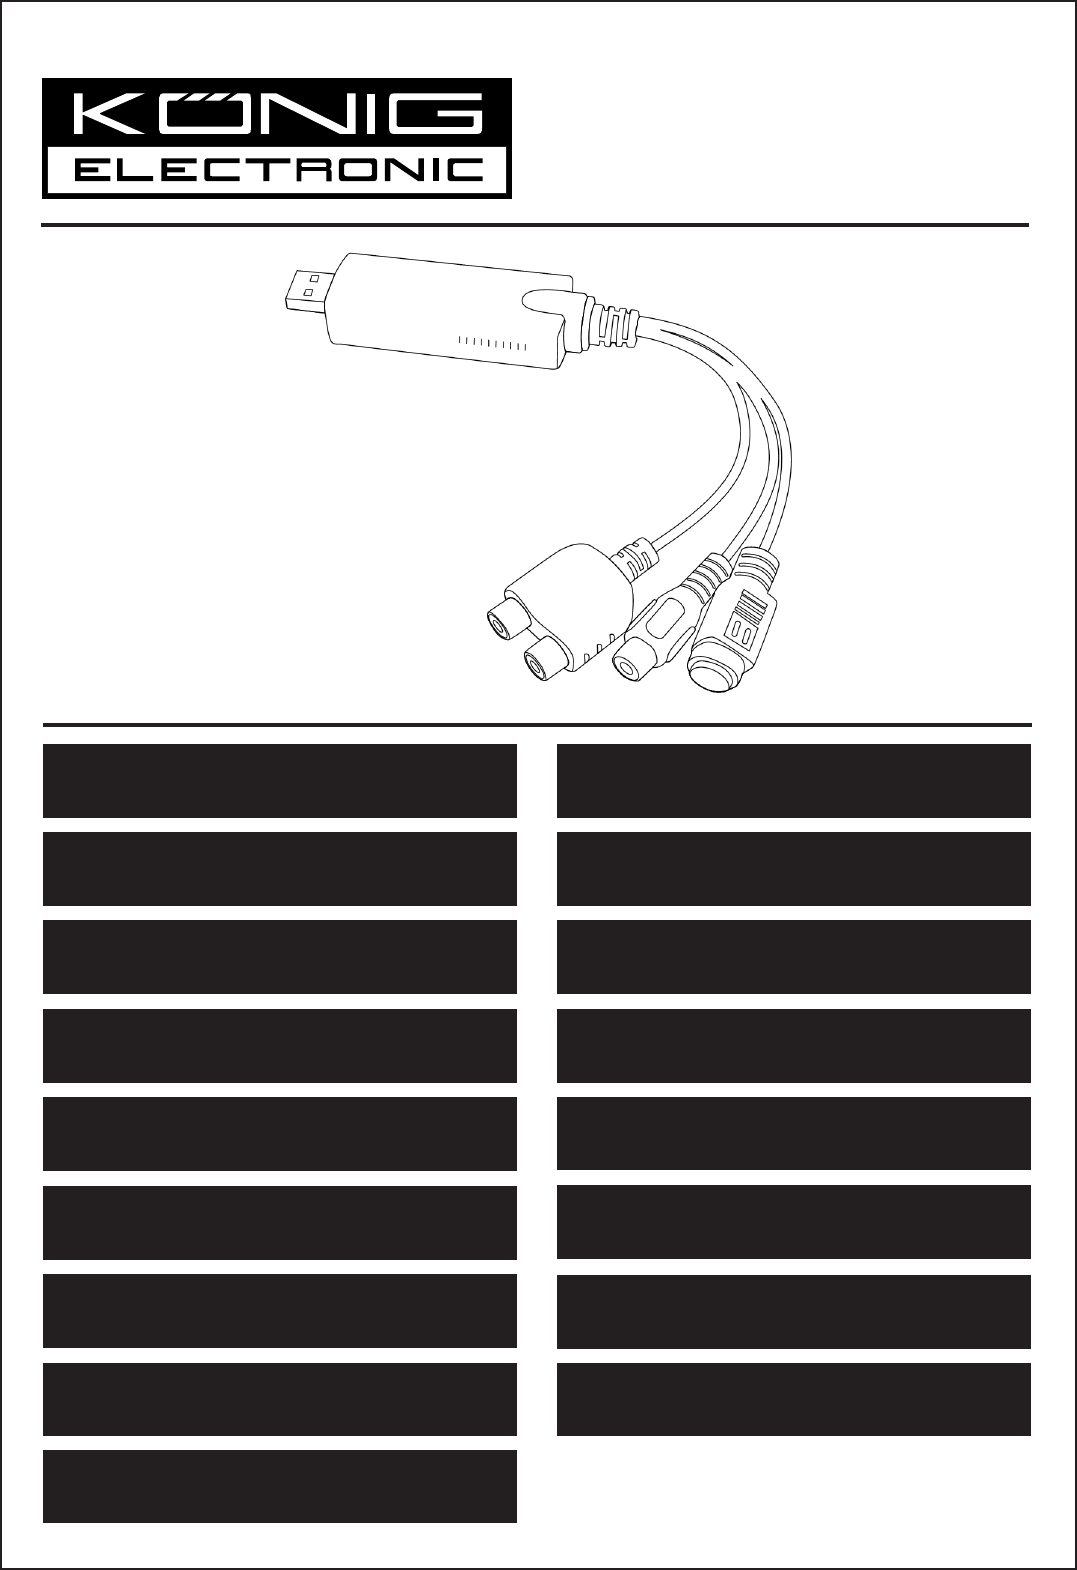
CMP-USBVG6
MANUAL (p. 2)
Video grabber with software
MODE D’EMPLOI (p. 10)
Capture Vidéo avec Logiciel
MANUALE (p. 18)
Scheda acquisizione video con Software
BRUKSANVISNING (s. 38)
Videograbber med programvara
MANUAL DE UTILIZARE (p. 46)
Placă de captură video cu software
BRUGERVEJLEDNING (s. 54)
Video registreringsenhed med software
HASZNÁLATI ÚTMUTATÓ (o. 30)
USB videó digitalizáló, szoftverrel
KÄYTTÖOHJE (s. 34)
Videograpper + ohjelmisto
ANLEITUNG (S. 6)
Video Grabber mit Software
GEBRUIKSAANWIJZING (p. 14)
Videograbber met software
MANUAL DE USO (p. 22)
Grabador de video con software
NÁVOD K POUŽITÍ (s. 42)
Video Grabber se softwarem
ΕΓΧΕΙΡΙΔΙΟ XPHΣHΣ (σελ. 50)
Εγγραφή Βίντεο με Λογισμικό
VEILEDNING (s. 58)
Videoopptaker med programvare
MANUAL (p. 26)
Captura de vídeo com software
ИНСТРУКЦИЯ (стр. 62)
Устройство захвата видео с программным
обеспечением
KILAVUZ (s. 66)
Yazılımlı video tutucu
2014-01-14
Product specificaties
| Merk: | Konig Electronic |
| Categorie: | Video bewerking |
| Model: | CMP-USBVG6 - USB Video grabber |
Heb je hulp nodig?
Als je hulp nodig hebt met Konig Electronic CMP-USBVG6 - USB Video grabber stel dan hieronder een vraag en andere gebruikers zullen je antwoorden
Handleiding Video bewerking Konig Electronic

2 Augustus 2023
2 Augustus 2023
Handleiding Video bewerking
Nieuwste handleidingen voor Video bewerking
20 Oktober 2023
14 Oktober 2023
11 Oktober 2023
7 Oktober 2023
14 September 2023
Manhattan 164115 Hi-Speed USB 2.0 Audio-Video Grabber Handleiding
3 September 2023 8 Augustus 2023
31 Januari 2023
9 Juli 2023
9 Juli 2023