Klein Tools 60107 Handleiding
Bekijk gratis de handleiding van Klein Tools 60107 (4 pagina’s), behorend tot de categorie Niet gecategoriseerd. Deze gids werd als nuttig beoordeeld door 123 mensen en kreeg gemiddeld 4.6 sterren uit 3 reviews. Heb je een vraag over Klein Tools 60107 of wil je andere gebruikers van dit product iets vragen? Stel een vraag
Pagina 1/4
60107 / 60107R60100
60107 / 60107R
60107 / 60107R
60406
60400
60407
60401
60401
60113
60105
Instructions for Klein Hard Hats -
Models 60100, 60105, 60107, 60107R,
60113, 60400, 60401, 60406, 60407, 60900, 60901
Instrucciones para cascos de seguridad de Klein -
Modelos
60100, 60105, 60107, 60107R, 60113, 60400, 60401, 60406, 60407, 60900, 60901
Instructions pour les casques de chantier Klein -
Modèles
60100, 60105, 60107, 60107R, 60113, 60400, 60401, 60406, 60407, 60900, 60901
1390253 Rev 03/19 A
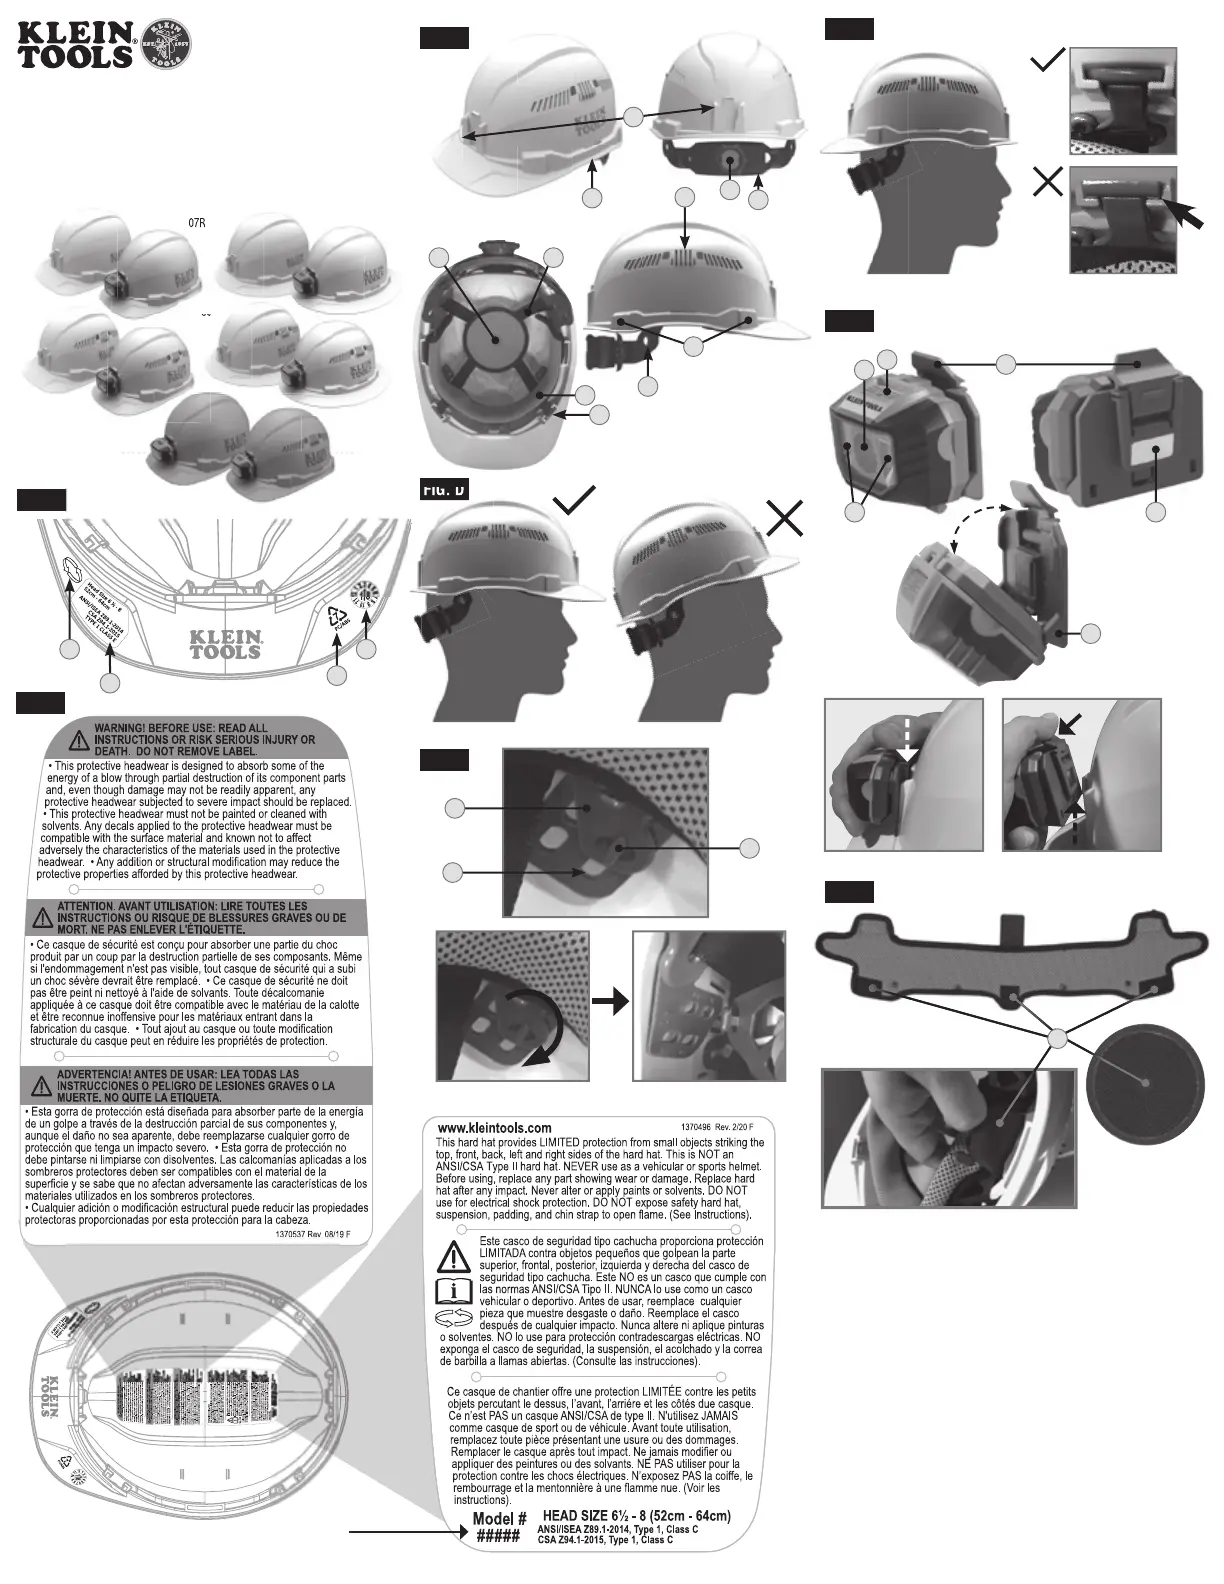
FIG. A
14
3
2
NOTE: This label is representative; contents will vary based on model #.
NOTA: esta etiqueta es representativa; los contenidos variarán según el n.º del modelo #.
REMARQUE: Cette étiquette est fournie à titre indicatif; son contenu varie en fonction du modèle #.
FIG. B
6090160900
FIG. C
FIG. D
FIG. E
FIG. F
FIG. G
FIG. H
6
5
10
9
1413
11
16
18
12
15
8
7
23
20
19
21
22
24
45°
17
25
FIG. D
BASED ON
1390253 Rev 02/22 F
Product specificaties
| Merk: | Klein Tools |
| Categorie: | Niet gecategoriseerd |
| Model: | 60107 |
Heb je hulp nodig?
Als je hulp nodig hebt met Klein Tools 60107 stel dan hieronder een vraag en andere gebruikers zullen je antwoorden
Handleiding Niet gecategoriseerd Klein Tools

7 Mei 2026
5 Mei 2026
4 Mei 2026
4 Mei 2026
3 Maart 2026
5 December 2025
28 November 2025
7 Oktober 2025
7 Oktober 2025
11 Augustus 2025
Handleiding Niet gecategoriseerd
Nieuwste handleidingen voor Niet gecategoriseerd
8 Juni 2026
8 Juni 2026
8 Juni 2026
7 Juni 2026
7 Juni 2026
7 Juni 2026
7 Juni 2026
7 Juni 2026
6 Juni 2026
6 Juni 2026