JL Audio M800/8-24V Handleiding
Bekijk gratis de handleiding van JL Audio M800/8-24V (20 pagina’s), behorend tot de categorie Receiver. Deze gids werd als nuttig beoordeeld door 76 mensen en kreeg gemiddeld 4.5 sterren uit 8 reviews. Heb je een vraag over JL Audio M800/8-24V of wil je andere gebruikers van dit product iets vragen? Stel een vraag
Pagina 1/20
OWNER’S MANUAL
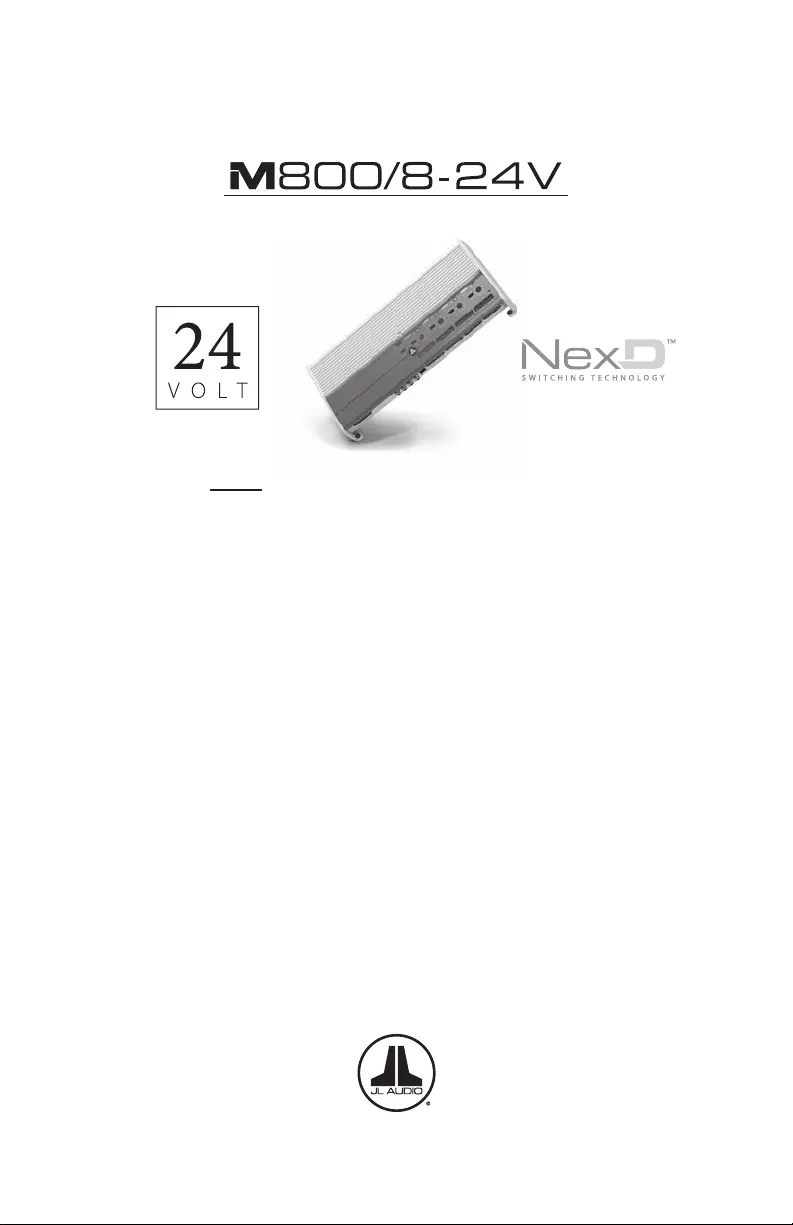
800W Marine 8 Channel Amplier
Thank you for purchasing a JL Audio amplifier for
your marine sound system.
Y
our amplifier has been designed and manufactured to exacting
standards in order to ensure years of musical enjoyment in your vessel or
vehicle. For maximum performance, we highly recommend that you have
your new amplifier installed by an authorized JL Audio dealer. Your
authorized dealer has the training, expertise and installation equipment
to ensure optimum performance from this product. Should you
decide to install the amplifier yourself, please take the time
to read this manual thoroughly so as to familiarize yourself
with its installation requirements and setup procedures.
I
f you have any questions regarding the instructions in this
manual or any aspect of your amplifier’s operation, please contact your
a
uthorized JL Audio dealer for assistance. If you need further assistance,
please call the JL Audio Technical Support Department
at (954) 443-1100 during business hours.
NOT FOR USE IN 12 V SYSTEMS!
Product specificaties
| Merk: | JL Audio |
| Categorie: | Receiver |
| Model: | M800/8-24V |
Heb je hulp nodig?
Als je hulp nodig hebt met JL Audio M800/8-24V stel dan hieronder een vraag en andere gebruikers zullen je antwoorden
Handleiding Receiver JL Audio

12 Januari 2026
9 Juli 2024
9 Juli 2024
9 Januari 2024
9 Januari 2024
9 Januari 2024
6 Juni 2023
9 Mei 2023
9 Mei 2023
7 Mei 2023
Handleiding Receiver
Nieuwste handleidingen voor Receiver
20 Juli 2026
15 Juli 2026
15 Juli 2026
15 Juli 2026
15 Juli 2026
14 Juli 2026
14 Juli 2026
13 Juli 2026
13 Juli 2026
13 Juli 2026