Honeywell HPA710WE Handleiding
Honeywell Luchtreiniger HPA710WE
Bekijk gratis de handleiding van Honeywell HPA710WE (22 pagina’s), behorend tot de categorie Luchtreiniger. Deze gids werd als nuttig beoordeeld door 41 mensen en kreeg gemiddeld 4.4 sterren uit 9 reviews. Heb je een vraag over Honeywell HPA710WE of wil je andere gebruikers van dit product iets vragen? Stel een vraag
Pagina 1/22
GB
TRUE HEPA ALLERGEN REMOVER
AIR PURIFIER
Operating Instructions
DE
LUFTREINIGER MIT ECHTEM
HEPA-ALLERGENFILTER
Bedienungsanleitung
DK
LUFTRENSER MED ALLERGENFJERNENDE
ÆGTE HEPA-FILTER
Betjeningsvejledning
ES
PURIFICADOR DE AIRE ELIMINADOR
DE ALERGIAS HEPA AUTÉNTICO
Instrucciones de uso
FI
TRUE-HEPA -ILMANPUHDISTIN
ALLERGEENIEN POISTOON
Käyttöohjeet
FR
PURIFICATEUR D’AIR ANTIALLERGÈNES À
VÉRITABLE FILTRE HEPA
Instructions d’utilisation
IT
PURIFICATORE DELL’ARIA ANTI-ALLERGENI
TRUE HEPA
Istruzioni operative
NL
LUCHTZUIVERINGSAPPARAAT MET
TRUE HEPA-ALLERGEENFILTER
Bedieningsinstructies
NO
EKTE HEPA LUFTRENSER SOM FJERNER
ALLERGENER
Bruksanvisning
PL
OCZYSZCZACZ POWIETRZA USUWAJĄCY
ALERGENY Z FILTREM HEPA
Instrukcja obsługi
RU
УДАЛЯЮЩИЙ АЛЛЕРГЕНЫ ОЧИСТИТЕЛЬ
ВОЗДУХА С ФИЛЬТРОМ TRUE HEPA
Инструкция по эксплуатации
SE
LUFTRENARE MED HEPA ALLERGENFILTER
Bruksanvisning
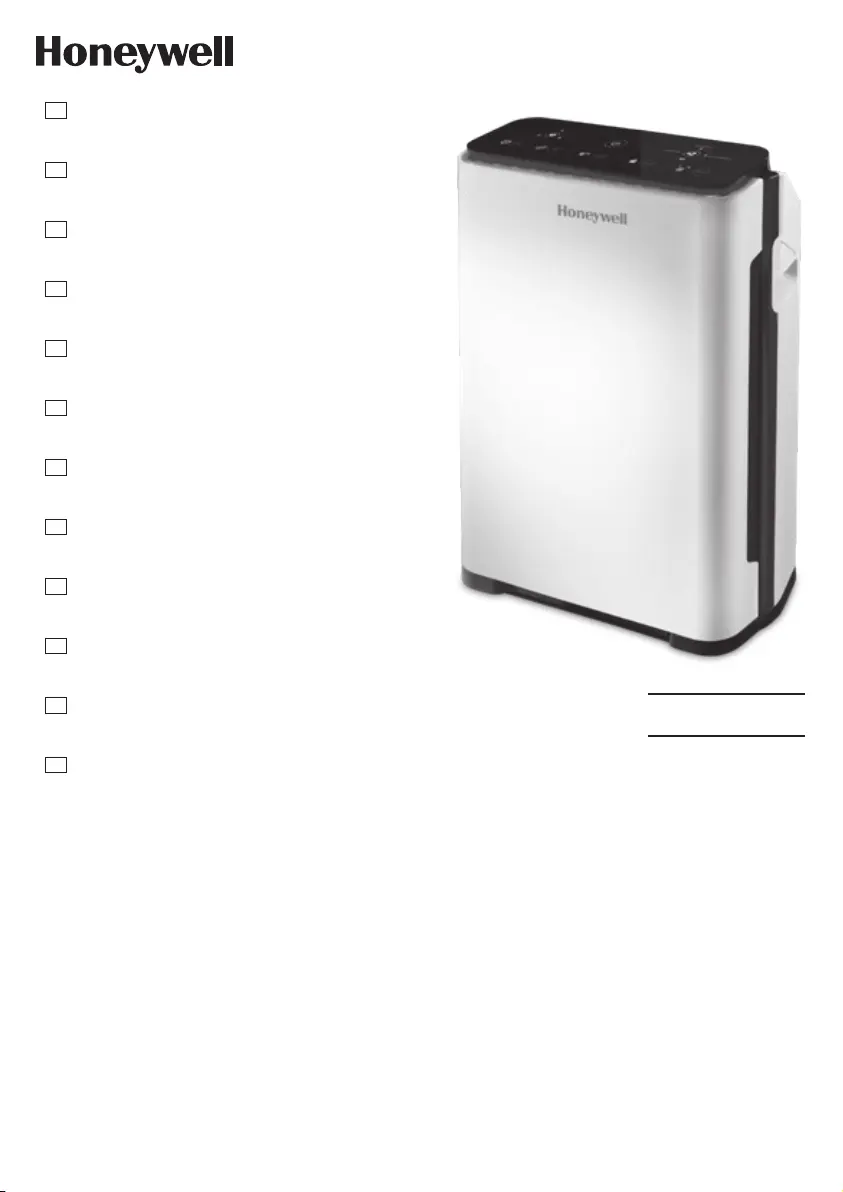
HPA710WE
Product specificaties
| Merk: | Honeywell |
| Categorie: | Luchtreiniger |
| Model: | HPA710WE |
| Soort bediening: | Sensor, Touch |
| Kleur van het product: | Black, White |
| Ingebouwd display: | Ja |
| Timer: | Ja |
| Gewicht: | 6150 g |
| Breedte: | 200 mm |
| Diepte: | 341 mm |
| Hoogte: | 508 mm |
| Snoerlengte: | 1.8 m |
| Kinderslot: | Ja |
| Geluidsniveau: | - dB |
| Gewicht verpakking: | 7500 g |
| Breedte verpakking: | 275 mm |
| Diepte verpakking: | 415 mm |
| Hoogte verpakking: | 590 mm |
| Verwijderbare filter: | Ja |
| Aantal snelheden: | 4 |
| Geschikt voor ruimtes tot: | 21 m² |
| Automatisch uitschakelen: | Ja |
| Audio-ingang (L, R): | 2 |
| Componentingang video (YPbPr/YCbCr): | 1 |
| Vermogensverbruik (max): | 33 W |
| Hoofdtelefoonuitgangen: | 2 |
| Nachtmodus: | Ja |
| RS-232 port: | 1 |
| Ionisator: | Ja |
| Audio (L,R) out: | 1 |
| Luchtzuiverings snelheid: | - m³/uur |
| Automatische modus: | Ja |
| Luchtfilter: | Ja |
| Digitale audio, optische uitgang: | 1 |
| Aantal RF-poorten: | 1 |
| RS-232C-poorten: | 1 |
| Digitale audio, coaxuitgang: | 1 |
| Deeltjesfiltering: | 0.3 µm |
| Veiligheidsschakelaar: | Ja |
| Efficientie: | 99.97 procent |
| Antibacteriële bescherming: | Ja |
| AC-ingangsspanning: | 220-240 V |
| AC-ingangsfrequentie: | 50 Hz |
| Type beeldscherm: | LED |
| Indicator filterreiniging: | Ja |
| Geschikt voor ruimtevolume tot: | 187 m³ |
| Anti-geurfilter: | Ja |
| Timerduur (maximum): | 8 uur |
| HEPA-filter: | Ja |
| Actief-koolstoffilter: | Ja |
| Geschikt voor allergische klachten: | Ja |
| Automatische snelheidsaanpassing: | Ja |
Heb je hulp nodig?
Als je hulp nodig hebt met Honeywell HPA710WE stel dan hieronder een vraag en andere gebruikers zullen je antwoorden
Handleiding Luchtreiniger Honeywell

1 April 2026
31 Maart 2026
3 Maart 2026
29 November 2025
25 November 2025
25 November 2025
31 Maart 2025
31 Maart 2025
26 Februari 2025
26 Februari 2025
Handleiding Luchtreiniger
Nieuwste handleidingen voor Luchtreiniger
2 Juni 2026
31 Mei 2026
13 Mei 2026
12 Mei 2026
12 Mei 2026
10 Mei 2026
8 Mei 2026
8 Mei 2026
8 Mei 2026
7 Mei 2026