Fellowes Array AR2 Handleiding


Lees hieronder de 📖 handleiding in het Nederlandse voor Fellowes Array AR2 (16 pagina's) in de categorie Luchtreiniger. Deze handleiding was nuttig voor 20 personen en werd door 2 gebruikers gemiddeld met 4.5 sterren beoordeeld

Pagina 1/16
PLEASE READ THESE INSTRUCTIONS BEFORE USE.
DO NOT DISCARD: KEEP FOR FUTURE REFERENCE.
VEUILLEZ LIRE CES INSTRUCTIONS AVANT D’UTILISER L’APPAREIL.
NE PAS JETER : CONSERVER AFIN DE CONSULTER LES DIRECTIVES
ULTÉRIEUREMENT, EN CAS DE BESOIN.
LEA ESTAS INSTRUCCIONES ANTES DEL USO.
NO LAS DESECHE: CONSÉRVELAS PARA REFERENCIA FUTURA.
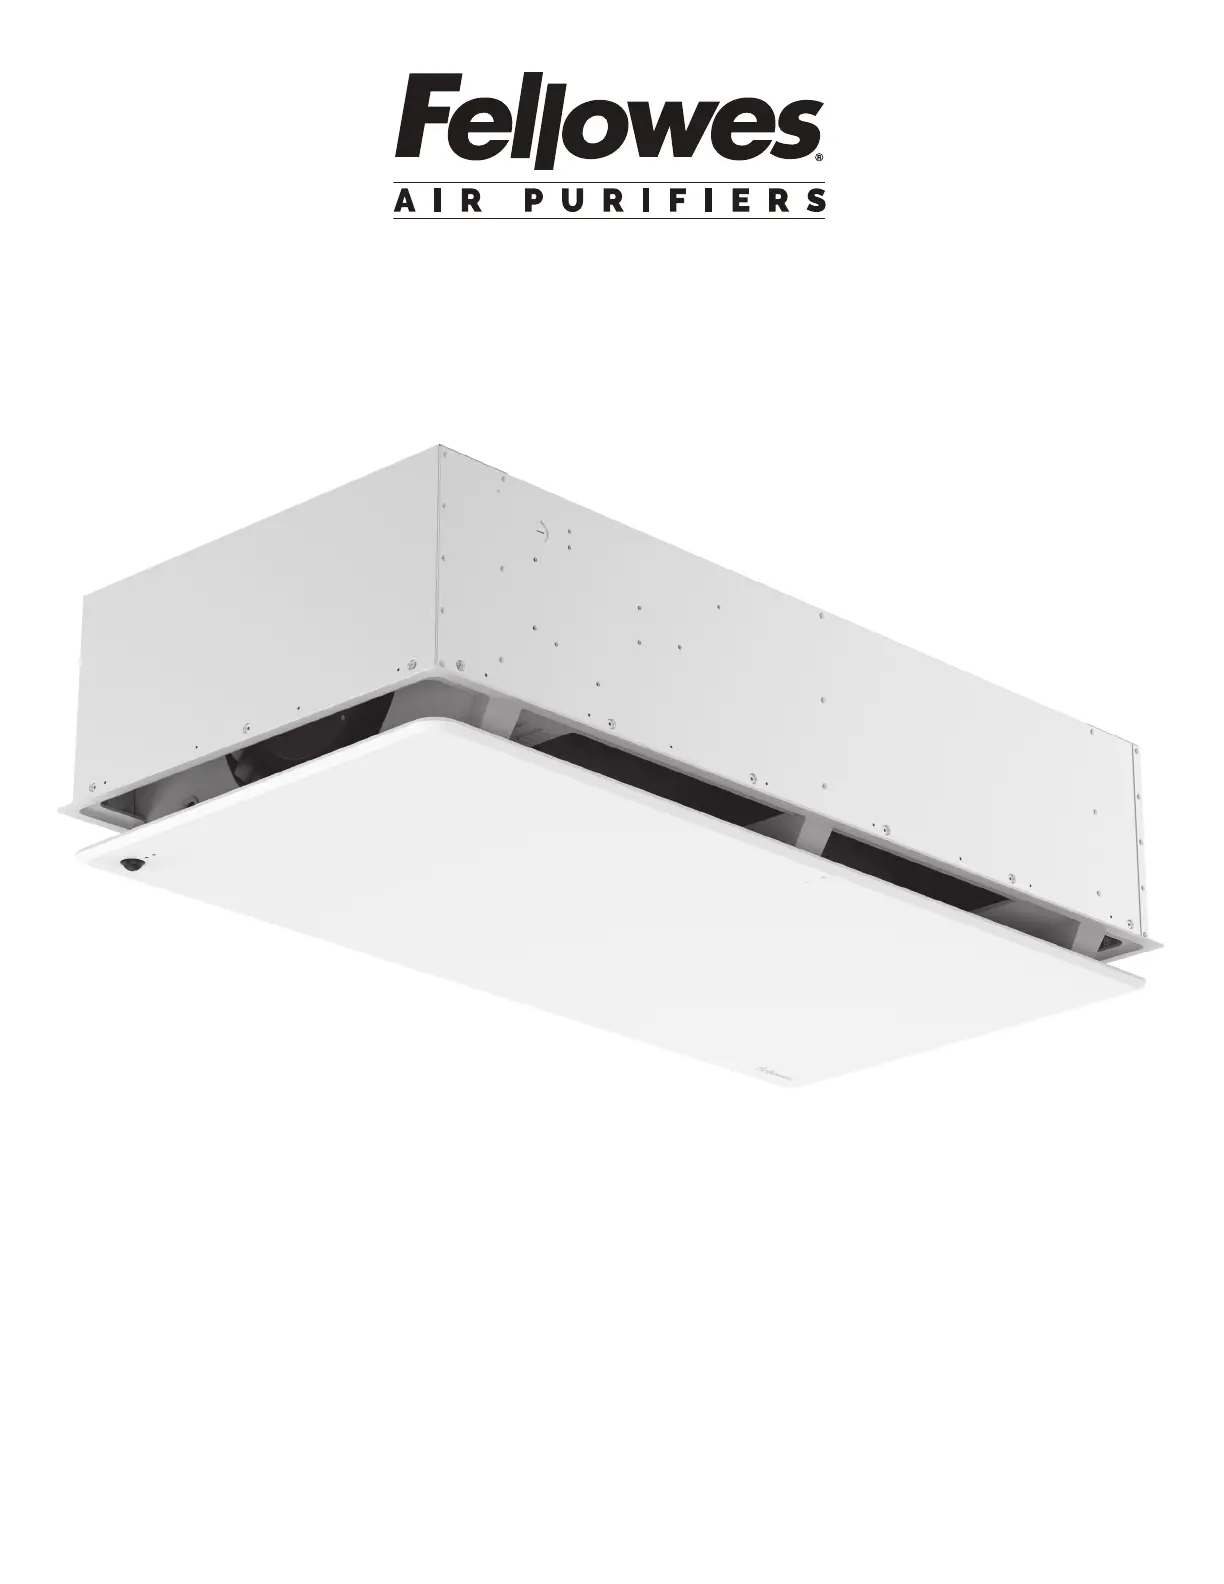
Array AR2
Recessed Air Purier
Puricateur d’air encastré
Puricador de aire empotrado
Install Guide
Guide d’installation
GuĂ­a para la instalaciĂłn
2
ENGLISH
TOOLS REQUIRED FOR INSTALLATION
• Air Purifier (1X)
• Hybrid Filters w/ Pre-Filter (1X)
• 16ft mounting cables with clutches (4X)
• Centering Blocks (4X)
• User Manual (1X)
• Gloves
• Ladder/Step Stool
• Straight or 90° Conduit Connector
• Wire Nuts
• Level
• Tape
• Two adjacent, unobstructed 24” x 24” drop ceiling tiles with at least 18”
clearance above the drop ceiling
• Mounting hooks or location installed to local code and capable of holding
the weight of the system
• For ease of installation and optimal placement of unit in the grid, it is
HIGHLY RECOMMENDED that either hooks be drilled into the ceiling, or strut
channels be used to loop cables if there are no existing mounting points
available above the perimeter of the housing.
PACKAGING CONTENTS
NOTE: Two people are required, three people recommended, for
easy and proper installation.
NOTE: We recommend removing additional adjacent ceiling tiles for
easiest installation.
NOTE: It is required to remove one cross-tee in the ceiling grid.
NOTE: Do not install next to a return or register.
NOTE: Shut off circuit breaker to installation area before
beginning installation.
INSTALLATION INSTRUCTIONS
Before beginning installation, ensure that a
qualified electrician has run a 120V circuit
to the installation area. Remove unit from
packaging and stage on a tabletop or other
surface under or near installation area with
door facing upwards.
Open unit door by depressing the latch button
and pulling upward. Have one person hold
the door open while filter and hardware are
removed.
NOTE: Do not remove corrugate support trays
attached to the door yet.
Disengage the filter clamp lever until a click
is heard.
NOTE: Locking/ unlocking motions are in
opposite directions between left and right
filter changing mechanisms.
123
3
Pull filters out by the straps and set aside
for now.
Close the door until a click is heard. Depending on
type of ceiling, attach proper mounting hardware
above installation area per local regulations for
supporting a 92 lb (42kg) fixture. Ideally the
mounting locations would be at the four corners of
a 23" x 46" rectangle.
Remove mounting hardware and verify included
part quantities.
Loop open end of cables through intended
support or hardware.
Use provided cable clutch hardware to secure
each cable.
Remove cross-tee where unit will be installed.
Raise the unit until the top of the housing is just
below the grid.
NOTE: If unit is raised too high, have one person
raise the unit while the other depresses the
spring section on the wire clutch, allowing the
cable to be loosened.
Have one or two people slowly lifting the
machine while the other pulls the free end of
the cables to keep them taut.
Alternate slowly raising each side to keep the
unit relatively level during lifting.
WARNING: During lifting ensure hooks stay
oriented correctly and do not get misaligned or
they may not hold properly.
CAUTION: To reduce the risk of injury to
persons, install fan at least 2.1 m (6.9 ft) above
the floor.
Lift and rotate unit before setting door-side down
on the provided trays. Determine which electrical
knockout will be used and remove it.
WARNING: do not place directly on any flat
surface as this will damage the sensor that sticks
below the bottom surface.
Secure the hooks from the provided
aircraft cabling to the housing through the
mounting holes.
456
7
8A 8B
9
10 11


Product specificaties

Merk: Fellowes
Categorie: Luchtreiniger
Model: Array AR2

Heb je hulp nodig?

Als je hulp nodig hebt met Fellowes Array AR2 stel dan hieronder een vraag en andere gebruikers zullen je antwoorden


Handleiding Luchtreiniger Fellowes

Handleiding Luchtreiniger

Nieuwste handleidingen voor Luchtreiniger