Eliminator Lighting Mini Par RGBW LED Handleiding
Eliminator Lighting Niet gecategoriseerd Mini Par RGBW LED
Bekijk gratis de handleiding van Eliminator Lighting Mini Par RGBW LED (4 pagina’s), behorend tot de categorie Niet gecategoriseerd. Deze gids werd als nuttig beoordeeld door 27 mensen en kreeg gemiddeld 4.3 sterren uit 7 reviews. Heb je een vraag over Eliminator Lighting Mini Par RGBW LED of wil je andere gebruikers van dit product iets vragen? Stel een vraag
Pagina 1/4
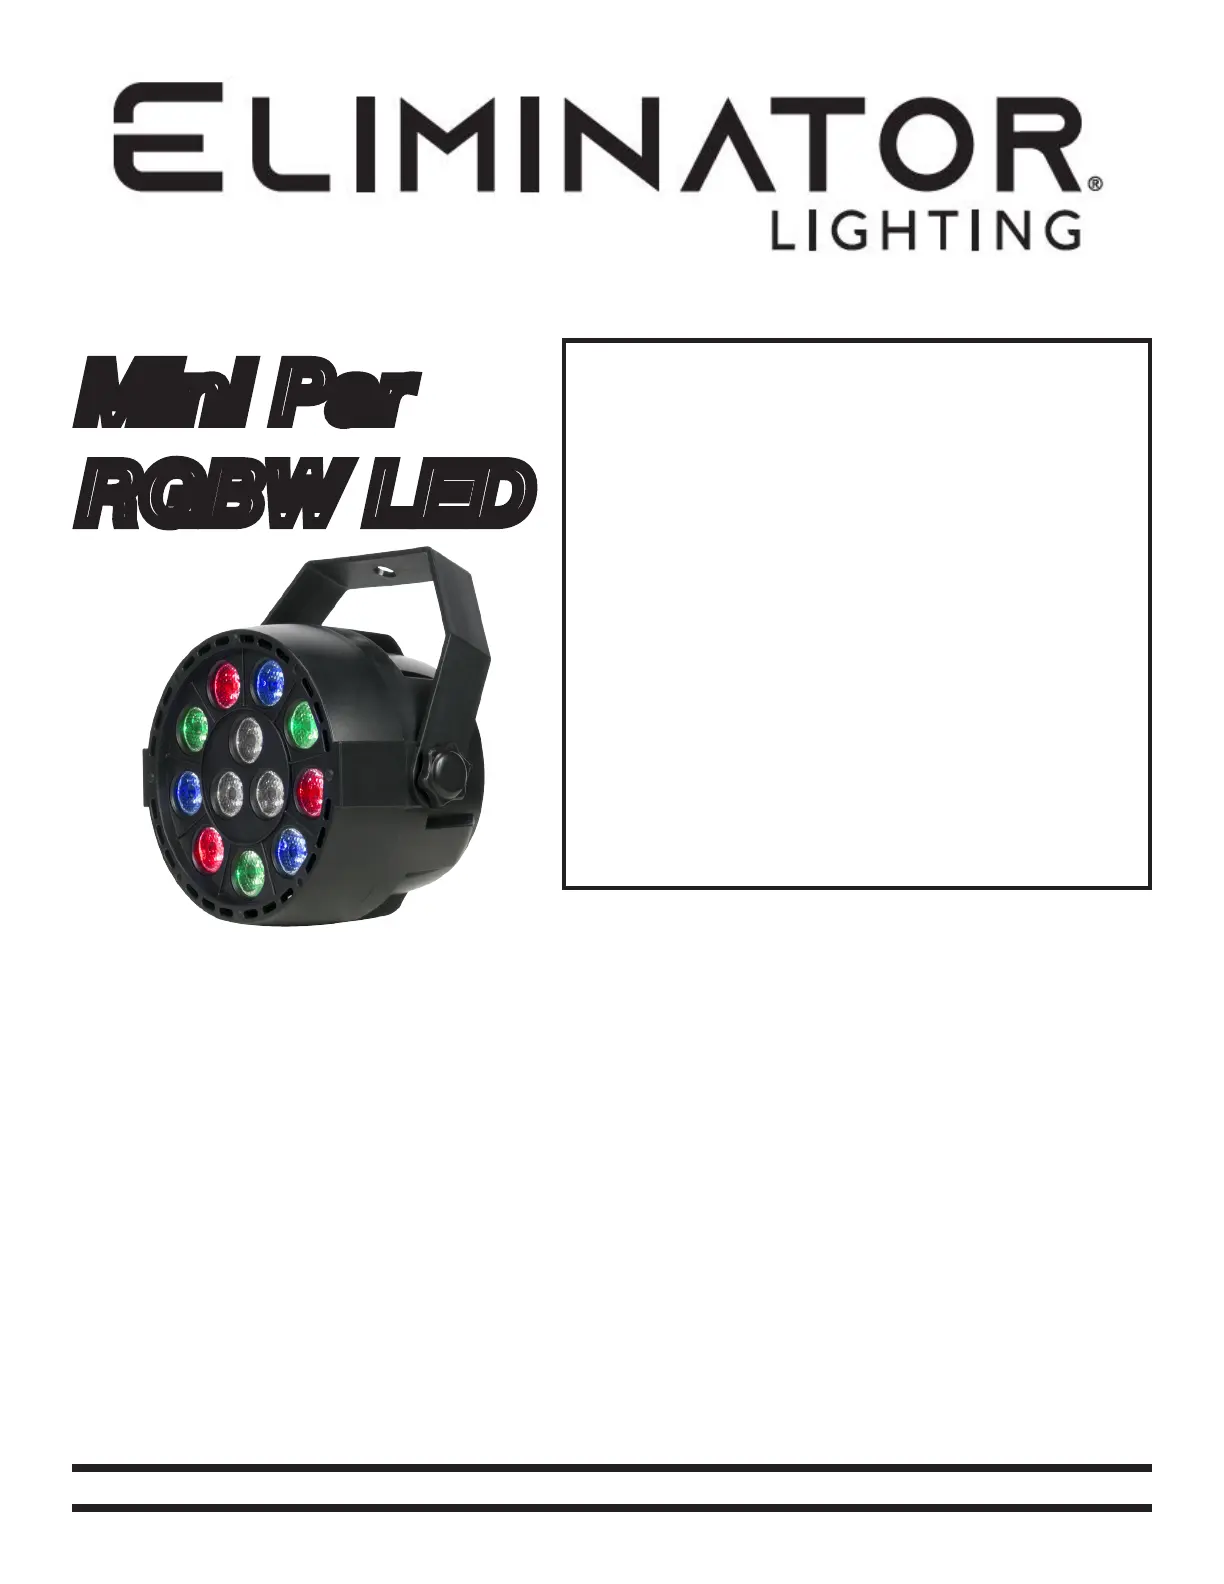
Mini Par
RGBW LED
SPECIFICATIONS:
Model:Mini Par RGBW LED
Voltage:
100V-240V 50/60Hz
LEDs: 12 x 1W LEDs
(3 Red, 3 Green, 3 Blue,
& 3 White LEDs)
Beam Angle: 25 Degrees
Power Consumption: 14W
Weight:
1lbs./ 0.5kgs.
Size: 153 x 145 x 95mm
Working Position:Any Safe position
Duty Cycle: None
DMX Channels: 3 DMX Channel Modes:
4/6/8 Channels
Colors:RGBW
Warranty:1 Year
CAUTION! Please read and under-
stand these instructions before
installing or operating this unit.
Operating Instructions:
The Mini Par RGBW LED has been tested at the factory, there is no assembly required. The unit is
ready to be plugged into a power outlet. This unit has 3 DMX channel modes; 4/6/8 channels. It has
6 operating modes; RGBW Dimmer mode, Jump change mode, Fade mode, Pulse change mode,
Sound Active mode, or DMX mode.
©Eliminator® Los Angeles, CA. - www.EliminatorLighting.com
Caution! Never open unit when in use. Always
disconnect main power before replacing fuse.
Remember to always replace with the exact same
type fuse.
1 Year Limited Warranty: Eliminator Lighting warranty is valid from the date of purchase. Our
1 year limited warranty covers manufacturing defects only. Serial number, place of purchase with
dated valid receipt must be submitted at time of service. Eliminator Lighting warranty does not cover
items or parts prone to wear and tear: lamps, fuses, brushes and belts. Eliminator Lighting warranty
is only valid with-in the United States.
Customer Support: Office:
(800) 322-6337
Fax: (323) 582-2941
Web: [email protected]
Product specificaties
| Merk: | Eliminator Lighting |
| Categorie: | Niet gecategoriseerd |
| Model: | Mini Par RGBW LED |
Heb je hulp nodig?
Als je hulp nodig hebt met Eliminator Lighting Mini Par RGBW LED stel dan hieronder een vraag en andere gebruikers zullen je antwoorden
Handleiding Niet gecategoriseerd Eliminator Lighting

8 Mei 2026
1 November 2025
30 Oktober 2025
30 Oktober 2025
30 Oktober 2025
30 Oktober 2025
30 Oktober 2025
Handleiding Niet gecategoriseerd
Nieuwste handleidingen voor Niet gecategoriseerd
8 Juni 2026
8 Juni 2026
8 Juni 2026
8 Juni 2026
8 Juni 2026
8 Juni 2026
8 Juni 2026
8 Juni 2026
8 Juni 2026
8 Juni 2026