Element MLP1WW Handleiding
Bekijk gratis de handleiding van Element MLP1WW (4 pagina’s), behorend tot de categorie Wasdroger. Deze gids werd als nuttig beoordeeld door 30 mensen en kreeg gemiddeld 4.8 sterren uit 8 reviews. Heb je een vraag over Element MLP1WW of wil je andere gebruikers van dit product iets vragen? Stel een vraag
Pagina 1/4
Installation
Instructions
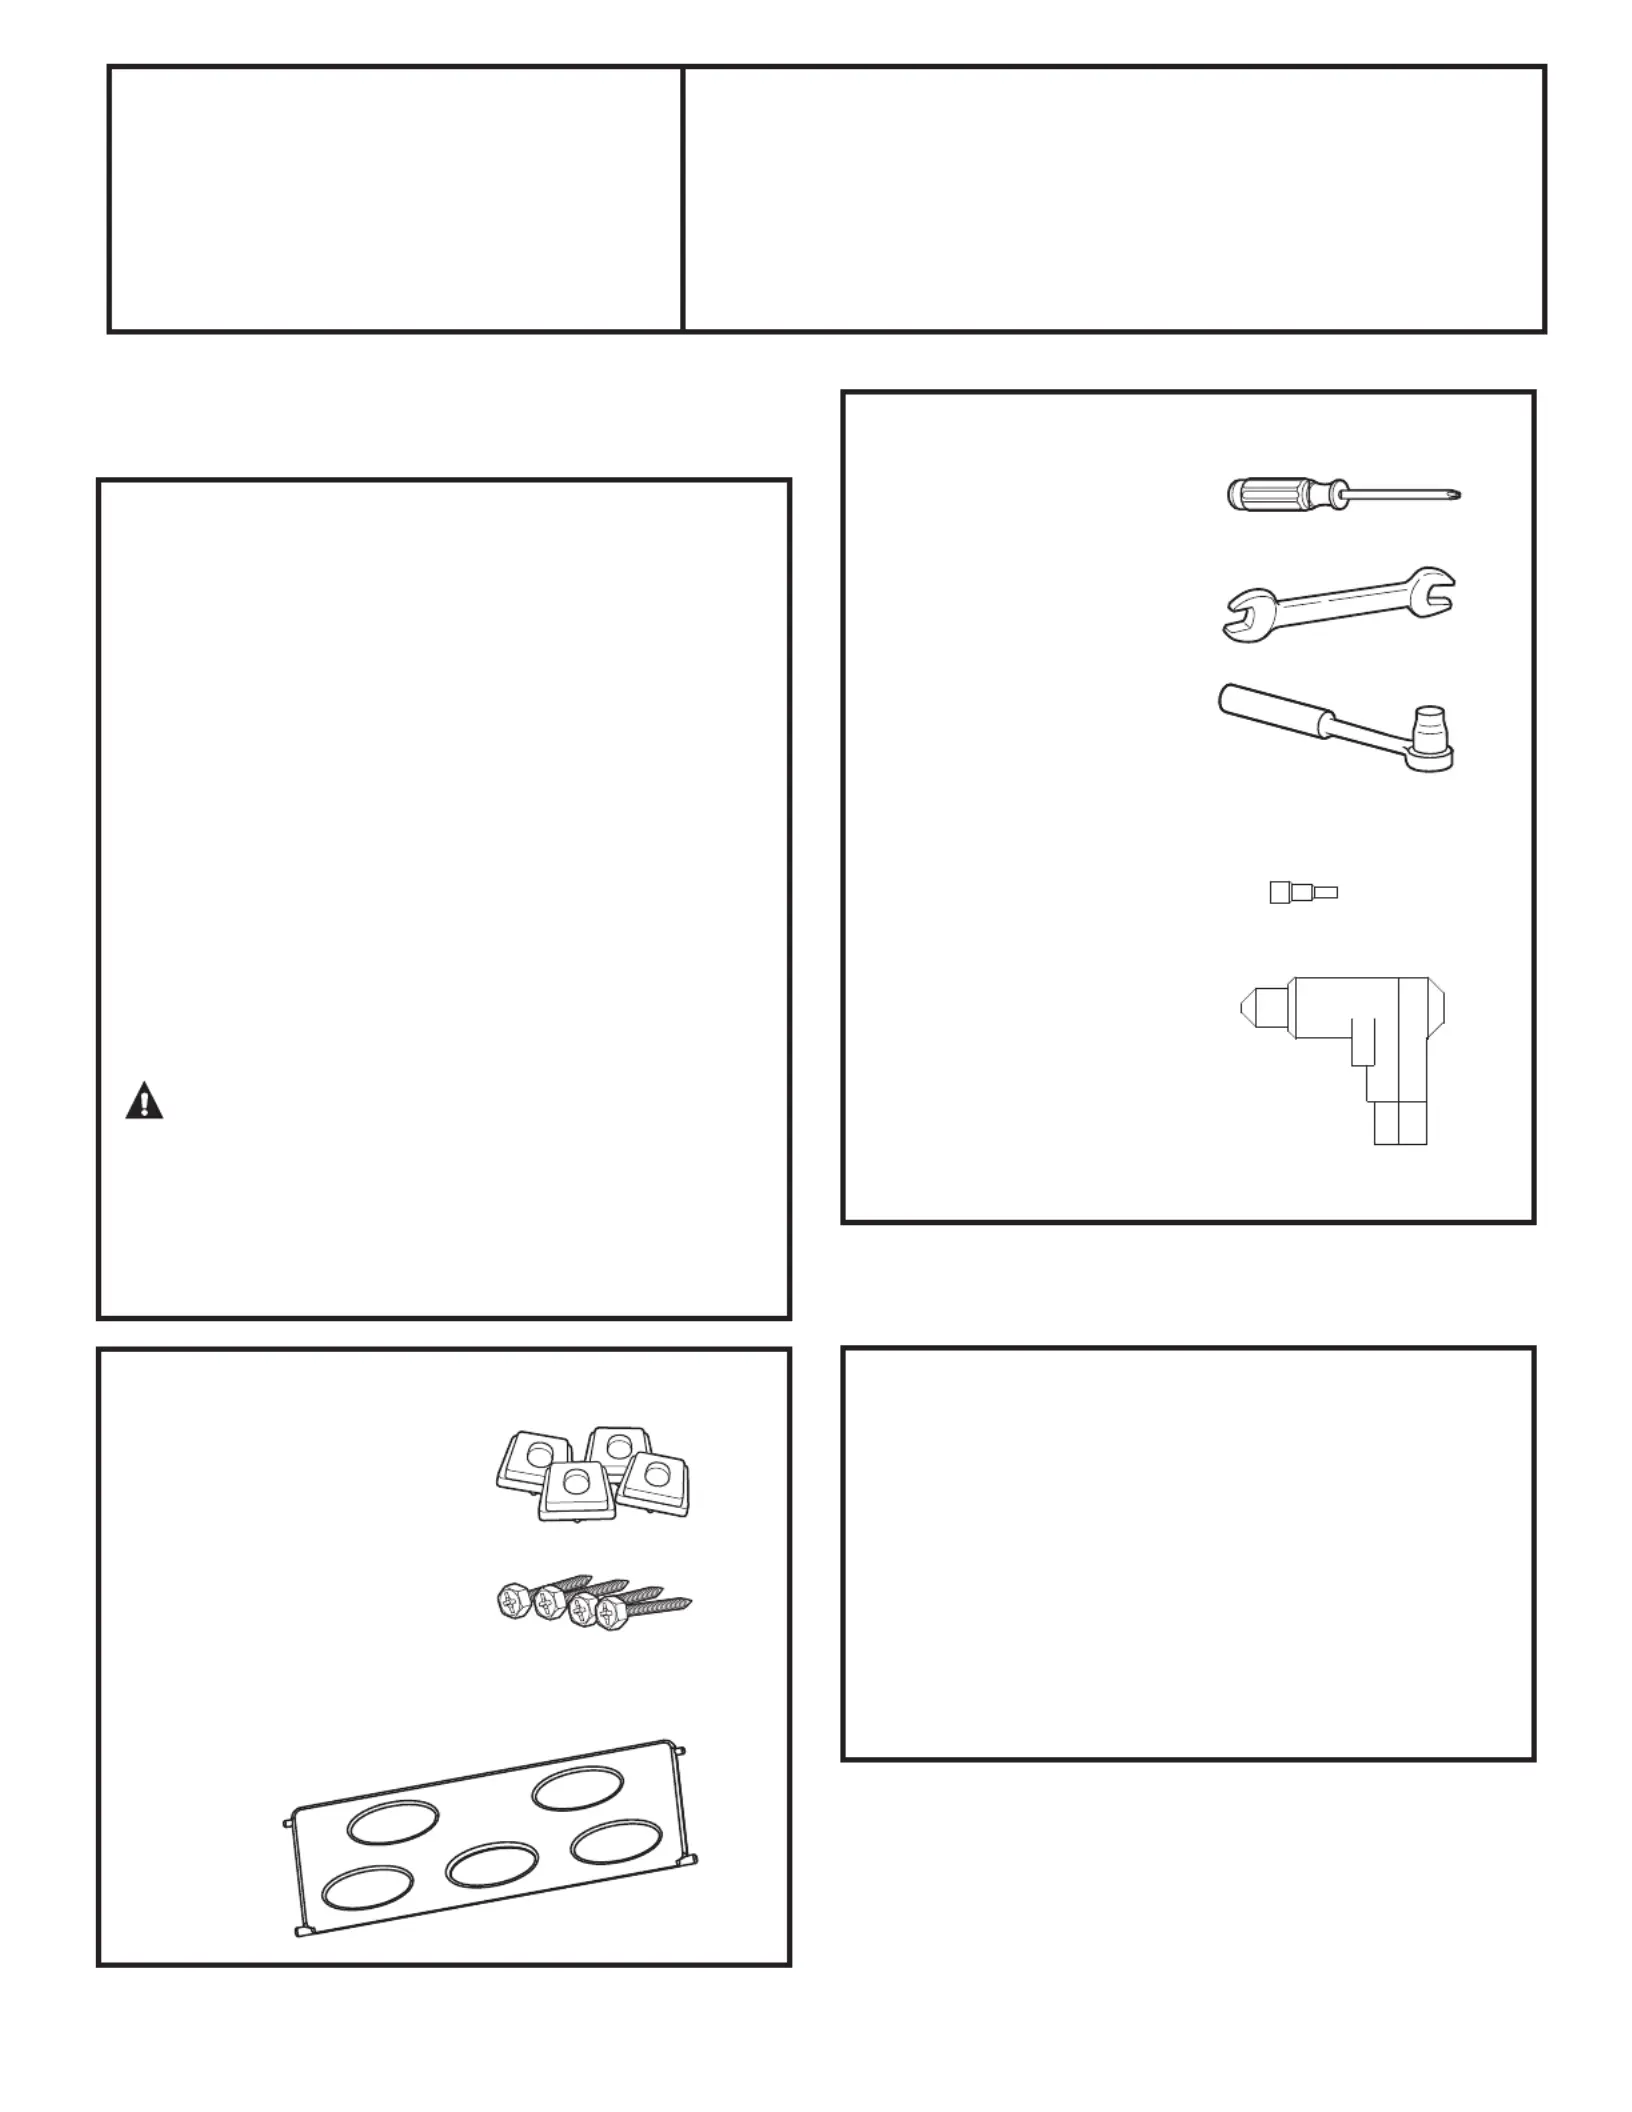
KITCONTENTS
4 Support Pads
4 Mounting Screws
Pedestal Organizer
1
TOOLSYOUWILLNEED
Phillips Head
Screwdriver
17mm Open End Wrench
or Adjustable Wrench
8mm Socket Wrench
INSTALLATIONPREPARATION
Remove the packaging.
The pedestal organizer is taped at the top of the
shipping carton. Remove the organizer and set
aside for final installation.
Flatten the product carton to use as a pad
to lay the washer or dryer down on its side.
Continue using the carton to protect the finished
floor
in front of the installation location.
Pedestal
MLP1WW
BEFORE YOU BEGIN
Read these
instructions completely
and carefully.
•
IMPORTANT
—
Save these instructions
for local inspector’s use.
•
IMPORTANT
—
Observe all governing
codes and ordinances.
•Note to Consumer – Keep these instructions
with your Owner’s Manual for future reference.
•Completion time – 1 to 2 hours
•Proper installation is the responsibility
of the installer.
•Product failure due to improper installation is not
covered under the Warranty.
CAUTION— Due to the size and weight
of these products, and to reduce the risk of
personal injury or damage to the product, TWO
PEOPLEAREREQUIRED FORPROPERINSTALLATION.
•See washer and dryer installation instructions for
additional installation requirements and guidelines.
OR
8mm Socket
ElectricScrewdriver
NOTEUseElectricscrewdrivermatchingwith8mmSocket: .
Product specificaties
| Merk: | Element |
| Categorie: | Wasdroger |
| Model: | MLP1WW |
Heb je hulp nodig?
Als je hulp nodig hebt met Element MLP1WW stel dan hieronder een vraag en andere gebruikers zullen je antwoorden
Handleiding Wasdroger Element

23 Augustus 2024
19 Augustus 2024
19 Juni 2024
19 Maart 2024
19 Maart 2024
6 December 2023
6 December 2023
26 Juli 2023
26 Juli 2023
21 Juni 2023
Handleiding Wasdroger
Nieuwste handleidingen voor Wasdroger
13 Juli 2026
13 Juli 2026
13 Juli 2026
13 Juli 2026
13 Juli 2026
13 Juli 2026
13 Juli 2026
13 Juli 2026
12 Juli 2026
12 Juli 2026