Celestion Pulse 15 Handleiding
Bekijk gratis de handleiding van Celestion Pulse 15 (1 pagina’s), behorend tot de categorie Speaker. Deze gids werd als nuttig beoordeeld door 36 mensen en kreeg gemiddeld 4.0 sterren uit 2 reviews. Heb je een vraag over Celestion Pulse 15 of wil je andere gebruikers van dit product iets vragen? Stel een vraag
Pagina 1/1
!
LOADING SPEAKERS INTO YOUR GUITAR CABINET
BREAKING IN YOUR SPEAKER
Brand new speakers usually require a “breaking in period”. Start with a few minutes of low-level
playing or background hum. Next, turn up the power amp volume to full, control the level with the
preamp gain and play with a fat, clean tone. Have the bass and mid up full, and the treble set to at
least half. On your guitar, use the middle pickup position (if your guitar has more than one pickup)
and play for 10-15 minutes using lots of open chords, and chunky percussive playing. This will get
the cone moving, and should excite all the cone modes and get everything to settle in nicely.
ESSENTIAL TOOLS
Here's what you'll need:
1. The combo amplifier/cabinet you’ll be working on and the Celestion speakers you’re going to load into it.
2. A screwdriver to remove the back panel of the combo/cabinet.
3. The appropriate tool for the speaker bolts, for example a multi-wrench, allen key or screwdriver. Note
that this will vary depending on the make of your combo/cabinet so be sure to check first.
4. Pen and paper for making a note of the existing wiring connections.
5. Pliers and electrical tape.
6. Wire cutters/strippers and soldering equipment (required for speakers with a ‘solder only’ tag panel).
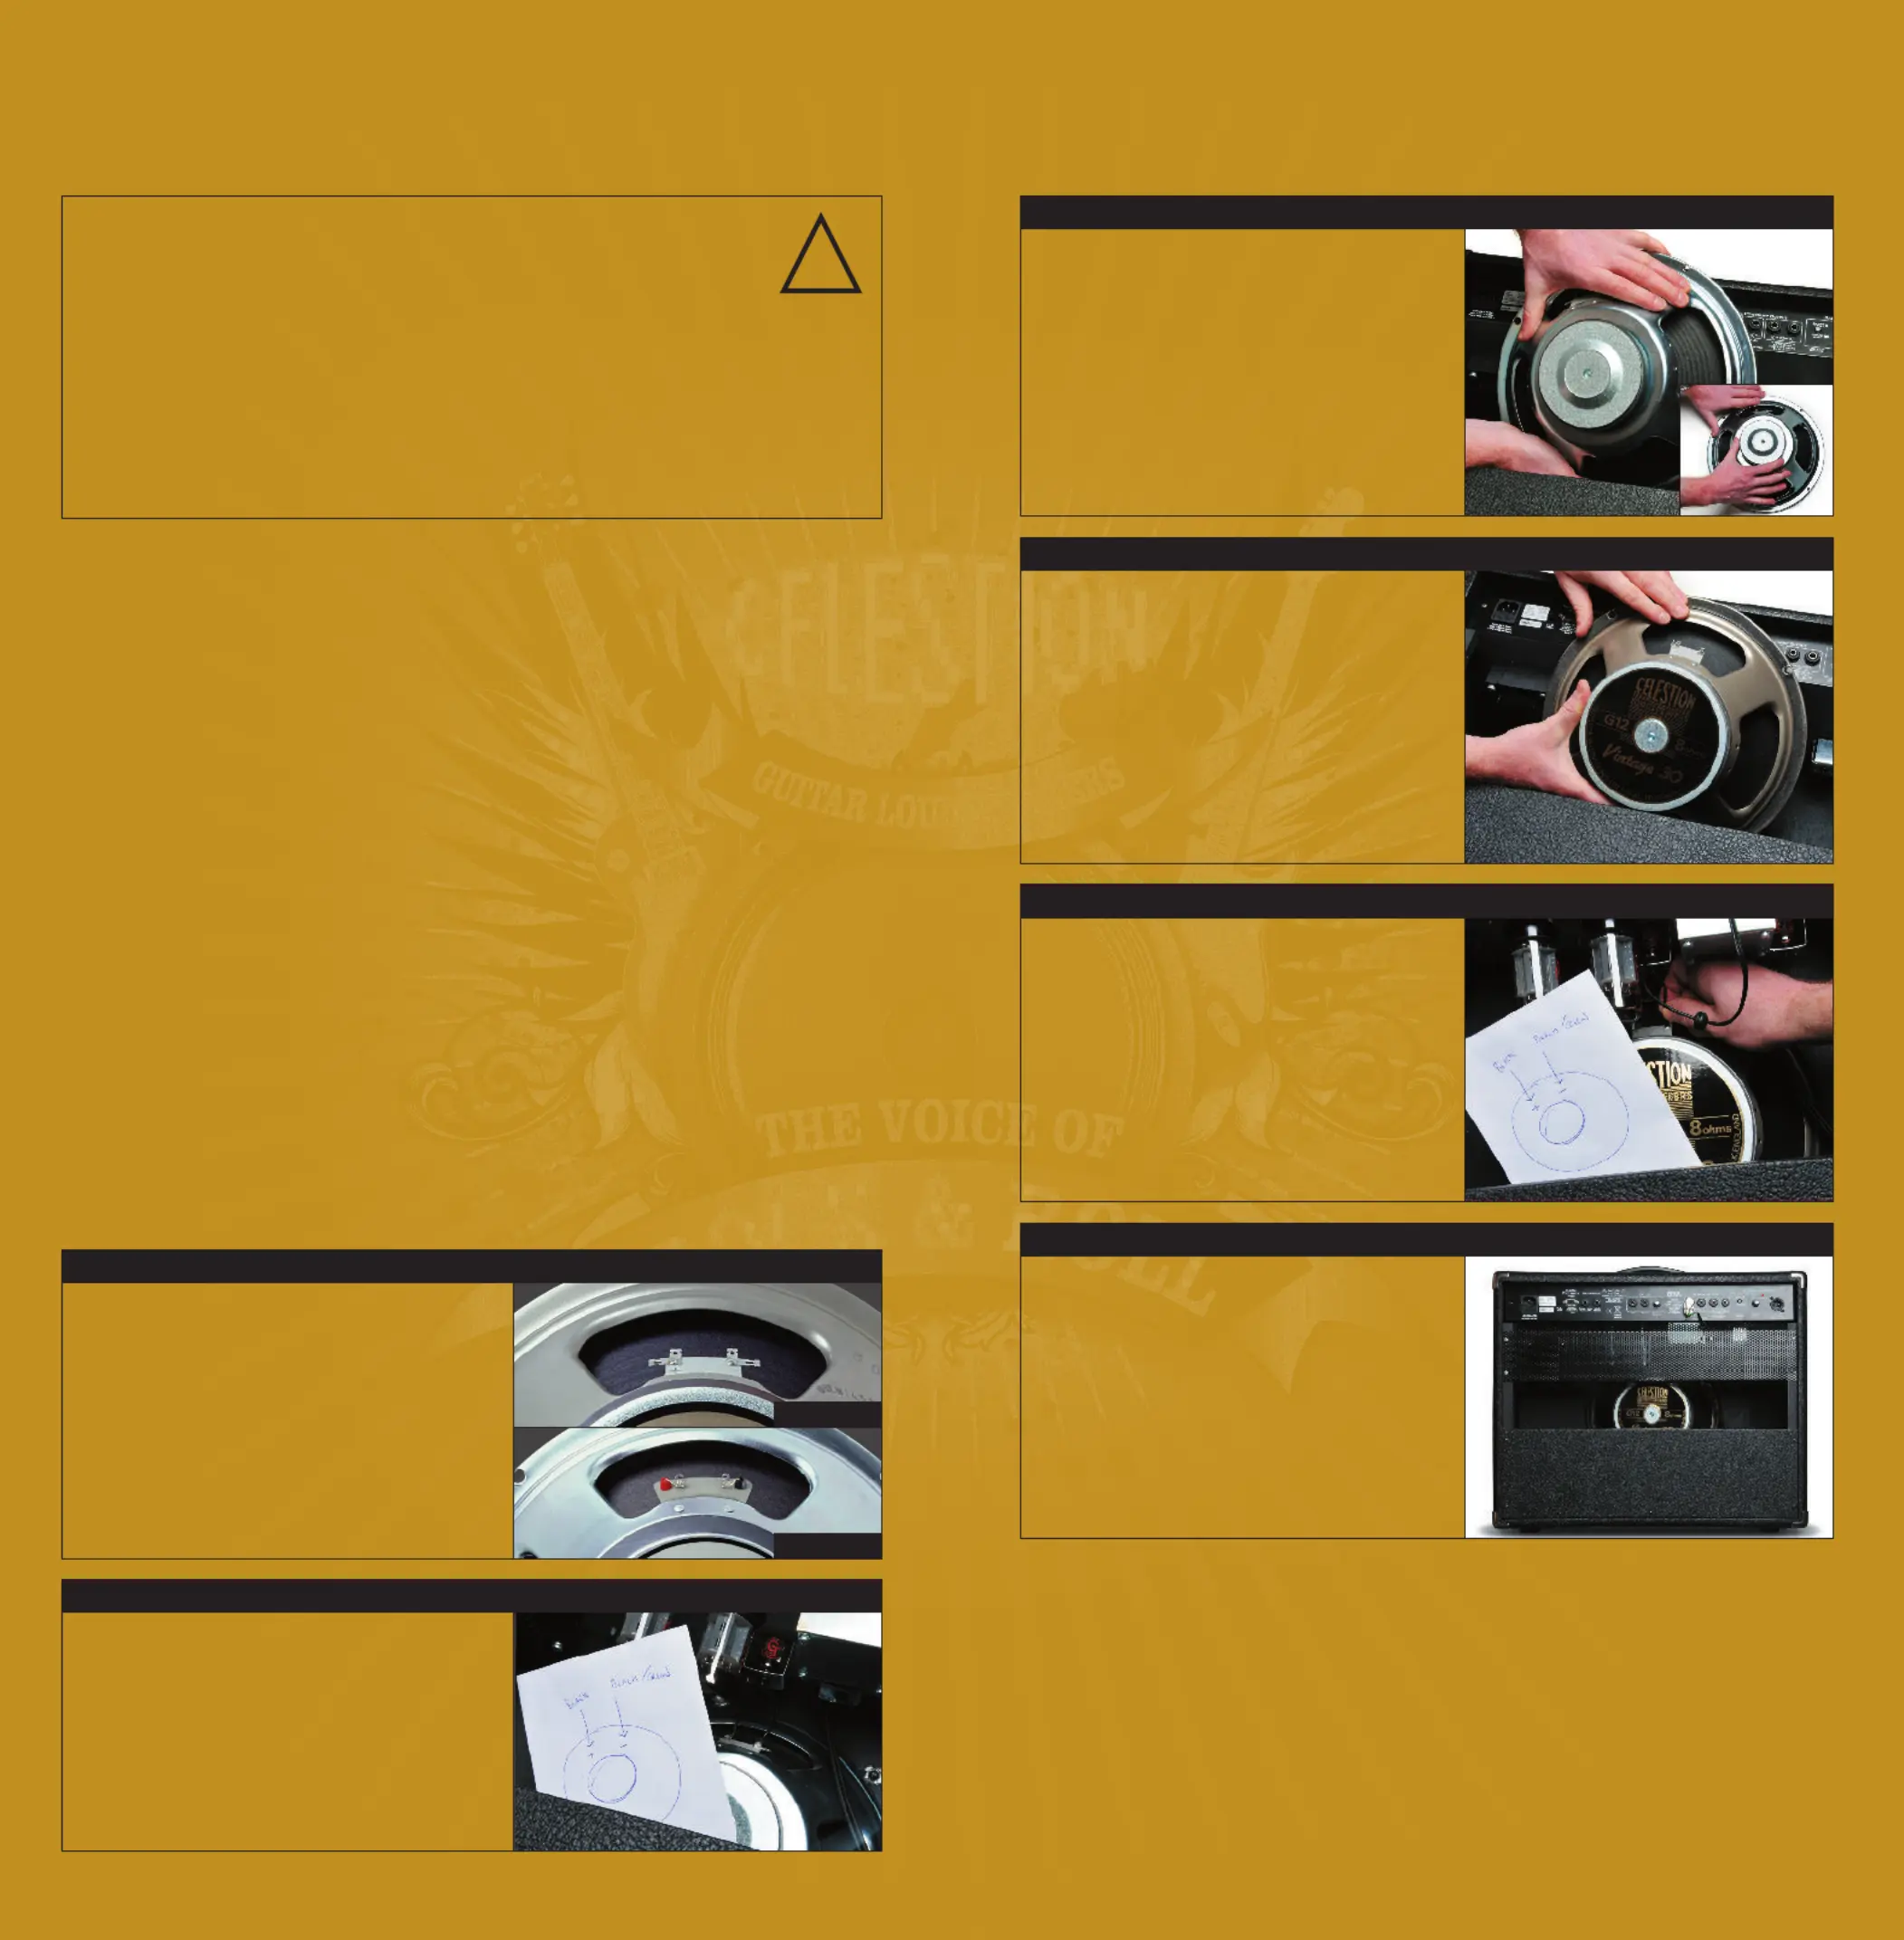
STEP 1
Make sure the amp is disconnected from the mains
supply and you have allowed sufficient time for the
tubes (if fitted) to cool down and discharge any
residual voltage if you have used it recently.
Check the terminals - are they ‘push on’ connectors
or ‘solder only’ ?
STEP 2
Remove the back panel from your combo/cabinet
(where fitted) and make a note of which color
wire goes to the + terminal of the speaker.
STEP 3
Disconnect the wires and get them safely out of
the way using tape. Next, ensure the terminals
are cleaned to achieve the best connection.
Undo the bolts, then carefully remove the
speaker(s) taking care not to damage the cone
or anything inside your amp. Careful - you may
find the speaker is slightly stuck to the front
baffle and comes free suddenly. Place the
speaker face down on a flat surface.
STEP 4
Carefully insert and bolt in the new speaker
(take care when handling so as not to damage
the cone). Finger tighten all bolts then tighten
them with the appropriate tool, securing
diagonally opposite bolts in sequence.
Hand tight is fine, this will ensure that you
don't bend the speaker frame.
STEP 5
Connect the new speaker according to the
wiring diagram you made earlier. Make sure
all connections are solid and secure (you may
need to tighten the clips using a pair of
pliers.) If soldering, take precautions to
ensure that hot solder cannot drip on to the
speaker cone – it will cause damage.
Re-check the wiring is correct!
STEP 6
Once you’re confident that the wiring is
correct, plug in and turn on at low volume.
Check for buzzes or anything untoward.
When everything sounds OK, put the panels
back and you’re ready to go.
THE BASICS
1. POWER HANDLING
Speakers must be capable of taking at least as much power as the amp puts out, or you risk damaging
them. So, for a single speaker, pick one with a power rating the same or higher than the amp itself.
For a twin speaker combo the minimum speaker power rating is half that of the amp and for a cabinet
with four speakers it will be a quarter of the amp's maximum power output.
2. IMPEDANCE
Just as important as power rating is impedance - given in Ohms (written - ). If you use the wrong value,Ω
then the amp may be damaged. Ensure that your new speaker has the same impedance as the speaker it is
replacing. So, if you’re taking out an 8speaker, make sure the replacement is also rated 8ΩΩ. (Note - some
vintage speakers are rated at 15Ω, you can use these to replace a 16without fear of damage.)Ω
SAFETY FIRST
PLEASE READ BEFORE ATTEMPTING ANY WORK.
Ensure you have unplugged the amp from the mains electricity supply. Some amps,
particularly those fitted with vacuum tubes, can retain dangerous voltages inside the chassis
after they have been switched off and disconnected from the mains supply. Allow sufficient
time for voltage discharge and tube cooling before following these steps.
Guitar speakers have large magnets which can affect audiovisual equipment including, but
not limited to, television screens and computer monitors. Pick your location carefully and
make sure you have plenty of room in which to work.
Visit www.celestion.com/guitar/loadingyourspeakers for more details
on two and four speaker wiring configurations.
Solder only
Push on
Product specificaties
| Merk: | Celestion |
| Categorie: | Speaker |
| Model: | Pulse 15 |
Heb je hulp nodig?
Als je hulp nodig hebt met Celestion Pulse 15 stel dan hieronder een vraag en andere gebruikers zullen je antwoorden
Handleiding Speaker Celestion

6 November 2025
15 April 2025
15 April 2025
15 April 2025
15 April 2025
15 April 2025
15 April 2025
Handleiding Speaker
Nieuwste handleidingen voor Speaker
26 Augustus 2026
26 Augustus 2026
26 Augustus 2026
25 Augustus 2026
25 Augustus 2026
25 Augustus 2026
25 Augustus 2026
25 Augustus 2026
25 Augustus 2026
25 Augustus 2026