Casio G-shock DWE-5600 Handleiding
Bekijk gratis de handleiding van Casio G-shock DWE-5600 (4 pagina’s), behorend tot de categorie Horloge. Deze gids werd als nuttig beoordeeld door 136 mensen en kreeg gemiddeld 4.5 sterren uit 7 reviews. Heb je een vraag over Casio G-shock DWE-5600 of wil je andere gebruikers van dit product iets vragen? Stel een vraag
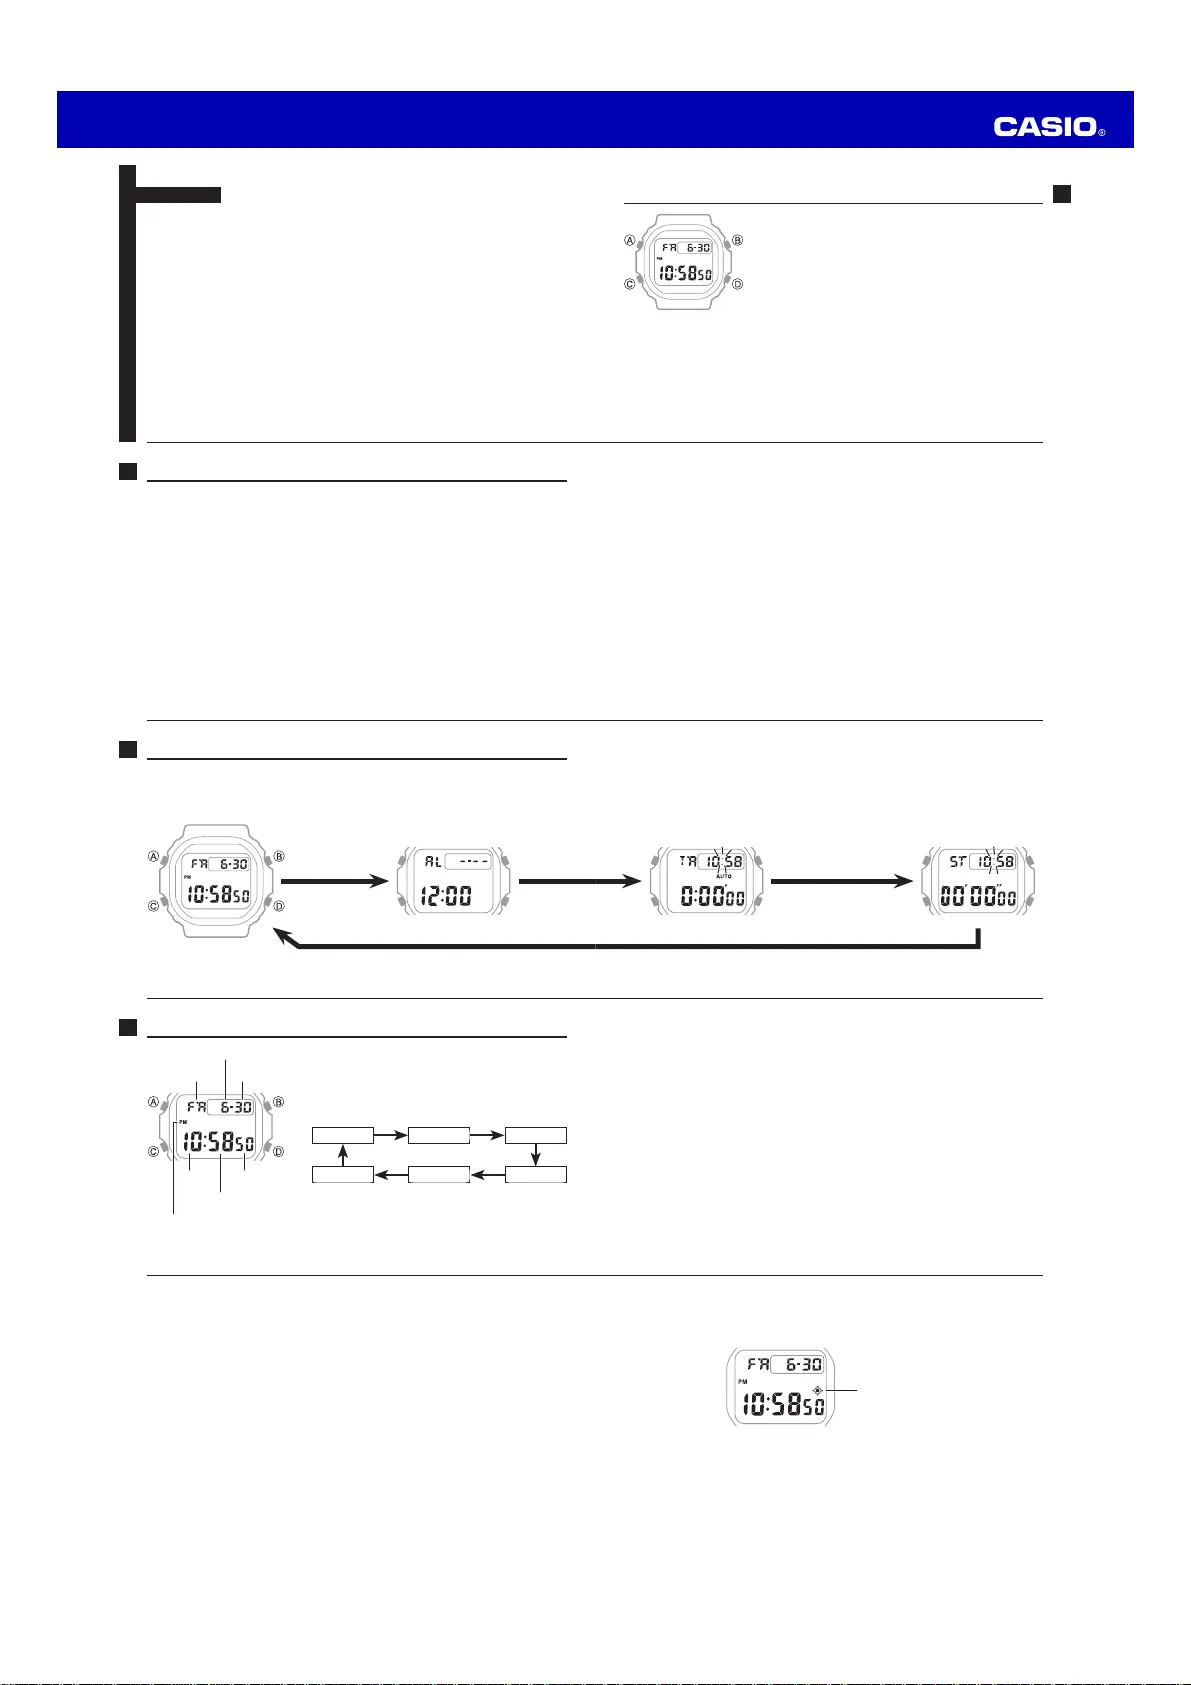
Pagina 1/4
使 用 手 冊
3526
TW-9
Ԅեఃܗ၍ଷឍൣ
ӶѓϜȂࡹ՟
B
໗ڎយѠһఃڸ၍ଷឍൣѓȄឍൣܼ
ఃޒᄙȂࣻᔗࡿұಓᡘұӶฬαȄ
ឍൣࡿұಓ
x
ޣژ்၍ଷឍൣ࣐ЦȂឍൣࡿұಓᡘұӶܛԥѓޠฬαȄ
TW-8
ྲ݃
ྲ݃ᘉ߬ฬȄఃឍൣѓѠٻྲ݃ӶᏄႜȞಒ
TW-10
ȟȃঈۢᏣᏄႜ
ܗᐍᘉൣቂȄ
x
ณ፤ឍൣѓޠః
/
၍ଷ೪࣐ۢեȂӉեࡹ
D
໗എѠᘉ߬ྲ݃Ȅ
x
စளٻңྲཽ݃ᕼႬԲޠჱڽȄ
x
ӶޣৣӏίȂྲ݃ޠӏ߬ԥѠᜳпࣽژȄ
x
Ꮔႜۗ༥Ȃࠍྲ݃ՍᅬྟȄ
TW-7
3.
࿌ೞᒶᐆȞȟȂࡹ
B
໗ඉ՞࣐Ɇ
00
ɇȄ்Ӷܼ
30
Վ
59
ϟࡹޠ
B
໗ȂࠍӶߖӲɆ
00
ɇޠӤϸђ
1
ȄӶ
00
Վ
29
ϟȂ
ࠍϸϛᡑȄ
4.
࿌ӉեڐуԆȞϟѵȟೞᒶᐆȞȟȂࡹ
B
໗ѠђτԆȄࡹ՟
B
໗
ѠାഁᡑԆȄ
x
Ϲඳ
12
ϊᇅ
24
ϊښȂ፝ӶԥԆࡹ
D
D
໗Ȅ
5.
ڸС೪ۢࡤȂࡹ
A
໗ߖӲѓȄ
x
ᐄСՍ೪ۢȄ
x
СѠпӶ
2000
Ԓ
1
У
1
СՎ
2099
Ԓ
12
У
31
Сϟ೪ۢȄ
x
࿌ԥᒶȂ்ϛᐈձӉեࡹ໗စႇϸយȂࠍЦȂٯйКᒽՍ
ߖӲѓȄ
TW-6
ѓ
Ԅե೪ۢІС
1.
ӶѓϜࡹ
A
໗Ȅӱೞ
ᒶᐆ
ՅӶฬα
Ȅ
2.
ࡹ
C
໗ٸίұזᡑᒶȄ
ϸ
УС
C
C
CC
C
Ԓ
C
У
С
ϸ
ίЀࡿұಓ
TW-5
C
ᒽѓ
ۢᏣѓ
C
x
ӶӉեѓϜໍΠᐈձࡤȂࡹ
C
໗ѠߖӲѓȄ
x
ӶӉཏѓϜȂࡹ
D
໗Ѡᘉ߬ྲ݃ȄӶ்ܺ
D
໗ޠڎយࡤȂྲ݃ᅬྟȄ
TW-4
ഌ՞ᇴ݃
x
ࡹ
C
໗ѠᒶඳөѓȄ
ѓ
Ꮔႜѓ
CC
TW-3
ۢᏣѓ
..................................................................................................TW-14
Ԅե೪ۢঈ
................................................................................TW-14
ԄեٻңঈۢᏣ
.............................................................................TW-15
Ԅեఃܗ၍ଷՍፓѓ
...............................................................TW-16
ᒽѓ
.....................................................................................................TW-18
Ԅեข໕စႇ
................................................................................TW-18
ԄեଅᓄϜഋ
...............................................................................TW-19
Ԅեข໕ಒΚӫڸಒΡӫᒶКޠԚ
..............................................TW-19
............................................................................................................TW-20
ᐈձޤ
.....................................................................................................TW-23
ңЙᆱៗߴᎵ
..............................................................................................TW-31
TW-2
ҭᓄ
ᜱܼҐᇴ݃
................................................................................................TW-1
ഌ՞ᇴ݃
.......................................................................................................TW-4
ѓ
.......................................................................................................TW-6
Ԅե೪ۢІС
...............................................................................TW-6
Ԅեఃܗ၍ଷឍൣ
........................................................................TW-9
Ꮔႜѓ
.....................................................................................................TW-10
Ԅե೪ۢᏄႜ
................................................................................TW-11
ԄեЦᏄႜ
...................................................................................TW-13
Ԅեఃܗ၍ଷᏄႜܗᐍᘉൣ
............................................................TW-13
TW-1
ᜱܼҐᇴ݃
x
ࡹ໗пშϜܛұޠԆҕߓұȄ
x
፝ݨཏȂҐᇴ݃ϜޠКᒽඩშѬକՄձңȂКᒽޠ
ᄃርѵᢏѠཽᇅඩშϜܛұޠԥܛϛӤȄ
TW
ϜНȞᖆᡞȟ
དᗃ்ᒶᗋћ՚ዊȞ
CASIO
ȟКᒽȄ
࣐ΠٻҐКᒽޠٻңჱڽႁژܛ೪ޠԒȂଡ଼፝ၐಡᎨٯᒴԉҐᇴ݃Ϝޠᇴ
݃ȂЏڐɆᐈձޤɇІɆңЙᆱៗߴᎵɇөϜޠٲȄ
MA2304-ChA
© 2023 CASIO COMPUTER CO., LTD.
Product specificaties
| Merk: | Casio |
| Categorie: | Horloge |
| Model: | G-shock DWE-5600 |
Heb je hulp nodig?
Als je hulp nodig hebt met Casio G-shock DWE-5600 stel dan hieronder een vraag en andere gebruikers zullen je antwoorden
Handleiding Horloge Casio

30 Maart 2026
18 Juni 2025
17 Juni 2025
17 Juni 2025
16 Juni 2025
16 Juni 2025
16 Juni 2025
16 Juni 2025
16 Juni 2025
16 Juni 2025
Handleiding Horloge
Nieuwste handleidingen voor Horloge
22 Juni 2026
5 Mei 2026
5 Mei 2026
3 Januari 2026
17 December 2025
11 December 2025
11 December 2025
11 December 2025
10 December 2025