Boss GM-800 Handleiding
Boss
Niet gecategoriseerd
GM-800
Bekijk gratis de handleiding van Boss GM-800 (22 pagina’s), behorend tot de categorie Niet gecategoriseerd. Deze gids werd als nuttig beoordeeld door 49 mensen en kreeg gemiddeld 4.9 sterren uit 25 reviews. Heb je een vraag over Boss GM-800 of wil je andere gebruikers van dit product iets vragen? Stel een vraag
Pagina 1/22
Reference Manual
An overview of the GM-800 .............................2
Sound structure of the GM-800 ...............................2
What is “serial GK”? .........................................2
Panel descriptions ......................................3
Front panel .................................................3
Rear panel (connecting your equipment) ......................4
Getting ready ..........................................6
Getting your guitar/bass ready ...............................6
Connecting the equipment ..................................6
Turning the power on .......................................6
Selecting devices to connect to the output jacks (OUTPUT
SELECT) ....................................................6
Conguring the pickup settings (GK SETTINGS) ................7
Adjusting the volume .......................................8
Using the tuner .............................................8
Playing ................................................9
Select a scene ..............................................9
About the play screen ......................................9
Editing the parts ......................................10
Basic operations for editing a part .......................... 10
Switching the parts on/o ................................ 10
Selecting a tone for a part (TONE SELECT) ................... 10
Adjusting the volume of a part (TONE SELECT) .............. 10
Adjusting the tone of a part (TONE MODIFY) ................ 10
Changing the eect for a part (MFX) ........................ 10
Editing a part’s settings for each string (STRING) ............. 11
Copying the settings of another part (PART COPY) ........... 11
Editing the scenes .....................................12
Conguring the scene parameters (SCENE EDIT) ............. 12
Conguring the control assignments (CONTROL ASSIGN) ..... 12
Setting the functions (CONTROL FUNCTION) ................ 12
Conguring the functions (ASSIGN SETTINGS) ............... 13
Saving a scene (WRITE) ................................... 13
Editing the system settings. . . . . . . . . . . . . . . . . . . . . . . . . . . . . 14
Basic MENU operations .................................... 14
Assigning the desired parameters to knobs [1]–[4] (KNOB
SETTINGS). . . . . . . . . . . . . . . . . . . . . . . . . . . . . . . . . . . . . . . . . . . . . . . . 14
Adjusting the contrast (brightness) of the display ............ 14
Restoring the factory settings (factory reset) ................ 15
Turning o the auto o function ........................... 15
Connecting external devices ...........................16
Connecting a computer (USB COMPUTER port) .............. 16
Installing the dedicated driver ............................. 16
Using this unit as an audio interface ........................ 16
Using the GM-800’s dedicated software ..................... 16
Connecting a USB ash drive (USB MEMORY port) ........... 16
Formatting a USB ash drive (FORMAT USB MEMORY) ........ 16
Backing up data to a USB ash drive (BACKUP) ............... 17
Restoring backed-up data (RESTORE) ....................... 17
Importing a tone (IMPORT) ................................ 18
Installing a WAVE EXPANSION (EXPANSION) ................. 18
Connecting with an external MIDI device ................20
Operations from the GM-800 ............................... 20
Operations from an external MIDI device .................... 20
Main specications ....................................21
© 2023 Roland Corporation
Before using this unit, carefully read “USING THE UNIT SAFELY” and “IMPORTANT NOTES” (leaet “USING THE UNIT SAFELY” and Quick Start). After
reading, keep the document(s) where it will be available for immediate reference.
01
2
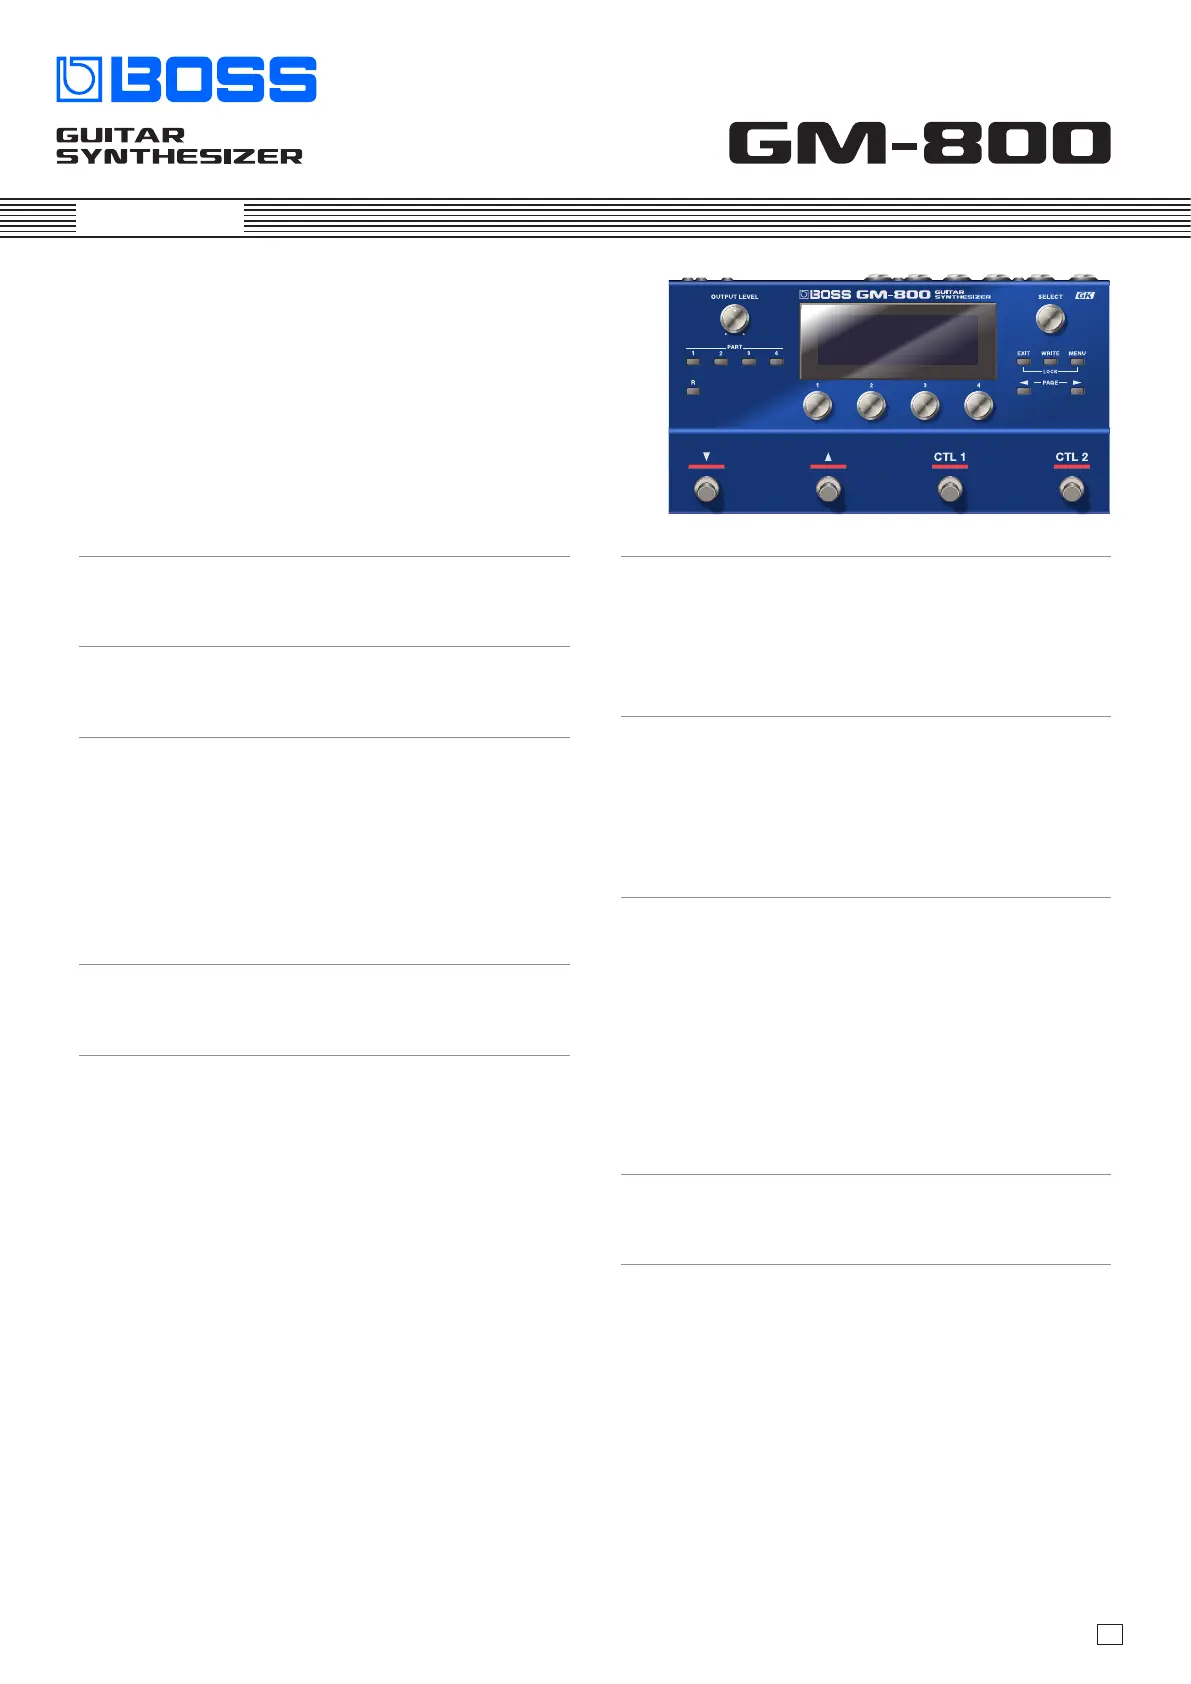
An overview of the GM-800
The GM-800 is a guitar synthesizer sound generator that’s compatible with serial GK-type divided pickups (GK-5/GK-5B, sold separately).
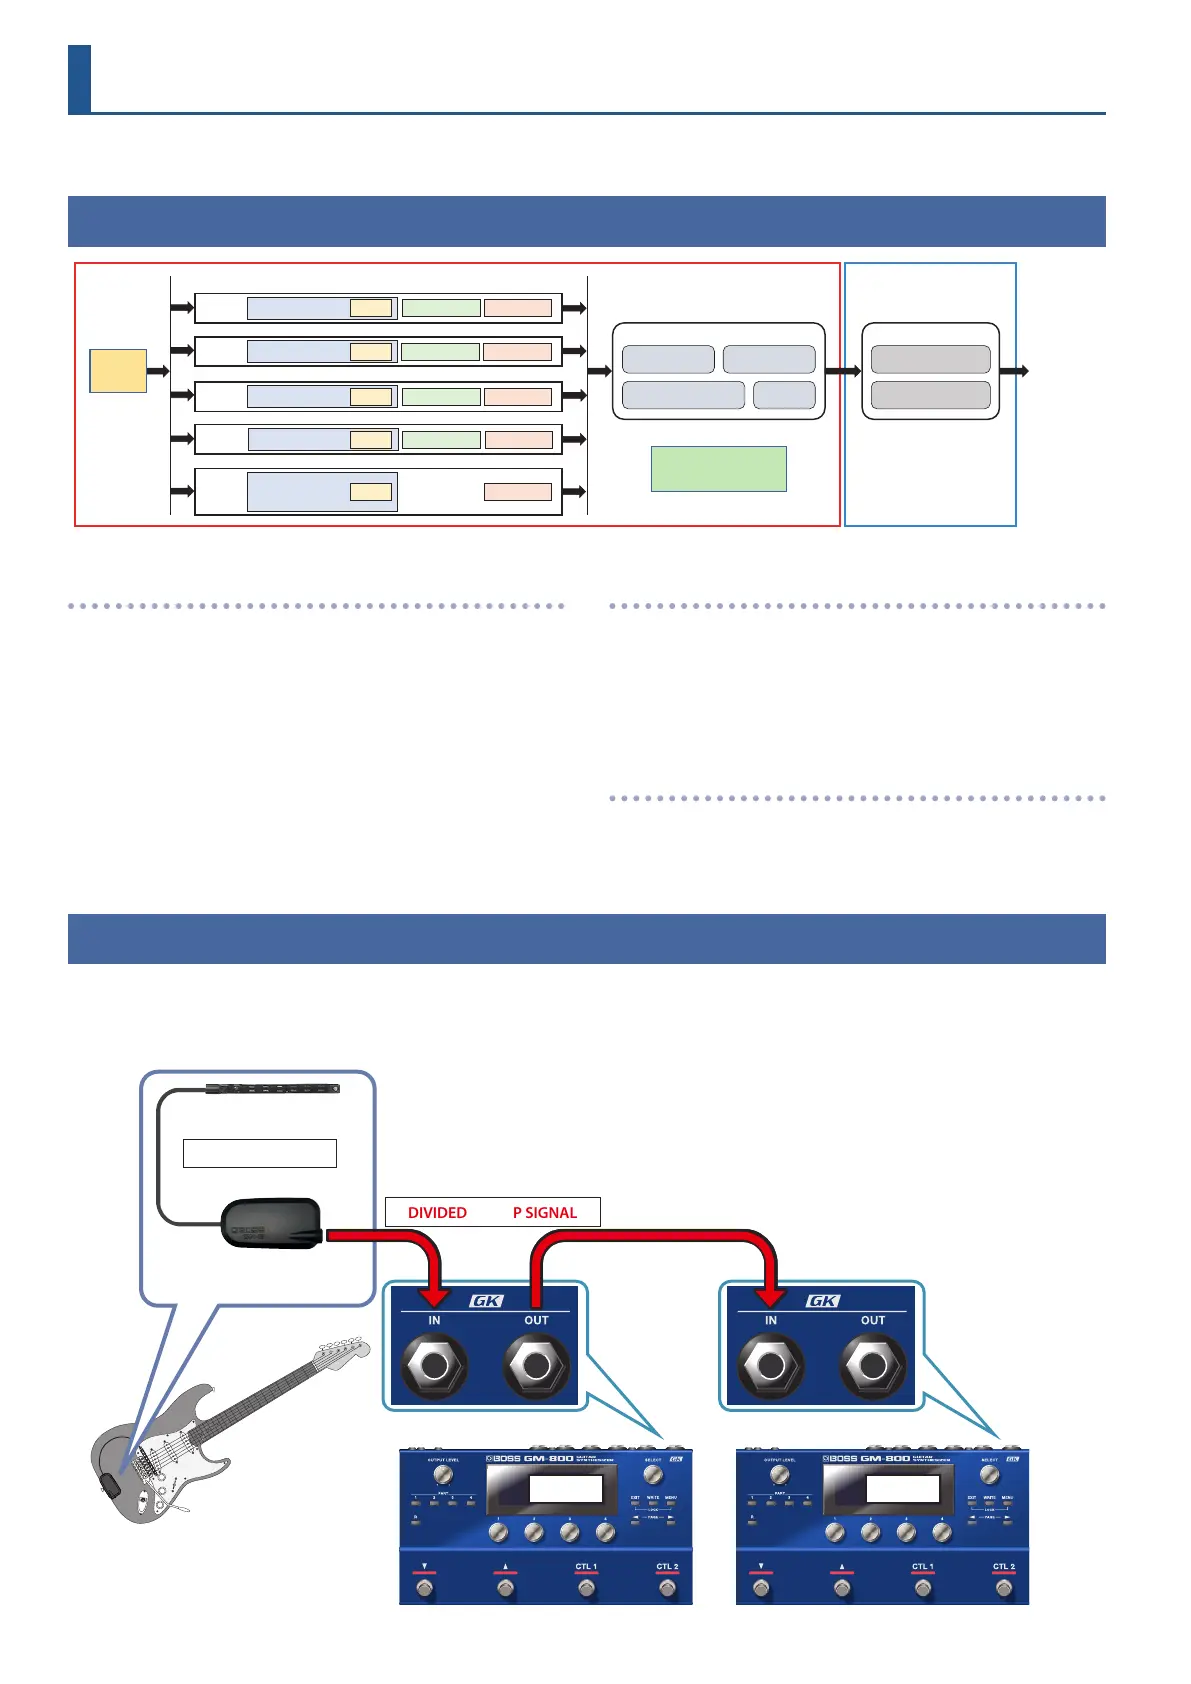
Sound structure of the GM-800
Part 1 TONE
Part 2 TONE
Part 3 TONE
Part 4 TONE
ALT TUNE
ALT TUNE
ALT TUNE
ALT TUNE
Part R
TONE
(Rhythm Only)
MFX
MFX
MFX
MFX
MFX
PAN/EQ
PAN/EQ
PAN/EQ
PAN/EQ
PAN/EQ
SCENE EFFECT
FX1 FX2
CHORUS/DELAY REVERB
SYSTEM EFFECT
MASTER COMP
MASTER EQ
OUTPUT/
PHONES
GK IN
CTL Func/Assign
SCENE SYSTEM
SCENE
A collection of settings for all parts, GUITAR TO MIDI, scene eects
(SCENE EFFECT) and CONTROL ASSIGN is saved as a “scene”.
A scene stores the complete state of your favorite performance
settings, including settings for each part (such as tone number, pan,
and volume), settings common to all parts and so on.
It’s useful to save your settings beforehand as scenes, and then
switch between these scenes while you’re playing.
Part
You can assign a sound (tone) as well as specify pan and EQ settings
and so on for each of the ve parts.
You can assign a tone to each part and play it.
There are ve parts. You can assign synthesizer sounds to parts 1–4,
and a rhythm sound to part R.
TONE
The sound assigned to a part is called a “tone”.
You can congure settings such as lters and eects (MFX) for the
tones.
What is “serial GK”?
Serial GK is a technology for transmitting divided pickup signals from a compatible device that’s connected via a dedicated cable.
The divided pickup signal that’s input to the GK IN jack of the rst unit passes through the GK OUT jack, and is sent to the GK IN jack of the second unit.
Connection example
UNIT1 UNIT2
DIVIDED PICKUP
DIVIDED PICKUP SIGNAL
GK-5/GK-5B (sold separately)
or similar
Product specificaties
| Merk: | Boss |
| Categorie: | Niet gecategoriseerd |
| Model: | GM-800 |
Heb je hulp nodig?
Als je hulp nodig hebt met Boss GM-800 stel dan hieronder een vraag en andere gebruikers zullen je antwoorden
Handleiding Niet gecategoriseerd Boss

2 April 2025

25 Februari 2025
27 Januari 2025

30 November 2024

30 November 2024

30 November 2024

30 November 2024

30 November 2024

30 November 2024

30 November 2024
Handleiding Niet gecategoriseerd
- DuroStar
- Kingston Technology
- Valeton
- Prima
- Revell
- Peach
- Koenig
- Dobot
- VMB
- Mafell
- Lervia
- Ugolini
- Home Easy
- Seasonic
- American BioTech Supply
Nieuwste handleidingen voor Niet gecategoriseerd

14 September 2025

14 September 2025

13 September 2025

13 September 2025

13 September 2025

13 September 2025

13 September 2025

13 September 2025

13 September 2025

13 September 2025