Black Wolf Turbo Lite Plus 300 Handleiding
Black Wolf Tent Turbo Lite Plus 300
Bekijk gratis de handleiding van Black Wolf Turbo Lite Plus 300 (4 pagina’s), behorend tot de categorie Tent. Deze gids werd als nuttig beoordeeld door 40 mensen en kreeg gemiddeld 4.7 sterren uit 7 reviews. Heb je een vraag over Black Wolf Turbo Lite Plus 300 of wil je andere gebruikers van dit product iets vragen? Stel een vraag
Pagina 1/4
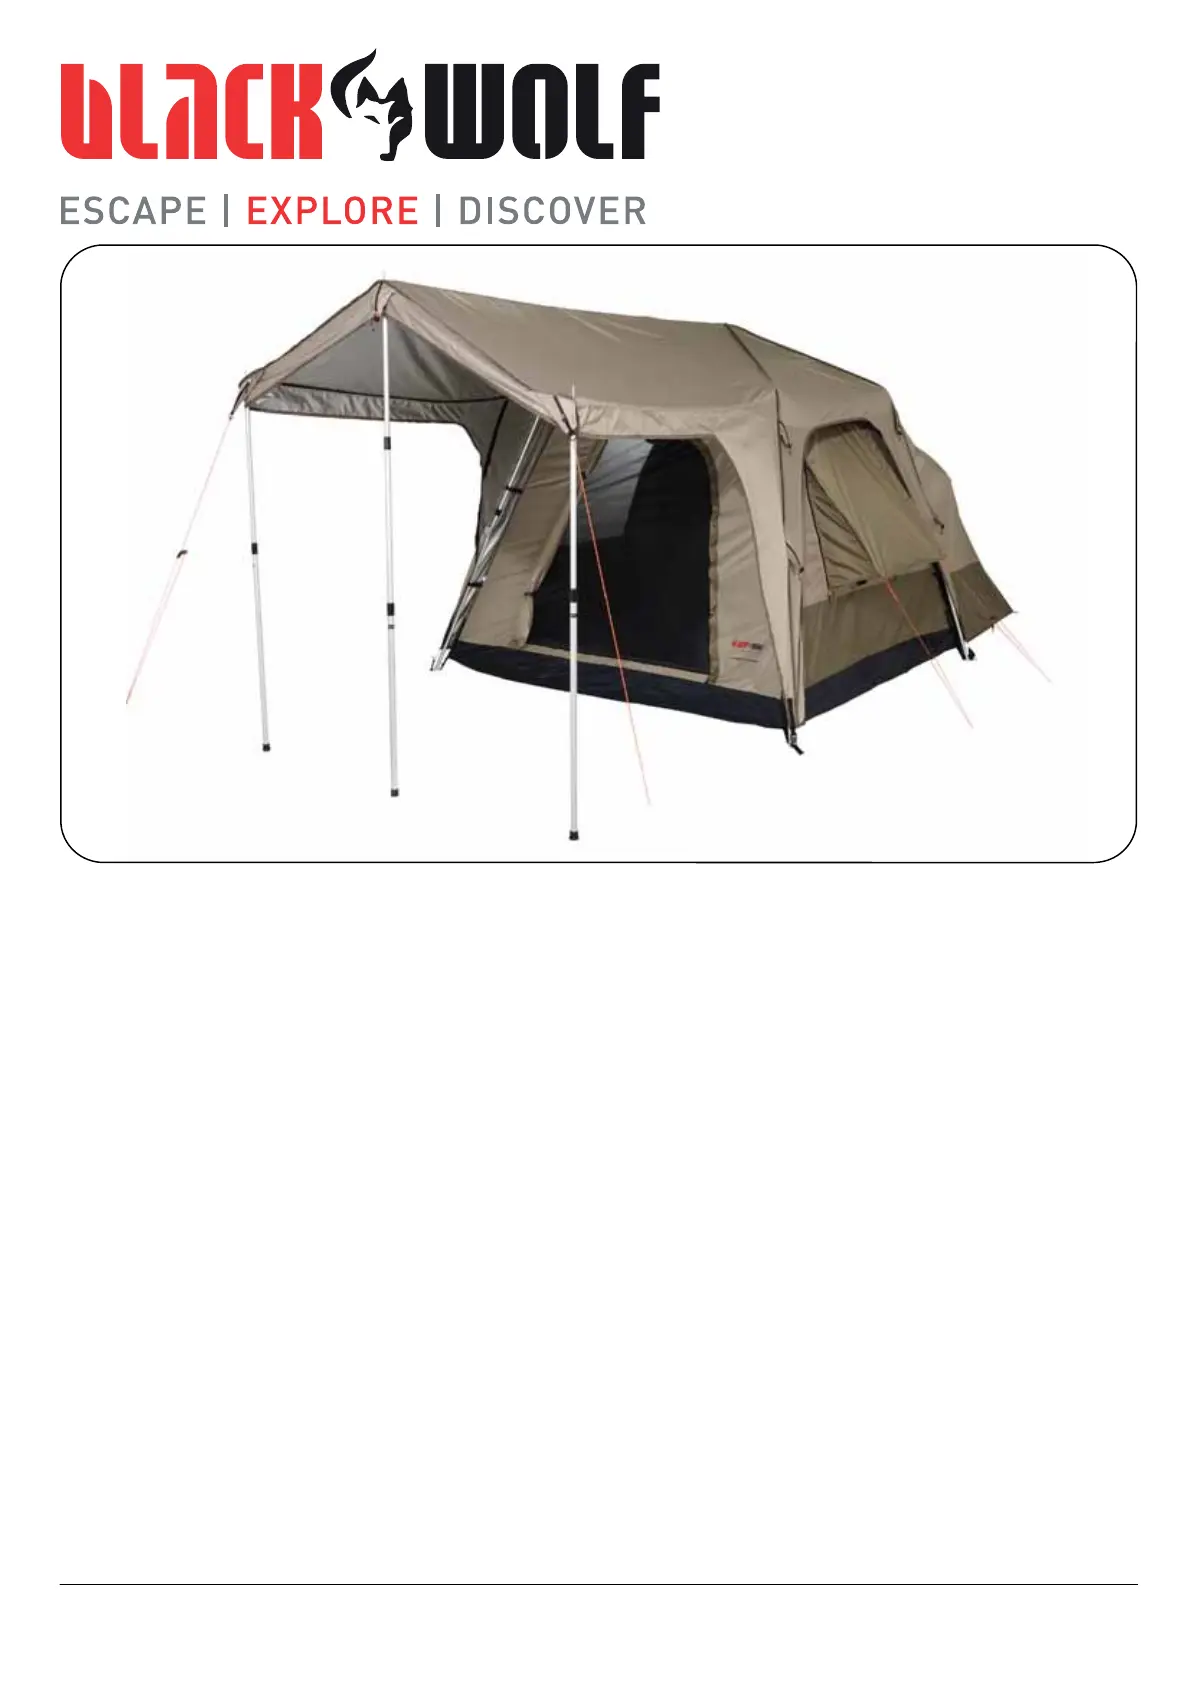
TURBO LITE
PLUS TENT
www.blackwolf.com.au
Congratulations on choosing a BlackWolf Turbo
tent, please read through this instruction booklet
thoroughly before using your new tent.
BEFORE YOUR FIRST CAMPING TRIP
We strongly recommend you pitch your tent before
you take it away for the first time to familiarise
yourself with the process and to double check that
all the components are included.
We recommend you weather your tent by hosing it
thoroughly, the stitching in the bound seams will
swell and this will help seal the stitching holes.
Please note and fully understand that no tent can be
guaranteed 100% waterproof. Whilst the fabric your
tent is made from is waterproof in certain weather
conditions such as strong wind and driven rain can
cause some leakage through seams and zippers.
USING YOUR TENT
Always peg out all guy ropes at all times. In cool
weather or high humidity condensation can form
inside your tent. This is not coming through the
fabric but is water vapour that is inside the tent
(created when you breathe and perspire and also
from evaporation o wet items inside your tent).
The best way to minimise condensation is to
maximise ventilation by opening gusseted
windows, vents and doors to allow air to flow
through.
AFTER USE CARE
Where possible clean and dry your tent before
packing it away, if the weather is bad and you have
to pack your tent wet it is important to get it out and
thoroughly dry it as soon as possible. NEVER store
your tent wet, mildew can form on the fabric, pegs
and other components can corrode. After coastal
camping trips it is a good idea to rinse your gear in
fresh water.
Store your tent in a dry, well ventilated place.
COMPONENT LIST
1 x Turbo Lite Plus tent with frame attached
1 x Turbo Lite Plus fly
11 x Guy ropes (already attached to your tent and
packed in fin pockets)
6 x Loose guy ropes for windows
3 x Awning poles & 1 x Awning ridge pole
1 x U-pole (2 x 2 segments, 2 curved poles)
28 x steel pegs in peg bag
1 x Turbo tent bag
Product specificaties
| Merk: | Black Wolf |
| Categorie: | Tent |
| Model: | Turbo Lite Plus 300 |
Heb je hulp nodig?
Als je hulp nodig hebt met Black Wolf Turbo Lite Plus 300 stel dan hieronder een vraag en andere gebruikers zullen je antwoorden
Handleiding Tent Black Wolf

7 Februari 2024
7 Februari 2024
7 Februari 2024
7 Februari 2024
7 Februari 2024
7 Februari 2024
7 Februari 2024
7 Februari 2024
7 Februari 2024
7 Februari 2024
Handleiding Tent
Nieuwste handleidingen voor Tent
18 Juli 2026
18 Juli 2026
23 Juni 2026
20 Juni 2026
19 Juni 2026
16 Juni 2026
16 Juni 2026
16 Juni 2026
16 Juni 2026
15 Juni 2026