Baby Lock Capella Handleiding
Baby Lock Borduurmachine Capella
Bekijk gratis de handleiding van Baby Lock Capella (88 pagina’s), behorend tot de categorie Borduurmachine. Deze gids werd als nuttig beoordeeld door 76 mensen en kreeg gemiddeld 4.1 sterren uit 8 reviews. Heb je een vraag over Baby Lock Capella of wil je andere gebruikers van dit product iets vragen? Stel een vraag
Pagina 1/88
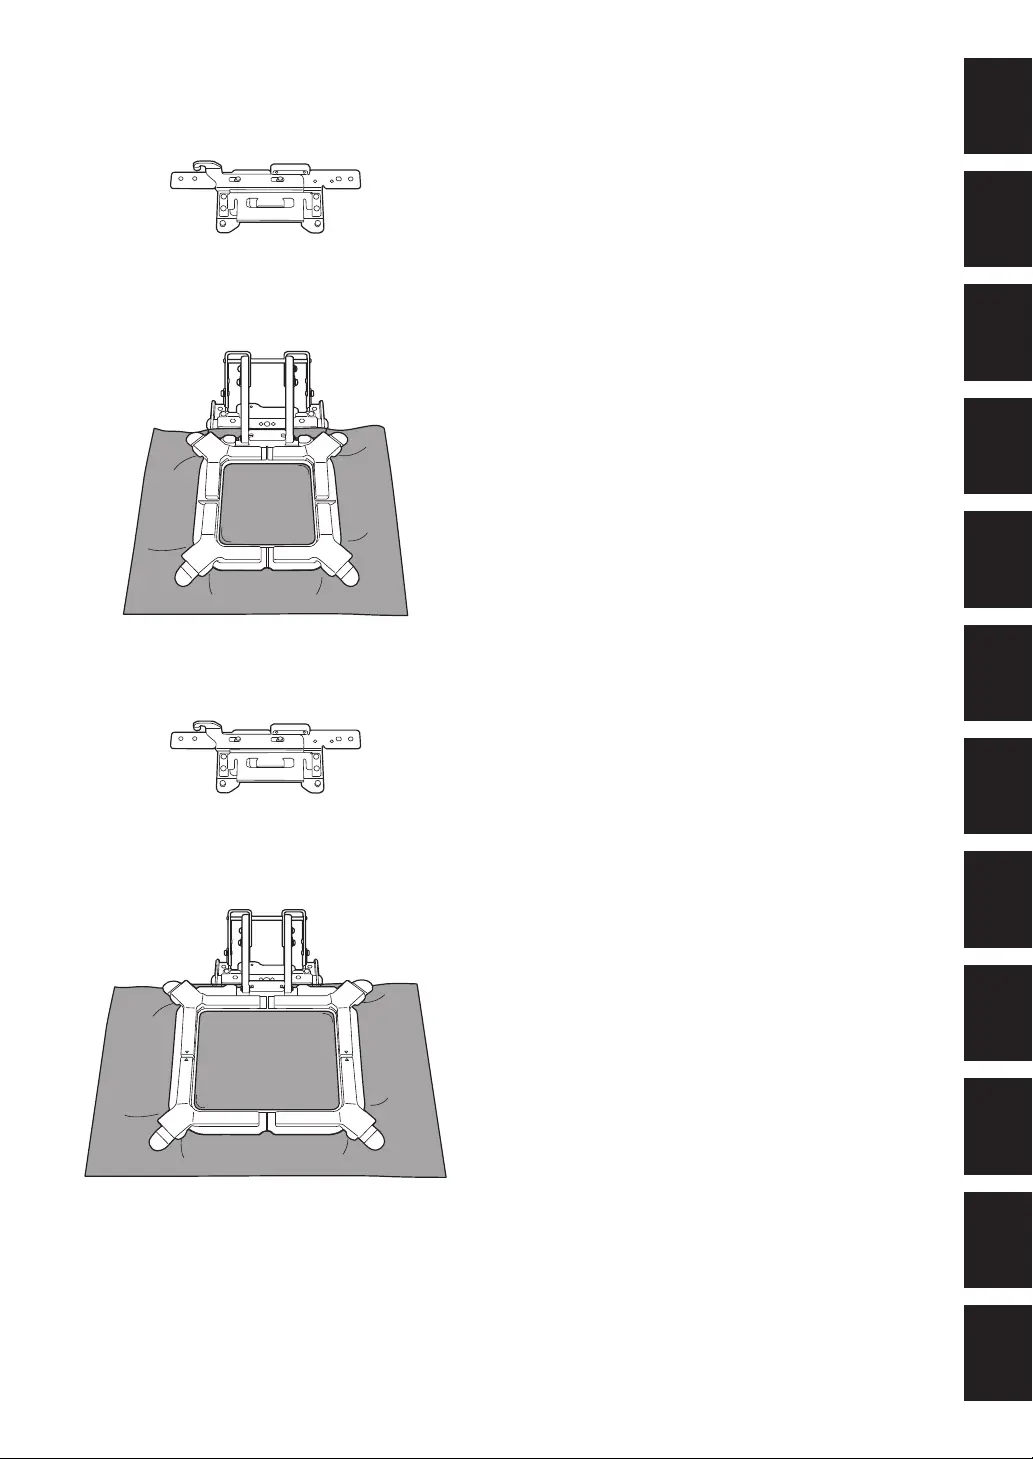
Versatile Magnetic Frame
Installation Manual
Installationsanleitung Magnetrahmen
Manuel d’installation du cadre
magnétique polyvalent
Installatiehandleiding voor
veelzijdig magnetisch frame
Manuale di installazione del
telaio magnetico polivalente
Manual de instalación del
bastidor magnético versátil
Manual de instalação do
bastidor magnético versátil
Руководство по установке
универсальных магнитных пялец
ཐࣕ㜳Ṽᆿ㻻䈪᱄Ҝཐࣕ㜳Ṽᆿ㻻䈪᱄Ҝ
多功能磁力框安裝說明書
다목적 자석 자수틀 설치 설명서
ζσΙζΈΥΛΠი৾ե୰ྶ
ENGLISH
DEUTSCH
FRANÇAIS
NEDERLANDS
ITALIANO
ESPAÑOL
PORTUGUÊS
РУССКИЙ
简体中文繁體中文
한국어
ུࢊ
Product specificaties
| Merk: | Baby Lock |
| Categorie: | Borduurmachine |
| Model: | Capella |
Heb je hulp nodig?
Als je hulp nodig hebt met Baby Lock Capella stel dan hieronder een vraag en andere gebruikers zullen je antwoorden
Handleiding Borduurmachine Baby Lock

26 Augustus 2025
26 Augustus 2025
15 Januari 2024
12 Januari 2024
9 Juli 2023
3 Juli 2023
1 Juli 2023
26 Juni 2023
25 Juni 2023
Handleiding Borduurmachine
Nieuwste handleidingen voor Borduurmachine
17 April 2023
3 Februari 2023
12 Oktober 2022