AXESS AXBUCH-LX6V Handleiding
AXESS Niet gecategoriseerd AXBUCH-LX6V
Bekijk gratis de handleiding van AXESS AXBUCH-LX6V (2 pagina’s), behorend tot de categorie Niet gecategoriseerd. Deze gids werd als nuttig beoordeeld door 36 mensen en kreeg gemiddeld 4.5 sterren uit 5 reviews. Heb je een vraag over AXESS AXBUCH-LX6V of wil je andere gebruikers van dit product iets vragen? Stel een vraag
Pagina 1/2
AxxessInterfaces.com © COPYRIGHT 2020 METRA ELECTRONICS CORPORATION REV. 1/28/20 INSTAXBUCH-LX6V
AxxessInterfaces.com © COPYRIGHT 2020 METRA ELECTRONICS CORPORATION REV. 1/28/20 INSTAXBUCH-LX6V
INSTALLATION INSTRUCTIONS
INSTALLATION INSTRUCTIONS
AXBUCH-LX6V
AXBUCH-LX6V
Attention!Let the vehicle sit with the key
out of the ignition for a few minutes before
removing the factory radio. When testing the
aftermarket equipment, ensure that all factory
equipment is connected before cycling the
key to ignition.
Attention!Let the vehicle sit with the key
out of the ignition for a few minutes before
removing the factory radio. When testing the
aftermarket equipment, ensure that all factory
equipment is connected before cycling the
key to ignition.
INTERFACE FEATURES
INTERFACE FEATURES
INTERFACE COMPONENTS
INTERFACE COMPONENTS
TOOLS REQUIRED
• Crimping tool and connectors, or solder gun,
solder, and heat shrink • Tape • Wire cutter
• Zip ties
TOOLS REQUIRED
• Crimping tool and connectors, or solder gun,
solder, and heat shrink • Tape • Wire cutter
• Zip ties
TABLE OF CONTENTS
Connections ............................................................2
TABLE OF CONTENTS
Connections ............................................................2
Lexus Backup Camera Retention/Add-On
2014-Up
Lexus Backup Camera Retention/Add-On
2014-Up
APPLICATIONS
APPLICATIONS
• Retains the factory backup camera
• Allows an aftermarket camera to be added to the factory screen †
• Includes an AXCSD-6V 12V-to-6V step-down for the factory camera
• Retains the factory backup camera
• Allows an aftermarket camera to be added to the factory screen †
• Includes an AXCSD-6V 12V-to-6V step-down for the factory camera
† Display and navigations model radios only
† Display and navigations model radios only
Lexus
ES300h 2015-2018
ES350 2015-2018
GS F 2016-Up
GS200T 2016-2017
GS300 2018-Up
GS350 2015-Up
GS450h 2015-Up
GX460 2016-Up
IS200t 2016-2017
IS250 2014-2015
IS300 2016-Up
IS350 2014-Up
LC500 2018-Up
LC500h 2018-Up
LS460 2015-2017
NX300 2018-Up
NX300h 2015-Up
NX200t 2015-2017
RC F 2015-Up
RC200t 2016-2017
RC300 2016-Up
RC350 2015-Up
RX350 2016-Up
RX450h 2016-Up
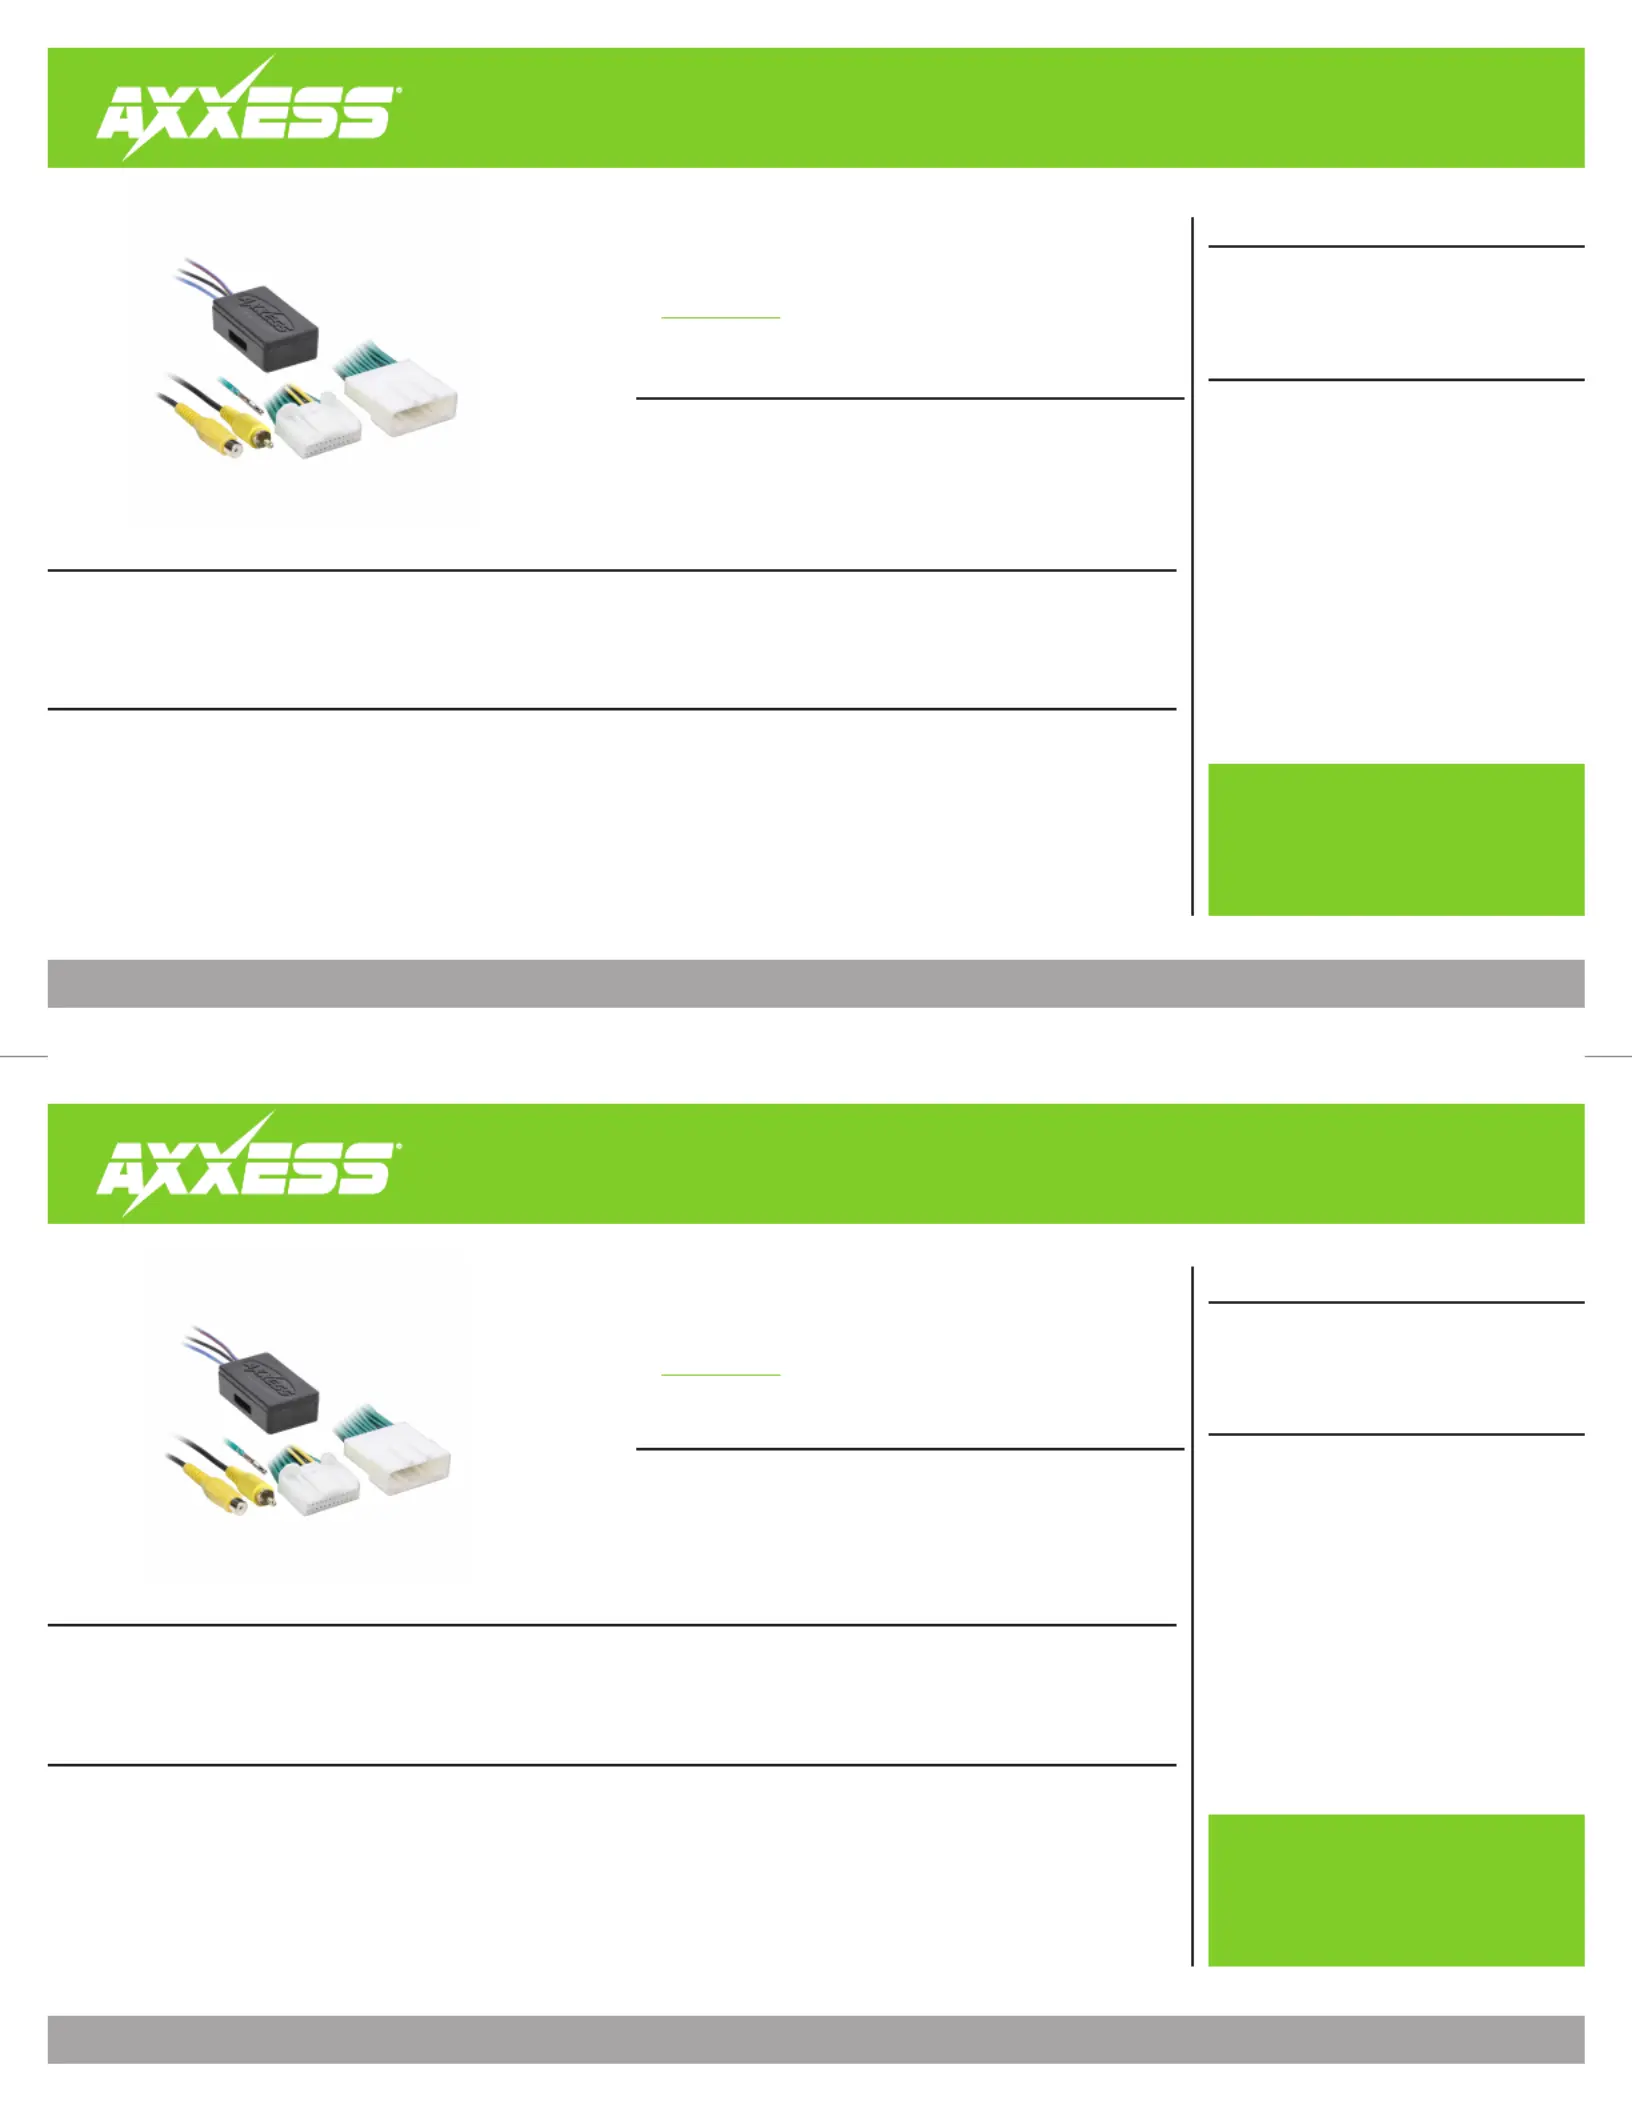
• AXBUCH-LX6V harness
• AXCSD-6V 12-volt to 6-volt step-down
• Green/Purple wire with terminal
• AXBUCH-LX6V harness
• AXCSD-6V 12-volt to 6-volt step-down
• Green/Purple wire with terminal
Visit AxxessInterfaces.com for more detailed information about the product and up-to-date
vehicle specific applications
Visit AxxessInterfaces.com for more detailed information about the product and up-to-date
vehicle specific applications
Product specificaties
| Merk: | AXESS |
| Categorie: | Niet gecategoriseerd |
| Model: | AXBUCH-LX6V |
Heb je hulp nodig?
Als je hulp nodig hebt met AXESS AXBUCH-LX6V stel dan hieronder een vraag en andere gebruikers zullen je antwoorden
Handleiding Niet gecategoriseerd AXESS

29 Juli 2025
29 Juli 2025
29 Juli 2025
29 Juli 2025
25 Februari 2025
25 Februari 2025
25 Februari 2025
25 Februari 2025
25 Februari 2025
25 Februari 2025
Handleiding Niet gecategoriseerd
Nieuwste handleidingen voor Niet gecategoriseerd
23 Juli 2026
23 Juli 2026
23 Juli 2026
23 Juli 2026
23 Juli 2026
23 Juli 2026
23 Juli 2026
23 Juli 2026
23 Juli 2026
22 Juli 2026