Abus FAS101 Handleiding
Abus Niet gecategoriseerd FAS101
Bekijk gratis de handleiding van Abus FAS101 (4 pagina’s), behorend tot de categorie Niet gecategoriseerd. Deze gids werd als nuttig beoordeeld door 95 mensen en kreeg gemiddeld 4.5 sterren uit 7 reviews. Heb je een vraag over Abus FAS101 of wil je andere gebruikers van dit product iets vragen? Stel een vraag
Pagina 1/4
FAS101 / PV101
Bitte lesen Sie diese Anleitung vor der Montage und Inbe-
triebnahme sorgfältig durch. Bewahren Sie die Anleitung
auf und weisen Sie jeden Nutzer auf die Bedienung des Pro-
duktes hin.
Please read this guide carefully before installation and use.
Keep these instructions and provide all users with instructi-
on on how to use it.
Fenster-Scharnierseiten-Sicherung
Window hinge security device Sécurité latérale de paumelles de fenêtre
Veuillez lire cette notice attentivement avant le montage et
la mise en service. Conservez ces instructions. Tous les utili-
sateurs doivent en prendre connaissance.
Raam-scharnierzijbeveiliging Sicura per cerniere di finestra
Lees voorafgaand aan de montage en ingebruikname deze
handleiding zorgvuldig door. Bewaar deze handleiding en
informeer iedere gebruiker omtrent de bediening.
Si raccomanda di leggere con attenzione le istruzioni prima
di eseguire il montaggio e la messa in servizio. Conservare
le istruzioni e istruire ogni utente sulle modalità di
funzionamento.
Inhalt
1. Einsatzbereich und wichtige Hinweise
2. Lieferumfang
3. Montagewerkzeug
4. Montage
5. Bedienung
6. Gewährleistung
Content
1. Possible uses and important information
2. Scope of delivery
3. Tools re quired
4. Installation instructions
5. Operation
6. Warranty
Teneur
1. Application et indications importantes
2. Contenu de la livraison
3. Outillage
4. Instructions de montage
5. Utilisation
6. Garantie
Inhoud
1. Toepassing en belangrijke instructies
2. Leveringsomvang
3. Gereedschap
4. Montageaanwijzing
5. Bediening
6. Garantie
Contenuto
1. Possibilità d‘impiego e avvertenza importante
2. Dotazione
3. Utensili di montaggio
4. Istruzioni di montaggio
5. Uso
6. Garanzia
Einsatzbereich und wichtige Hinweise
FAS101 wird auf der Scharnierseite von nach innen
önenden Fenstern oder Fenstertüren montiert. Geeignet
sind DIN rechte und linke Fenster aus Kunststo, Holz und
Aluminium. FAS101 ist nach den strengen Prüfanforderungen
der DIN 18104-1 und VdS 2536 anerkannt. Durch DIN Certco
ist FAS101 zertiziert „Einbruchhemmend DIN geprü“.
Gemäß DIN 18104-1 wird empfohlen, dass pro Fenster und
pro 1 Meter Fensterhöhe rechts und links jeweils eine
Zusatzsicherung montiert wird. Polizei und Versicherer
empfehlen dies ebenfalls.
Vor der Montage prüfen Sie bitte die Einstellung des Fensters
bzw. der Fenstertür und ob Ihr Fenster die Mindestmaße
(Abb. 1 - 3) aufweist. Stellen Sie sicher, dass sich das Fenster
/ die Fenstertür einwandfrei önen und schließen lässt.
Die Bohrlochtiefen bzw. Schraubenlängen müssen auf die
örtlichen Gegebenheiten abgestimmt werden. Austreten des
Bohrers bzw. der Schrauben auf der Rückseite vermeiden!
Ggf. mit Bohranschlag arbeiten oder die vorhandenen
Schrauben kürzen.
Bei schlechten Befestigungsmöglichkeiten sollten mehrere
Sicherungen und zusätzlich Befestigungsmittel (ABUS
Befestigungsanker BA oder ABUS Befestigungsset IM100 mit
Verbundmörtel) eingesetzt werden. ABUS Befestigungsmittel
und Verbundmörtel sind im Handel erhältlich. Das in
Abb. 1 genannte ABUS Produkt FTS ist ebenfalls im Handel
erhältlich.
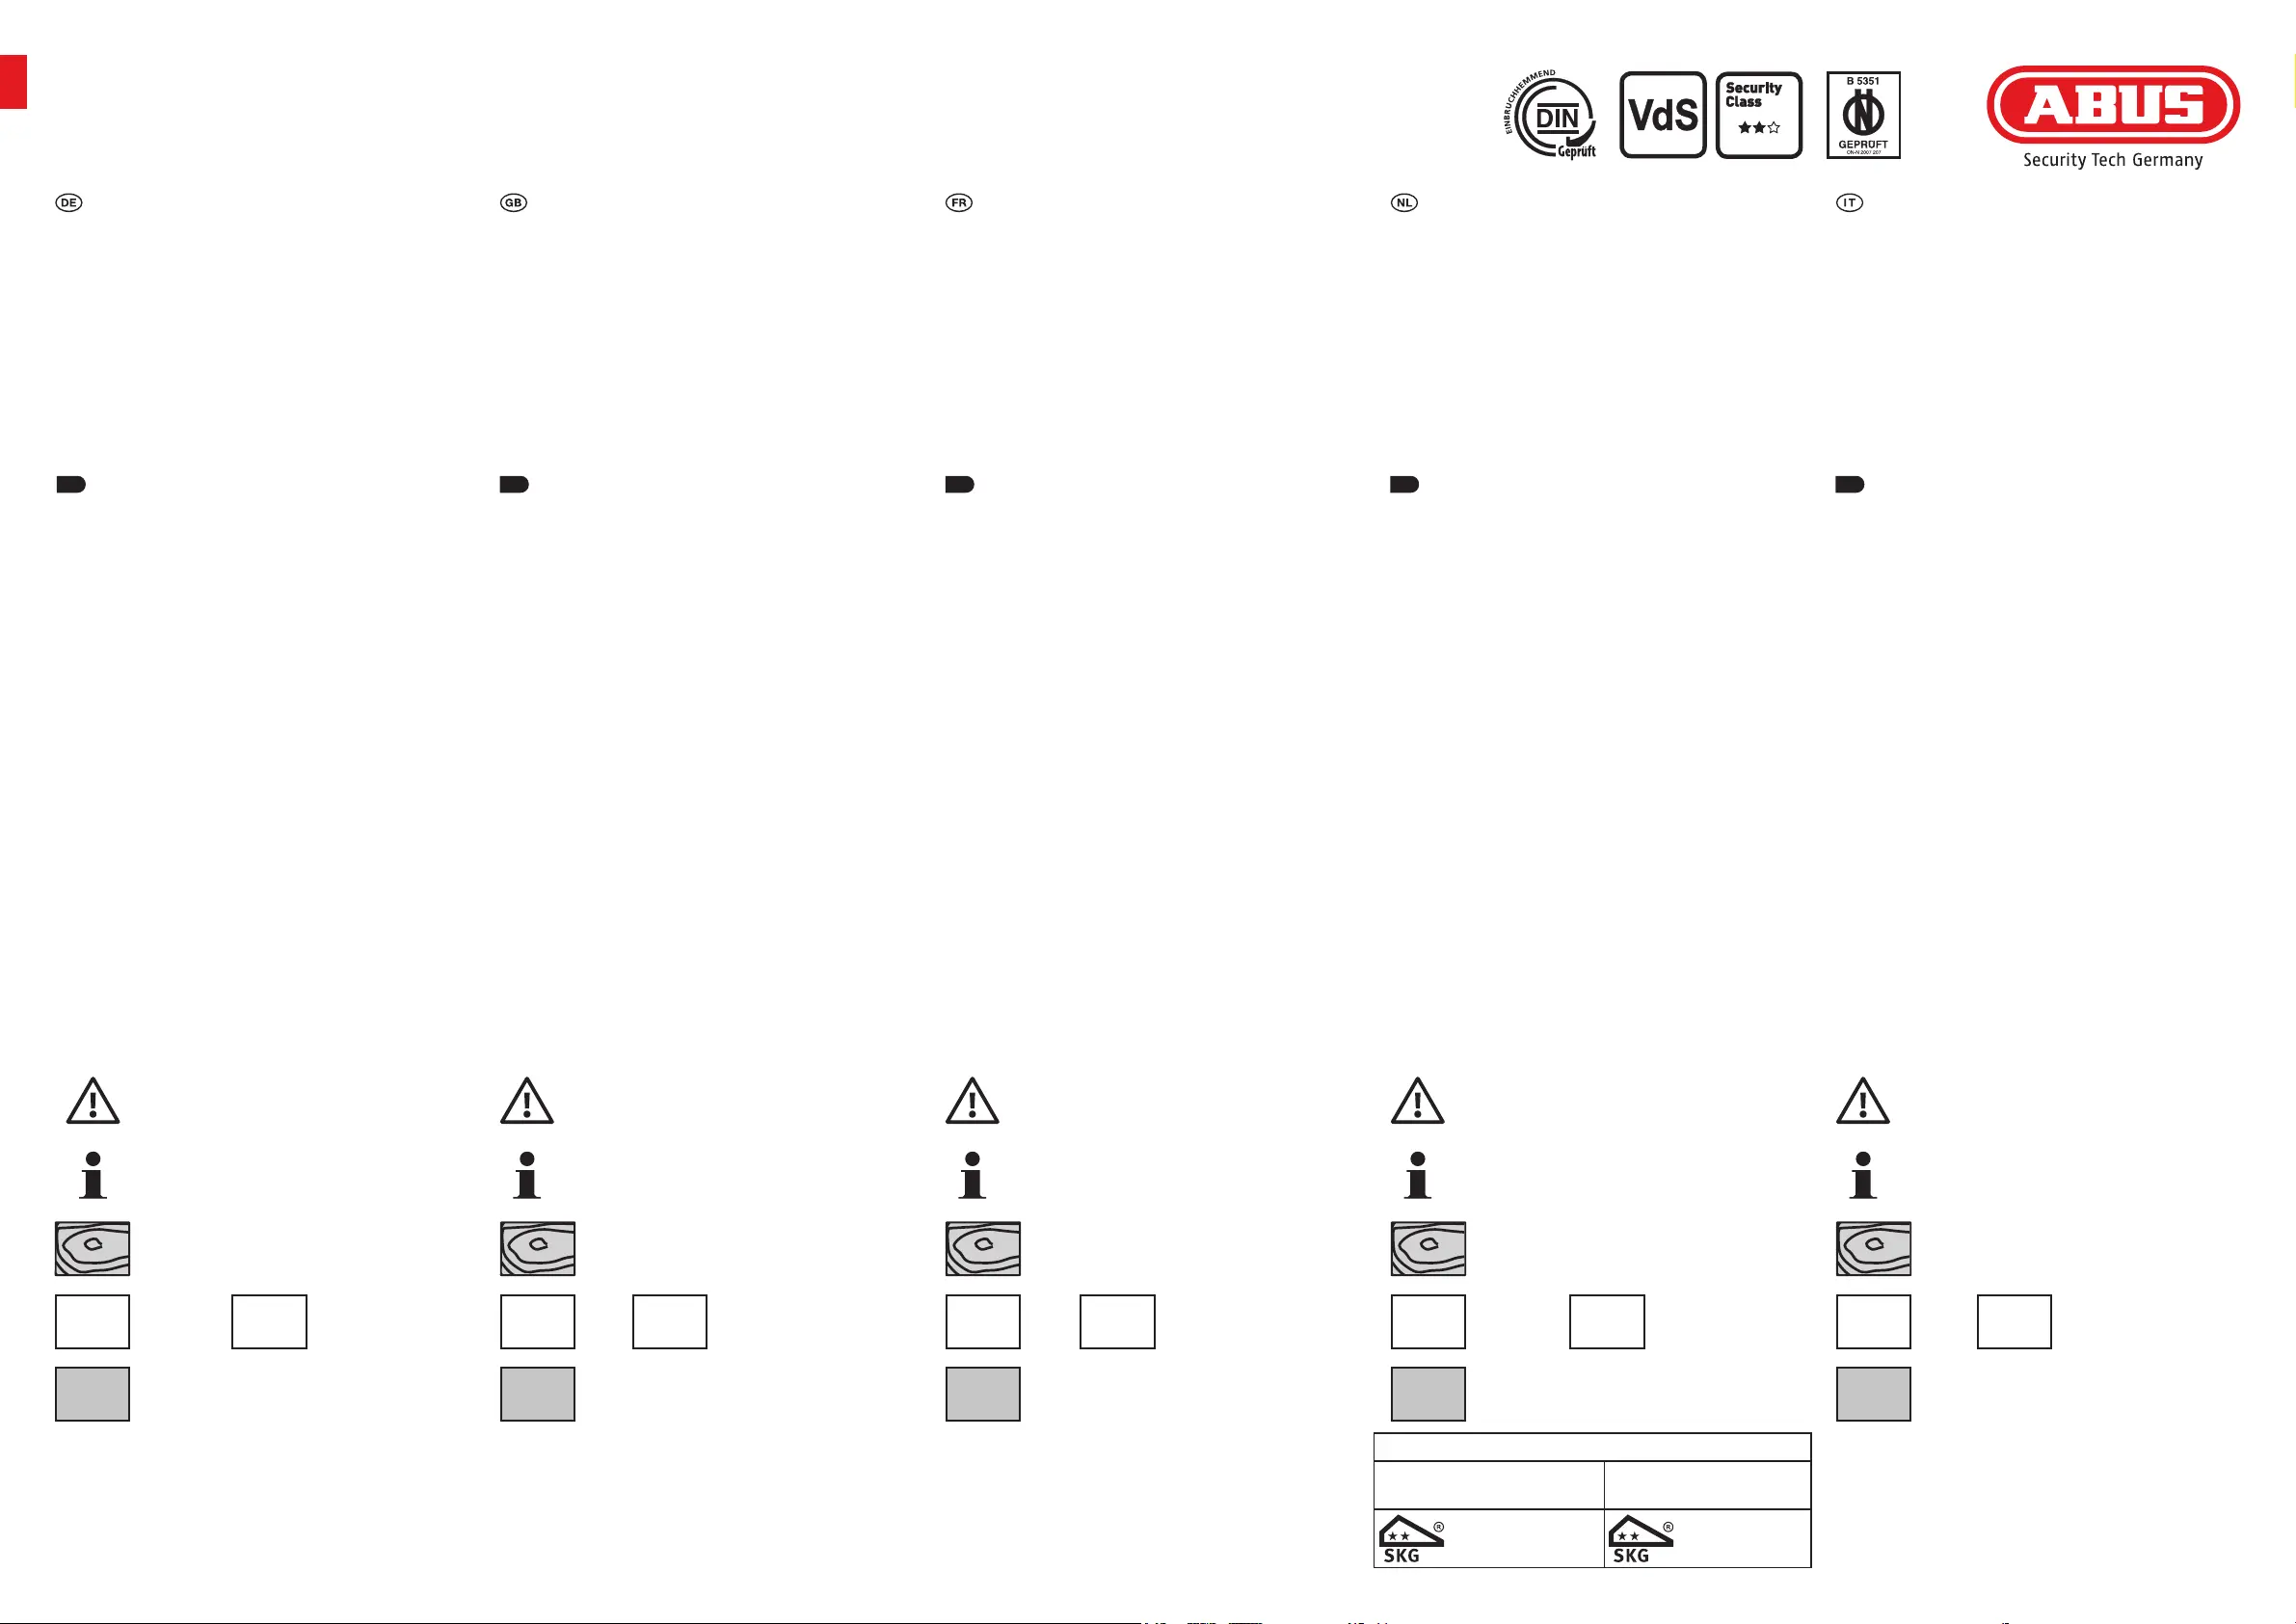
Symbolerklärung
Vorsicht!
Hinweis zur Montage / Bedienung
Holz
Kunststo /
Aluminium
Possible uses and important information
FAS101 is mounted on the hinge side of the window or
French door. The windows can open to the right or le.
The lock can be tted to PVC, wood or aluminum. FAS101 is
recognized as complying with the strict test requirements
of DIN 18104-1 and VdS 2536. It is certied by DIN Certco as
“Burglar retardant DIN tested”. DIN 18104-1 recommends
that an additional security device should be tted on the
le and right for every meter in height. The police and
insurance companies also give the same recommendation.
Before installation, please check whether your window /
French door complies with the minimum dimensions (g.
1 - 3). Make sure that the window / French door opens and
closes properly. The depths of the drilled holes and screw
lengths must be adjusted to the local conditions. Avoid the
drill or screws from coming out at the back! Possibly work
with drill stopper or shorten the existing screws.
In poor xture conditions, more security devices and
additional fastenings should be used (ABUS xing bolt BA
or ABUS IM100 with composite mortar). ABUS additional
fastenings and composite mortar are available from retail
stores. The ABUS product FTS shown in g. 1 is also available
from retail stores.
Icon explanation
Caution!
Further tting / using details
Wood
PVC /
Aluminum
PVCPVC
Application et indications importantes
FAS101 peut être montée sur le côté des paumelles de la
fenêtre ou porte-fenêtre. Les fenêtres peuvent s’ouvrir à
gauche ou à droite. L’installation peut être eectuée sur
des chassis en PVC, bois ou en aluminium. FAS101 répond
aux exigences de contrôle sévères des norms DIN 18104-
1 et VdS 2536. Le certicat DIN indique que FAS101 obtenu
la qualication “anti-eraction DIN”. Selon la norme
DIN 18104-1, il est recommandé de monter une sécurité
complémentaire par fenêtre et par mètre de hauteur
de fenêtre, à gauche comme à droite. La police et les
compagnies d’assurance le recommandement également.
Avant le montage vériez si votre fenêtre / porte-fenêtre
dispose des dimensions minimales indiquées en schéma 1
- 3 et assurez-vous que la fenêtre / porte-fenêtre ouvre et
ferme parfaitement. Les profondeurs de perçage ou plutôt
les longueurs des vis doivent être adaptées aux conditions
locales. Evitez le dépassement de perçage ou de vis sur la
face arrière! Le cas échéant, utilisez une butée de perçage
ou raccourcissez les vis de xation.
En cas de possibilités de xation défavorables, plusieurs
sécurités et des xations supplémentaires (ABUS ancre de
xation BA ou ABUS set de xation IM100 avec mortier)
doivent être prevues. ABUS BA et ABUS IM100 ainsi que le
mortier de xation sont disponibles dans le commerce.
Le produit ABUS FTS illustrée en schéma 1 est également
disponible dans le commerce.
Explanation des symbols
Attention!
Instructions de montage / utilisation
Bois
PVC /
Aluminium
PVC
Toepassing en belangrijke instructies
De FAS101 wordt aan de scharnierzijde gemonteerd en is
geschikt voor naar binnen draaiende ramen en deuren.
Montage mogelijk op kunststof, hout of aluminium, rechts
of links draaiende ramen. De FAS101 is SKG gecerticeerd
volgens BRL 3104_Hang en sluitwerk en goedgekeurd
volgens de strenge keuringseisen van de norm DIN 18104-
1 en VdS 2536. Door DIN Certco is de FAS101 geceerticeerd
„Inbraakremmend DIN gekeuerd“. Conform DIN 18104-1
wordt aanbevolen om per raam en meter raamhoogte rechts
en links telkens een beveiliging te monteren. Politie en
verzekeraars adviseren dit eveneens.
Voor de montage controleer, of de in a. 1 - 3 aangegeven
minimum afmetingen daadwerkelijk op uw raam /
deur beschikbaar zijn. Zorg ervoor dat het raam / de
deur probleenloos geopend en gesloten kan worden.
De boordieptes en schroeengten moeten aan het
gevelelement aangepast worden. Voorkom doorboren en
-schroeven. Eventueel met een booraanslag werken of de
schroeven inkorten.
Bij slechte bevestigingsmogelijkheden dienen extra
bevestigingsmaterialen (ABUS bevestigingsanker BA of ABUS
bevestigingsset IM100 met chemisch anker) te worden
toegepast. ABUS BA, ABUS IM100 en chemische ankers zijn
in de handel verkrijgbaar. De ABUS product FTS in a. 1 is
eveneens in de handel verkrijgbaar.
Uitleg van de symbolen
Voorzichtig!
Instructies voor de montage / bediening
Hout
Kunststof /
Aluminium
PVC
Possibilità d‘impiego e avvertenza importante
La FAS101 viene montata sul lato della cerniera della nestra
o porta-nestra ed è adatta per tutte le normali nestre
e portenestre che si aprono verso l’interno. Le nestre
possono aprirsi verso destra o verso sinistra. Si può montare
FAS101 su plastica, legno o alluminio. La FAS101 è conforme
ai severi requisiti di controllo della DIN 18104-1 e VdS 2536.
Con la DIN Certco essa è certicata come “Antiscasso conf.
DIN”. Secondo DIN 18104-1 si consigilia di montare per ogni
metro di altezza della nestra, una sicura supplementare sul
lato destro e una sul lato sinistro per ogni nestra. Anche
la polizia e le compagnie d’assicurazione consigliano tali
misure.
Prima del montaggio vericare per favore che le misure
minime indicate nell’ill. 1 - 3 esistano nelle vostre nestre /
porte-nestre. Assicurarsi che la nestra / la porta-nestra si
chiuda e si apra perfettamente. Le profondità per trapanare
i fori, risp. le lunghezze delle viti devono essere adattate alle
condizioni particolari. Evitare che la punta del trapano risp.
la vite fuoriesca dall’altra parte! Se necessario lavorare con
arresto del trapano o accorciare le viti.
Se le possibilità di ssaggio sono scadenti e le possibilità di
erazione dall’esterno sono buone, si dovrebbero utilizzare
mezzi di ssaggio supplementari (ABUS ancora a muro
BA o ABUS kit di ssaggio IM100. Per lo IM100 serve una
malta adatta). ABUS BA e ABUS IM100 come anche la malta
è disponibile in commercio. Anche il prodotto ABUS FTS
ragurati nell’ill. 1 si possono acquistare in commercio.
Descrizione dei simboli
Attenzione!
Note per l‘installazione / uso
Legno
PVC /
Aluminio
PVC
PVC
+ FE
Kunststo mit
Metalleinlage
PVC
+ FE
PVC with
metal inlay
PVC
+ FE
PVC avec insert
métallique
PVC
+ FE
Kunststof met
metalen versterking
PVC
+ FE
PVC con inserto
metallico
ALALALALAL
Gebruik BA of IM100 chemisch anker
Houten-, metaal- of kunststof Kunststof kozijnen
kozijnen met staal versterking zonder staal versterking
zonder ABUS BA in combinatie met
of IM100 ABUS BA of IM100
chemisch anker chemisch anker
1.1.1.1.1.
6N021
Product specificaties
| Merk: | Abus |
| Categorie: | Niet gecategoriseerd |
| Model: | FAS101 |
Heb je hulp nodig?
Als je hulp nodig hebt met Abus FAS101 stel dan hieronder een vraag en andere gebruikers zullen je antwoorden
Handleiding Niet gecategoriseerd Abus

13 Maart 2026
30 November 2025
29 November 2025
27 November 2025
3 November 2025
2 November 2025
1 November 2025
1 November 2025
31 Oktober 2025
31 Oktober 2025
Handleiding Niet gecategoriseerd
Nieuwste handleidingen voor Niet gecategoriseerd
9 Juni 2026
9 Juni 2026
9 Juni 2026
9 Juni 2026
9 Juni 2026
9 Juni 2026
9 Juni 2026
9 Juni 2026
9 Juni 2026