Smart-AVI XT-TX1600 Handleiding


Lees hieronder de ๐Ÿ“– handleiding in het Nederlandse voor Smart-AVI XT-TX1600 (2 pagina's) in de categorie AV extender. Deze handleiding was nuttig voor 9 personen en werd door 2 gebruikers gemiddeld met 4.5 sterren beoordeeld

Pagina 1/2
ยฉ Copyright 2007 Smart-AVI, All Rights Reserved
Notice
The information contained in this document is
subject to change without notice. Smart-AVI makes
no warranty of any kind with regard to this material,
including but not limited to, implied warranties of
merchantability and fitness for any particular
purpose.
Smart-AVI will not be liable for errors contained herein
or for incidental or consequential damages in
connection with the furnishing, performance or use
of this material.
No part of this document may be photocopied,
reproduced or translated into another language with
out prior written consent from Smart-AVI.
For the complete manual, visit www.smartavi.com.
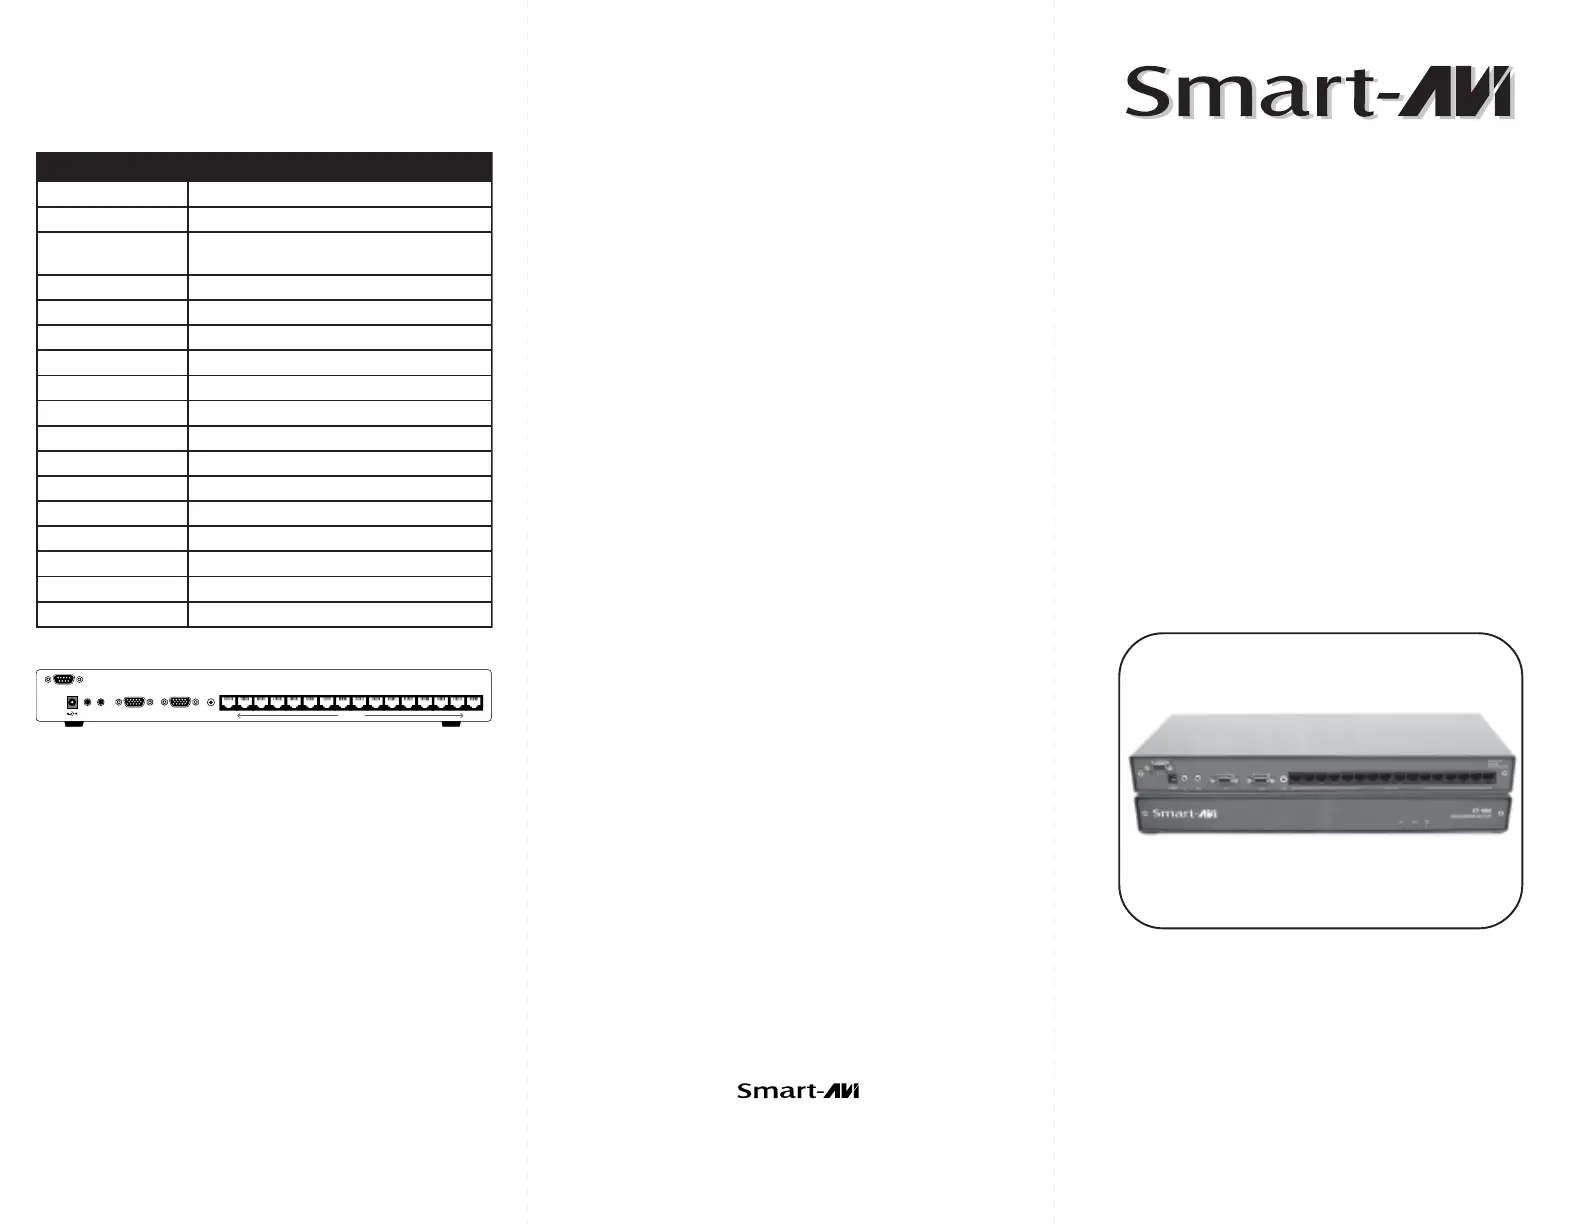
Use a single CAT5 cable to broadcast
high resolution SXGA, Stereo Audio
and RS232 up to 16 stations up to
1000ft away.
XT-1600
www.smartavi.com
User Manual
2840 N. Naomi Ave.
Burbank, California 91504
Phone: (818) 565-0011
Facsimile: (818) 565-0020
Technical Specifications
3MART๎€€!UDIO๎€€6IDEO๎€€)NTEGRATION
SNOITACIFICEPS0061-TX SNOITACIFICEPS0061-TX SNOITACIFICEPS0061-TX SNOITACIFICEPS0061-TX SNOITACIFICEPS0061-TX
ataDAGV ataDAGV ataDAGV ataDAGV ataDAGV
tamroF SBVC,C/Y,VUY,BsGR,VHBGR
noituloseR 0021x0091otpU
)AGXS,AGX,AGVS,AGV
epytrotcennoC tekcos51DH
oiduA oiduA oiduA oiduA oiduA
epyTlangiS decnalabnuoeretS
rotcennoC tekcoskcajmm5.3
232SR 232SR 232SR 232SR 232SR
M9BD
.dnG,DXR,DXT
spb0069
rewoP rewoP rewoP rewoP rewoP
stnemeriuqeR A5.@CDV5
rotcennoC )ev+retnec(kcajCDmm1.2
lacisyhP lacisyhP lacisyhP lacisyhP lacisyhP
snoisnemiD )sgephtiw1.3(mc7.2x8.11x22
thgieW sbl5.3
Sending an RS232 command to remoteSending an RS232 command to remoteSending an RS232 command to remoteSending an RS232 command to remoteSending an RS232 command to remote
monitormonitormonitormonitormonitor
In order to send a command to a remote monitor, you
will need to use The following query at 9600 baud
rate;
<CR>//M1<CR>
๎‚„ After sending this query, any command sent from
the PC will go directly to monitor 1
๎‚„ To send a command to monitor 2 replace "M1"
with "M2" etc...
๎‚„ To send the same command to all monitors ( but
only monitor 1 will answer) Use the following
command;
<CR>//M0<CR>
*
<CR> = Carriage return
In Out In Out
RS232
Out 1-16
IR
Introduction
The XT1600 range of products allows the extension
of a wide range of video and audio formats and
RS232 up to 16 locations using Category 5
Unshielded Twisted Pair (UTP) cables.
With RS232 communication support the XT1600
allows users to send commands to single or
multiples devices. This allows the user to change
volume, channel or turn on/off the remote LCD TV.
Features
๎‚„ Supports Dual Screens.
๎‚„ Uses easy to install, inexpensive CAT-5/5e/6/7/8.
๎‚„ Each output reaches up to 1,000 feet (300 m).
๎‚„ Supports high resolution video up to 1900x1200
๎‚„ HDTV Compatible (720p, 1080i,1080p)
๎‚„ 300 MHz Bandwidth.
๎‚„ Sends high-resolution VGA, Stereo Audio signals,
RS232 or IR from one source to 16 locations.
๎‚„ Compatible with VGA, XGA, Sun, MAC and SGI
๎‚„ Sync Format / Polarity Preservation.
๎‚„ Compatible with Line Level Stereo Audio Signals.
๎‚„ High ground loop immunity.
๎‚„ Built-in power surge and transient protection.
๎‚„ Designated trimmer in the remote unit to
compensate for cable length.
๎‚„ Compact Metal Case Enclosure.
๎‚„ External power supply.
๎‚„ RS-232c Communication support to single or
multiple Displays.
๎‚„ IR command to single or multiple Displays.
Whatโ€™s in the box?
XT1600XT1600
XT1600XT1600
XT1600
Please check the package contents before installing.
Installation Diagram
XT1600 Transmitter Installation Diagram XT1600 Receiver Installation Diagram
Adjusting and Tuning the SignalAdjusting and Tuning the SignalAdjusting and Tuning the SignalAdjusting and Tuning the SignalAdjusting and Tuning the Signal
In order to fine tune the signal, adjust the individual
dials one at a time starting with GREEN, then BLUE,
and lastly RED. As you turn the dials you will notice the
colors slightly change as you increase or decrease the
strength. All dials should be around the same distance.
Preparing & Connecting System CAT5 CablePreparing & Connecting System CAT5 Cable
Preparing & Connecting System CAT5 CablePreparing & Connecting System CAT5 CablePreparing & Connecting System CAT5 Cable
Following is the wiring standard for terminating CAT 5
cable using RJ-45 connector:
Pair 1 Pins 1 & 2
Pair 2 Pins 3 & 6
Pair 3 Pins 4 & 5
Pair 4 Pins 7 & 8
C o n ne c to r s :C o n ne c to r s :
C o n ne c to r s : RJ-45
C a p a c i t a n c e:C a p a c i t a n c e:
C apac i t anc e : 14 pf/ft (46.2 pf/m)
Conductor Gauge:Conductor Gauge:
Conductor Gauge: 24 AWG
I m p e d a n c e :I m p e d a n c e :
I m p e d a n c e : 100 +/- 15 ohms
4 - Pair
Connecting The TransmitterConnecting The Transmitter
Connecting The Transmitter
1. Connect the output of the computer video card to the
video input of the transmitter using the included male
to male video cable.
2. Connect the output of the computer audio card to the
audio input of the transmitter using 3.5mm audio
male to male audio cable.
3. Connect local monitor to the VGA out of the
transmitter.
4. Connect external speakers to the transmitterโ€™s audio
out (Standard 3.5mm stereo miniplug).
5. In the back of the unit connect the CAT5 cable that
will connect to the receiver (XT400-RX).
*NOTE: You can not use RS232 and IR at the same time.
Connecting The ReceiverConnecting The ReceiverConnecting The ReceiverConnecting The ReceiverConnecting The Receiver
1. Connect CAT5 cable (coming from the transmitter) to
the back of the receiver.
2. Connect 1-16 display monitors to the VGA out
connectors on the front of the receiver.
3. Connect 1-16 sets of external speakers to the audio
output connections on the front of the unit.
(Standard 3.5mm stereo Miniplug)
stnetnoCegakcaP0061TX stnetnoCegakcaP0061TX stnetnoCegakcaP0061TX stnetnoCegakcaP0061TX stnetnoCegakcaP0061TX
ytQ ytQ ytQ ytQ ytQ smetI smetI smetI smetI smetI .oNtraP .oNtraP .oNtraP .oNtraP .oNtraP
1 tinurettimsnarT0061TX XT-0061TX
1 ylppusrewopcdtlov5 SU-A1D5-SP
1 )tf6(elbacAGVelamotelam51DDH 60-MMAGV-CC
lanoitpO lanoitpO lanoitpO lanoitpO lanoitpO
1 elbacgulpinimoeretsmm5.3oiduA 60-MMAMM-CC
1 tinurevieceRORPTX XR-ORPTX
1 revieceREYERI EYE-MS
1 rettimERI DEL-MS
1 elbac232SR'6 60-232SRCC
XT400
RS232
Audio In
VGA In
VGA Out
16 lines
of CAT5
IR Emmiter
Audio Out
5V DC
XTPRO RX
XTPRO RX
XTPRO RX
XTPRO RX
XTPRO RX
XTPRO RX
XTPRO RX
XTPRO RX
XT1600
XTPRO RX
XTPRO RX
XTPRO RX
XTPRO RX
XTPRO RX
XTPRO RX
XTPRO RX
XTPRO RX


Product specificaties

Merk: Smart-AVI
Categorie: AV extender
Model: XT-TX1600
Kleur van het product: Black, Violet
Gewicht: 1500 g
Soort: AV-zender
LED-indicatoren: Ja
Ondersteunde video-modi: 1080i, 1080p, 720p
Maximum resolutie: 1920 x 1200 Pixels
VGA (D-Sub)poort(en): 2
Aansluiting voor netstroomadapter: Ja
Audio-ingangen: 1
Audio-uitgang: 1
Externe adapter: Ja
Afmetingen (B x D x H): 220 x 118 x 27 mm
Bandbreedte: 400 MHz
RJ-45 invoer ports: 16
Operating voltage: 5 V
Maximaal bereik: 300 m
Ondersteundende kabel types: Cat5, Cat5e, Cat6, Cat7
Aansluiting type: HD15

Heb je hulp nodig?

Als je hulp nodig hebt met Smart-AVI XT-TX1600 stel dan hieronder een vraag en andere gebruikers zullen je antwoorden


Handleiding AV extender Smart-AVI

Handleiding AV extender

Nieuwste handleidingen voor AV extender