Smart-AVI VCA-RX100 Handleiding
Smart-AVI AV extender VCA-RX100
Bekijk gratis de handleiding van Smart-AVI VCA-RX100 (2 pagina’s), behorend tot de categorie AV extender. Deze gids werd als nuttig beoordeeld door 265 mensen en kreeg gemiddeld 4.7 sterren uit 6 reviews. Heb je een vraag over Smart-AVI VCA-RX100 of wil je andere gebruikers van dit product iets vragen? Stel een vraag
Pagina 1/2
© Copyright 2007 Smart-AVI, All Rights Reserved
Notice
The information contained in this document is
subject to change without notice. Smart-AVI makes
no warranty of any kind with regard to this material,
including but not limited to, implied warranties of
merchantability and fitness for any particular
purpose.
Smart-AVI will not be liable for errors contained herein
orforincidentalorconsequentialdamages in
connection with the furnishing, performance or use
of this material.
No part of this document may be photocopied,
reproduced or translated into another language with
out prior written consent from Smart-AVI.
Forthecompletemanual,visitwww.smartavi.com.
Use a single CAT5 to broadcast high
resolution UXGA and stereo audio
1000ft away at the most affordable
price in the market.
VCA100
www.smartavi.com
User Manual
3111 Winona Ave., Suite 101
Burbank, California 91504
Phone: (818) 565-0011
Facsimile: (818) 565-0020
Technical Specifications
3MART!UDIO6IDEO)NTEGRATION
3MART!UDIO6IDEO)NTEGRATION
reviecerdnarettimsnarTreviecerdnarettimsnarT
reviecerdnarettimsnarT
reviecerdnarettimsnarTreviecerdnarettimsnarT
oediVoediV
oediV
oediVoediV
htdiwdnaBzHM004
leveLlangisgolanAtlov1
ecnadepmIsmho57
rotcennoC51DHytisnedhgiH
tamroFBsGR/HBGR/AGXU/AGX/AGVS/AGV
cnyS
zHK031ot51:egnaRcnySlatnozirohLTT
zH021ot03egnaRcnySlacitreV
oiduAoiduA
oiduA
oiduAoiduA
htdiwdnaBzHK02
levellangiSBdO
ecnadepmIsmhoK01
rotcennoCtekcoskcajmm5.3
elbaCmetsySelbaCmetsyS
elbaCmetsyS
elbaCmetsySelbaCmetsyS
epyTA865AIEPTU5taC
rotcennoC54JR
rewoPrewoP
rewoP
rewoPrewoP
stnemeriuqeRAm005@CDV5
rotcennoCkcaJCD1.2x5
© Copyright 2012 SmartAVI, All Rights Reserved
NOTICE
The information contained in this document
is subject to change without notice. Smart-AVI makes
no warranty of any kind with regard to this material,
including but not limited to, implied warranties of
merchantability and fitness for any particular purpose.
Smart-AVI will not be liable for errors contained herein or for
incidental or consequential damages in connection with the
furnishing, performance or use of this material.
No part of this document may be photocopied, reproduced or
translated into another language without prior written consent
from Smart-AVI.
For more information, visit www.smartavi.com.
SmartAVI, Inc. / Twitter: smartavi
11651 Vanowen St. North Hollywood, CA 91605
Tel: (818) 503-6200 Fax: (818) 503-6208
http://www.SmartAVI.com
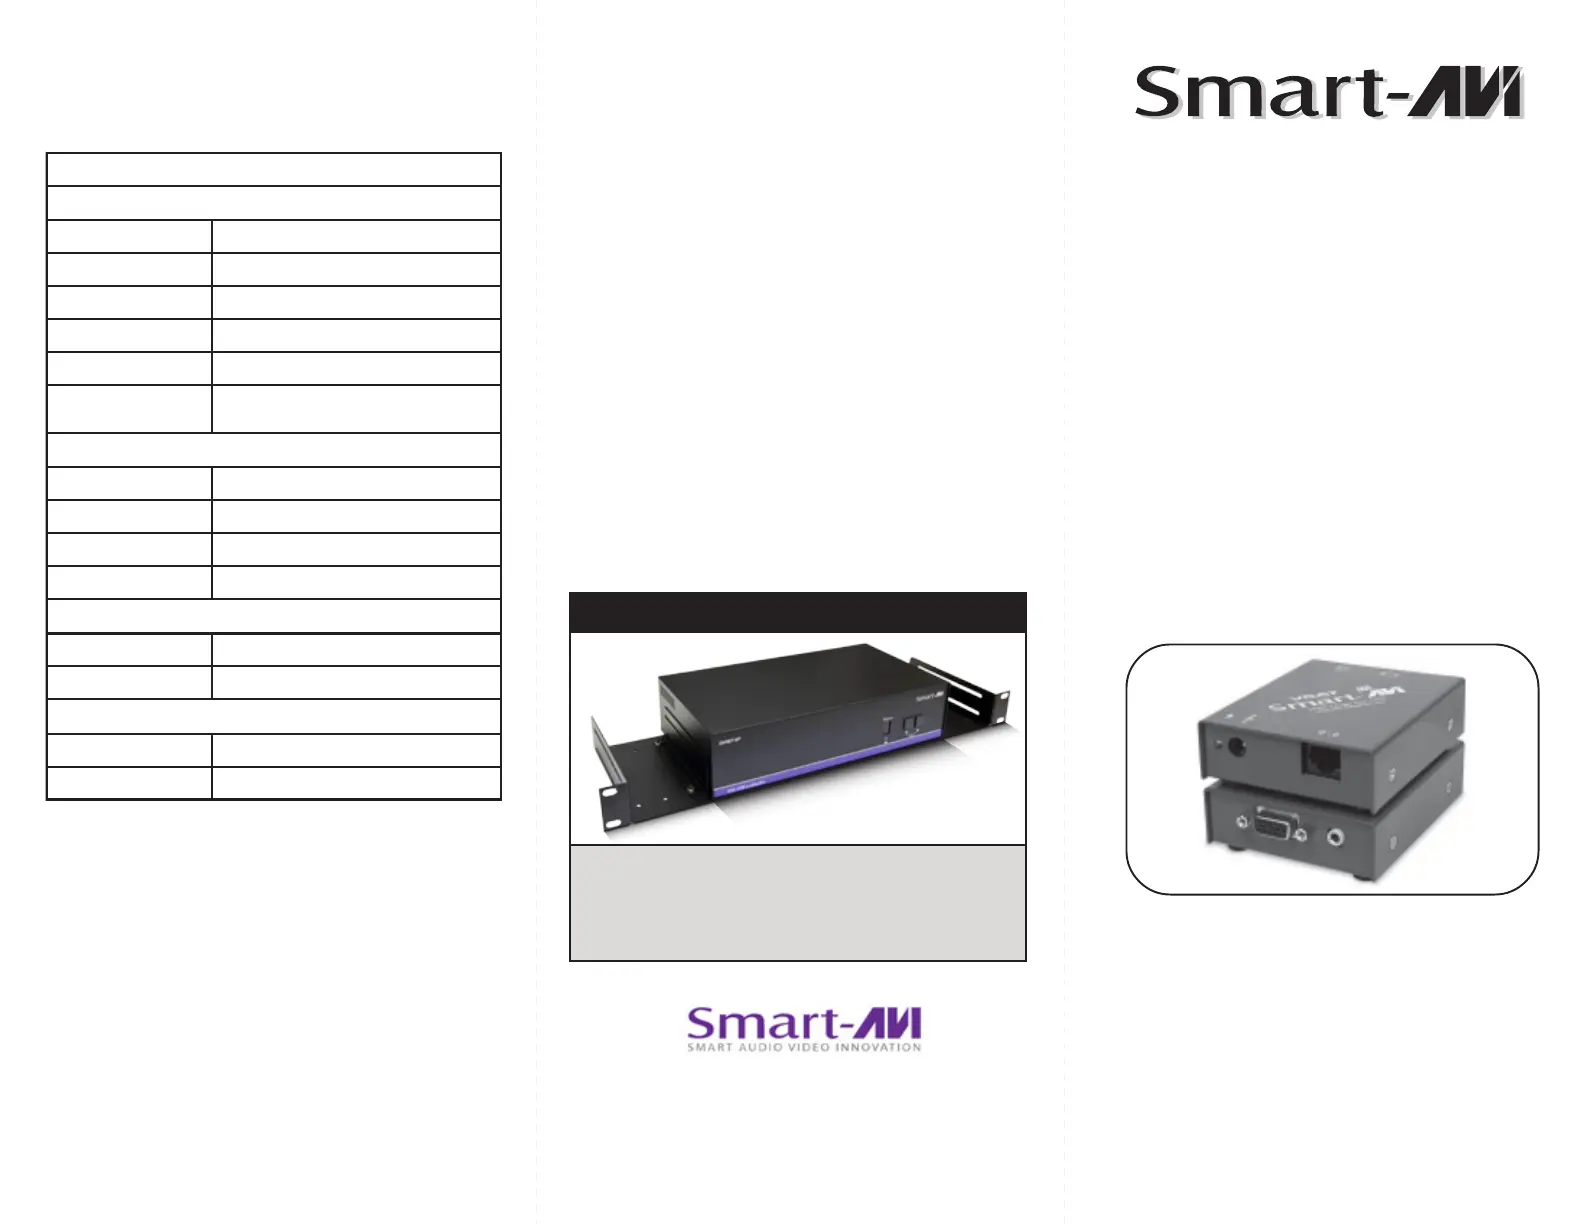
Rack Mountable Option
Our SmartRack is the perfect solution to allow
virtually all SmartAVI devices to be custom mounted
in a standard 19” server rack. The SmartRack is fully
adjustable and can secure/organize several devices.
Product specificaties
| Merk: | Smart-AVI |
| Categorie: | AV extender |
| Model: | VCA-RX100 |
| Kleur van het product: | Violet |
| Soort: | AV-receiver |
| Maximum resolutie: | 1900 x 1200 Pixels |
| VGA (D-Sub)poort(en): | 1 |
| Aansluiting voor netstroomadapter: | Ja |
| Audio-uitgang: | 1 |
| Externe adapter: | Ja |
| Bandbreedte: | 400 MHz |
| RJ-45 invoer ports: | 1 |
| Operating voltage: | 5 V |
| Ondersteundende kabel types: | Cat5 |
| Aansluiting type: | HD15 |
Heb je hulp nodig?
Als je hulp nodig hebt met Smart-AVI VCA-RX100 stel dan hieronder een vraag en andere gebruikers zullen je antwoorden
Handleiding AV extender Smart-AVI

21 December 2024
21 December 2024
21 December 2024
21 December 2024
21 December 2024
21 December 2024
21 December 2024
21 December 2024
21 December 2024
21 December 2024
Handleiding AV extender
Nieuwste handleidingen voor AV extender
15 Juli 2026
14 Juli 2026
9 Juli 2026
24 Juni 2026
23 Juni 2026
10 Juni 2026
10 Juni 2026
8 Juni 2026
8 Juni 2026
23 Mei 2026