Signature Hardware 401595 Handleiding
Bekijk gratis de handleiding van Signature Hardware 401595 (3 pagina’s), behorend tot de categorie Niet gecategoriseerd. Deze gids werd als nuttig beoordeeld door 26 mensen en kreeg gemiddeld 4.4 sterren uit 2 reviews. Heb je een vraag over Signature Hardware 401595 of wil je andere gebruikers van dit product iets vragen? Stel een vraag
Pagina 1/3
1
BEFORE YOU BEGIN
Before installing, read entire outdoor shower installation
Instructions. Observe all local building and safety codes.
For the following installation instructions it is assumed
that the water supply has been installed in the desired
location and is accessible for shower installation.
Unpack and inspect the product for any shipping
damages. If you find damages, do not install. Contact
Customer Service at 1.8.5571
5.. If you need 1800
assistance or have questions while installing your
shower panel, contact Customer Service.
We recommend consulting a professional if you are
unfamiliar with installing bathroom fixtures. Signature
Hardware accepts no liability for any damage to the seat
or wall, or for personal injury during installation.
Note: Make sure to winterize your outdoor shower
before cold weather arrives to prevent burst pipes and
protect the shower's hardware.
GETTING STARTED
Ensure that you have gathered all the required
materials that are needed for the installation.
For these instructions, it is assumed that the old
faucet has been completely removed and any
necessary repairs or modifications to the water
supply have been completed.
OUTDOOR SHOWER
STAINLESS STEEL WITH PULL CHAIN INSTALLATION INSTRUCTIONS
SKU: 401595
REVISED 07/10/2019
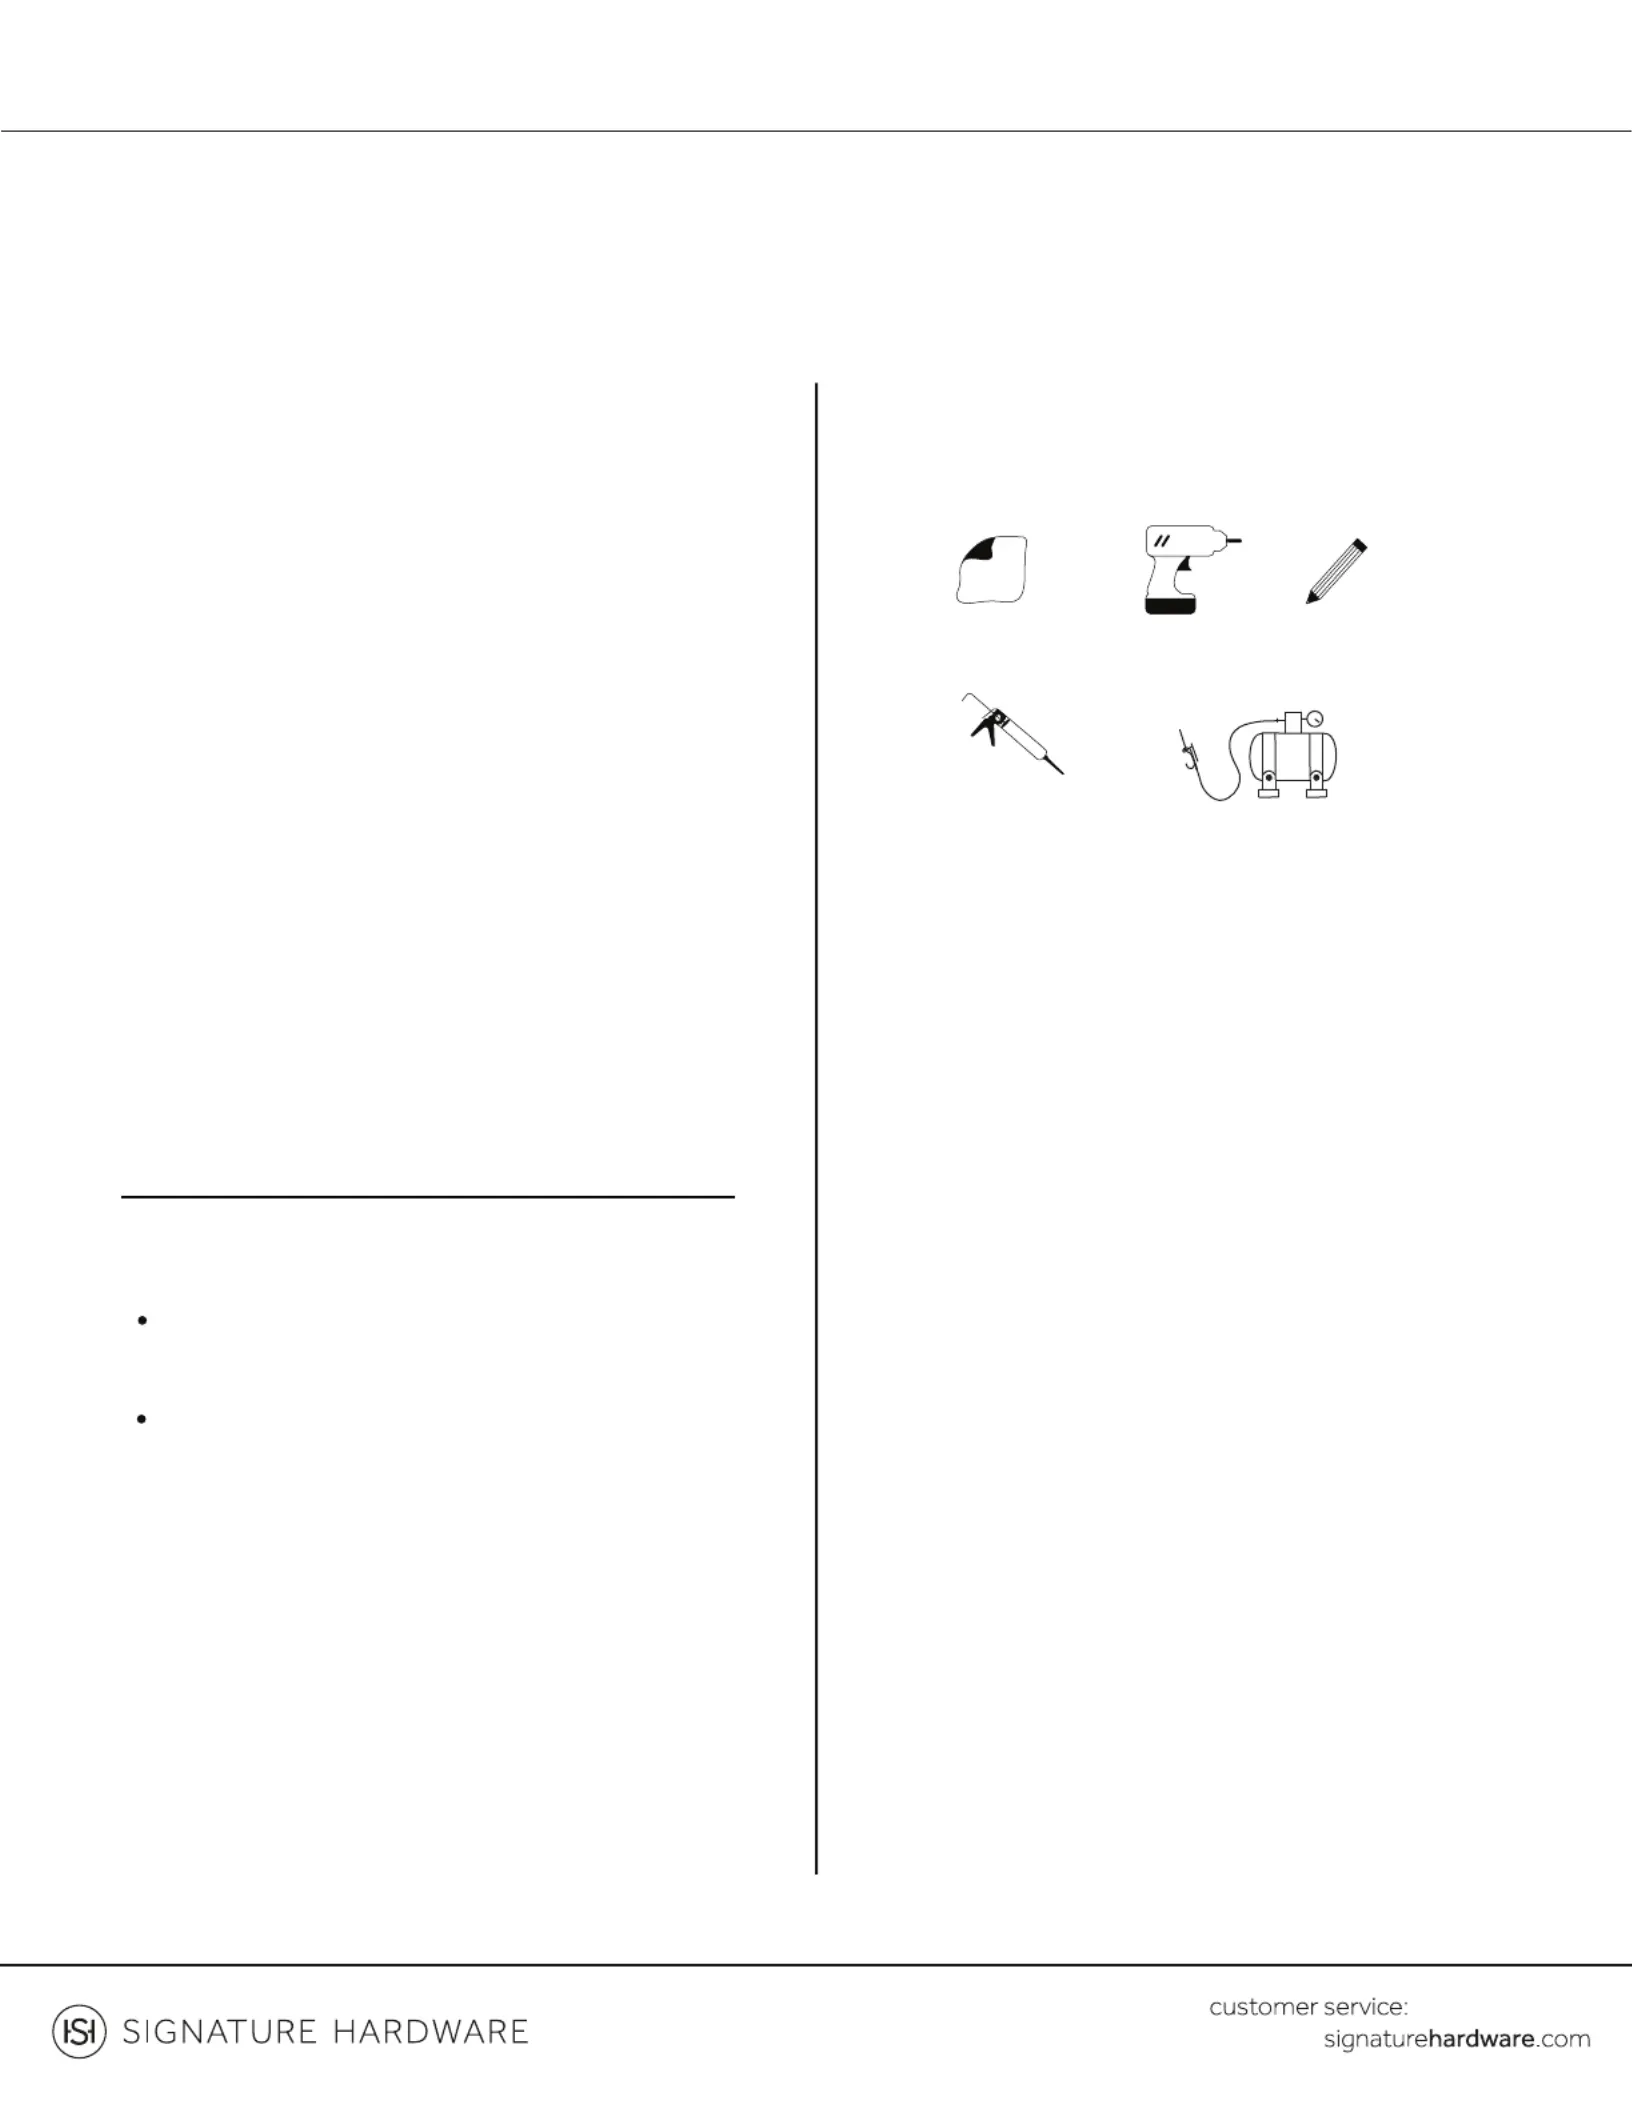
TOOLS AND MATERIALS:
Drill
Silicone Sealant
(100% Neutral
Cure)
Damp Cloth
Pencil
Air Compressor
18557151800...
Product specificaties
| Merk: | Signature Hardware |
| Categorie: | Niet gecategoriseerd |
| Model: | 401595 |
Heb je hulp nodig?
Als je hulp nodig hebt met Signature Hardware 401595 stel dan hieronder een vraag en andere gebruikers zullen je antwoorden
Handleiding Niet gecategoriseerd Signature Hardware

27 December 2025
24 December 2025
20 December 2025
20 December 2025
20 December 2025
19 December 2025
18 December 2025
18 December 2025
16 December 2025
13 November 2025
Handleiding Niet gecategoriseerd
Nieuwste handleidingen voor Niet gecategoriseerd
8 Juni 2026
8 Juni 2026
8 Juni 2026
8 Juni 2026
8 Juni 2026
8 Juni 2026
8 Juni 2026
8 Juni 2026
8 Juni 2026
8 Juni 2026