Samsung HW-LS60D Handleiding
Bekijk gratis de handleiding van Samsung HW-LS60D (44 pagina’s), behorend tot de categorie Soundbar. Deze gids werd als nuttig beoordeeld door 64 mensen en kreeg gemiddeld 5.0 sterren uit 32.5 reviews. Heb je een vraag over Samsung HW-LS60D of wil je andere gebruikers van dit product iets vragen? Stel een vraag
Pagina 1/44

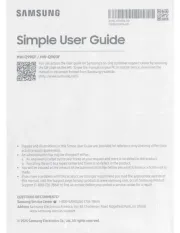
Simple User Guide
HW-LS60D
You can access the User guide on Samsung’s on-line customer support center by scanning the QR code
on the left. To see the manual on your PC or mobile device, download the manual in document format
from Samsung’s website. (http://www.samsung.com/support)
• Figures and illustrations in this User Manual are provided for reference only and may differ from actual product
appearance.
• An administration fee may be charged if either:
(a) an engineer is called out at your request and there is no defect with the product (i.e. where the user manual has
not been read).
(b) you bring the unit to a repair centre and there is no defect with the product (i.e. where the user manual has not
been read).
• You will be informed of the administration fee amount before a technician visits.
AH85-01006G-01
English - 1
01
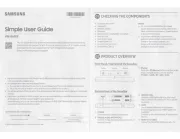
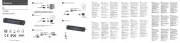
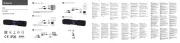
CHECKING THE COMPONENTS
• Wireless Speaker main unit
• Stand
• AC/DC Adapter
• Power Cord
• Photo Frame
• Component for Art Panel (sold separately)
– Holder-Plate x 4
– Holder-Guide x 1
• Wallmount Component
– Wallmount Guide
– Bracket-Wall Rear x 1
– Screw (M5 X L55) x 2
– Anchor x 2
– Holder-Screw x 1
– Spacer x 2
NOTE
• To purchase additional components or optional
cables, contact a Samsung Service Center or Samsung
Customer Care.
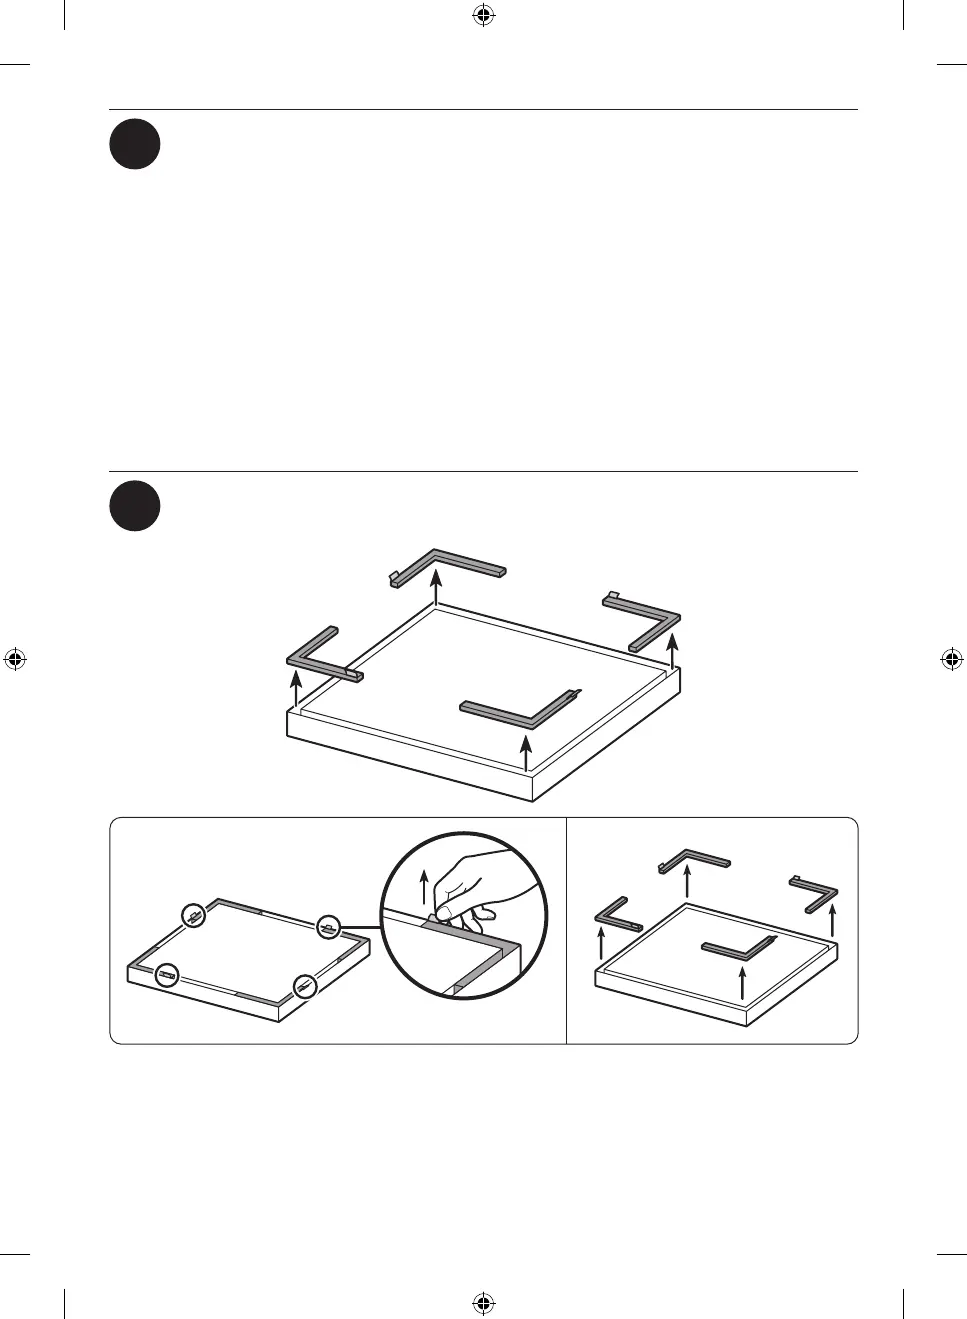
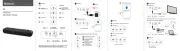
02
DETACHING THE PROTECTION RUBBER
1 2
Product specificaties
| Merk: | Samsung |
| Categorie: | Soundbar |
| Model: | HW-LS60D |
| Kleur van het product: | Zwart |
| Breedte: | 353 mm |
| Diepte: | 143.4 mm |
| Hoogte: | 364.8 mm |
| Gewicht verpakking: | 5900 g |
| Breedte verpakking: | 413 mm |
| Diepte verpakking: | 435 mm |
| Hoogte verpakking: | 159 mm |
| Bluetooth: | Ja |
| Bluetooth-versie: | 5.2 |
| Ondersteund audioformaat: | AAC, AIFF, ALAC, FLAC, MP3, OGG, WAV |
| Connectiviteitstechnologie: | Bedraad |
| Aantal HDMI-poorten: | 2 |
| Stroomverbruik (in standby): | 0.5 W |
| Aantal luidsprekers: | 6 |
| Nachtmodus: | Ja |
| Apple AirPlay 2-ondersteuning: | Ja |
| Ingebouwde audio decoders: | Dolby Atmos, Dolby Digital Plus |
| Equalizer-instellingen: | Ja |
| Audio-uitgangskanalen: | 2.0 kanalen |
| Equalizer modus: | Adaptive, Music, Standard |
| Ophangsysteem voor aan de muur: | Ja |
| HDMI in: | 1 |
| Soundbar speaker RMS vermogen: | - W |
| Meegeleverde subwoofer: | Nee |
| Soundbar gewicht: | 4600 g |
| Aantal HDMI-uitgangen: | 1 |
| Ingebouwde Chromecast: | Ja |
| Spotify Connect: | Ja |
| Wand montagekit: | Ja |
| Afstandsbediening inbegrepen: | Nee |
| Wifi: | Ja |
| Q-Symphony: | Ja |
| SpaceFit Sound-functie: | Ja |
| Samsung-technologieën (AV/TV): | Tap Sound |
Heb je hulp nodig?
Als je hulp nodig hebt met Samsung HW-LS60D stel dan hieronder een vraag en andere gebruikers zullen je antwoorden
Handleiding Soundbar Samsung
17 Juli 2025
14 Juli 2025
9 Juli 2025

8 Juli 2025
8 Juli 2025
7 Juli 2025
7 Juli 2025

4 Juli 2025
16 Juni 2025
16 Juni 2025
Handleiding Soundbar
- Sunyuey
- AV:link
- Ices
- Silvercrest
- Haier
- Integra
- Dali
- LG
- Vision
- Sonos
- Kicker
- Boss
- Harman Kardon
- Kubo
- Bowers And Wilkins
Nieuwste handleidingen voor Soundbar
16 September 2025
16 September 2025
15 September 2025
15 September 2025
15 September 2025
15 September 2025
15 September 2025
9 September 2025
9 September 2025
2 September 2025