Ryobi One+ RID18X Handleiding
Ryobi Schroefmachine One+ RID18X
Bekijk gratis de handleiding van Ryobi One+ RID18X (84 pagina’s), behorend tot de categorie Schroefmachine. Deze gids werd als nuttig beoordeeld door 54 mensen en kreeg gemiddeld 4.6 sterren uit 5 reviews. Heb je een vraag over Ryobi One+ RID18X of wil je andere gebruikers van dit product iets vragen? Stel een vraag
Pagina 1/84
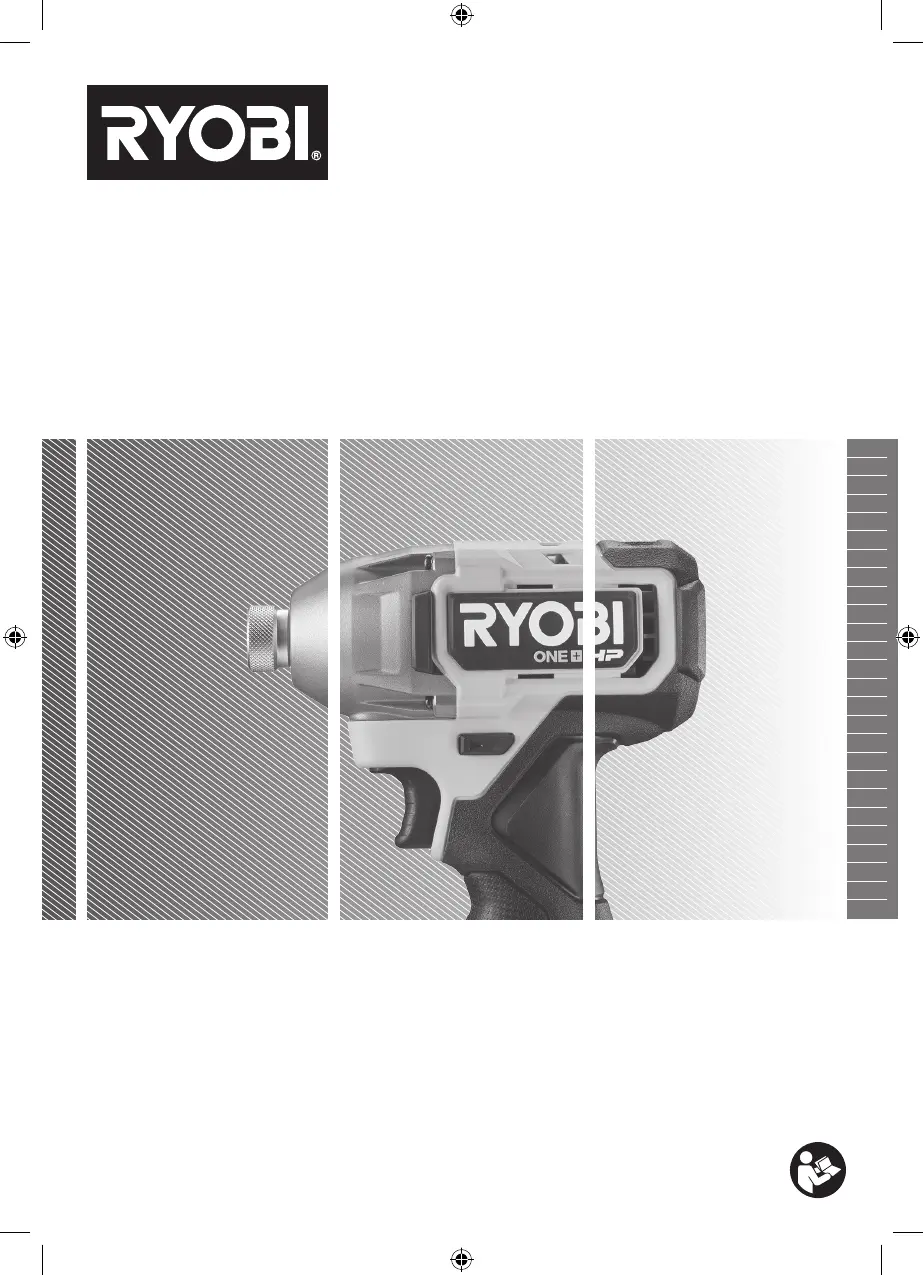
RID18X
EN
FR
DE
ES
IT
NL
PT
DA
SV
FI
NO
RU
PL
CS
HU
RO
LV
LT
ET
HR
SL
SK
BG
UK
TR
EL
FRONT PAGE
Product specificaties
| Merk: | Ryobi |
| Categorie: | Schroefmachine |
| Model: | One+ RID18X |
Heb je hulp nodig?
Als je hulp nodig hebt met Ryobi One+ RID18X stel dan hieronder een vraag en andere gebruikers zullen je antwoorden
Handleiding Schroefmachine Ryobi

23 December 2025
13 Mei 2025
10 Februari 2025
15 November 2024
5 November 2024
3 November 2024
3 November 2024
23 Augustus 2024
23 Augustus 2024
23 Augustus 2024
Handleiding Schroefmachine
Nieuwste handleidingen voor Schroefmachine
2 Mei 2026
2 Mei 2026
30 April 2026
28 April 2026
28 April 2026
21 April 2026
21 April 2026
19 April 2026
6 April 2026
1 April 2026