Perlick HP24TS-4-2L-2A Handleiding
Perlick Tapsysteem HP24TS-4-2L-2A
Bekijk gratis de handleiding van Perlick HP24TS-4-2L-2A (12 pagina’s), behorend tot de categorie Tapsysteem. Deze gids werd als nuttig beoordeeld door 68 mensen en kreeg gemiddeld 4.2 sterren uit 6 reviews. Heb je een vraag over Perlick HP24TS-4-2L-2A of wil je andere gebruikers van dit product iets vragen? Stel een vraag
Pagina 1/12
To ensure brewery-fresh flavor, it is recommended that the beer system be cleaned after every
barrel or every two weeks to eliminate bacteria, yeast and beer stone build-up in the system.
Below, you’ll find instructions on how to properly and thoroughly clean your beer dispenser.
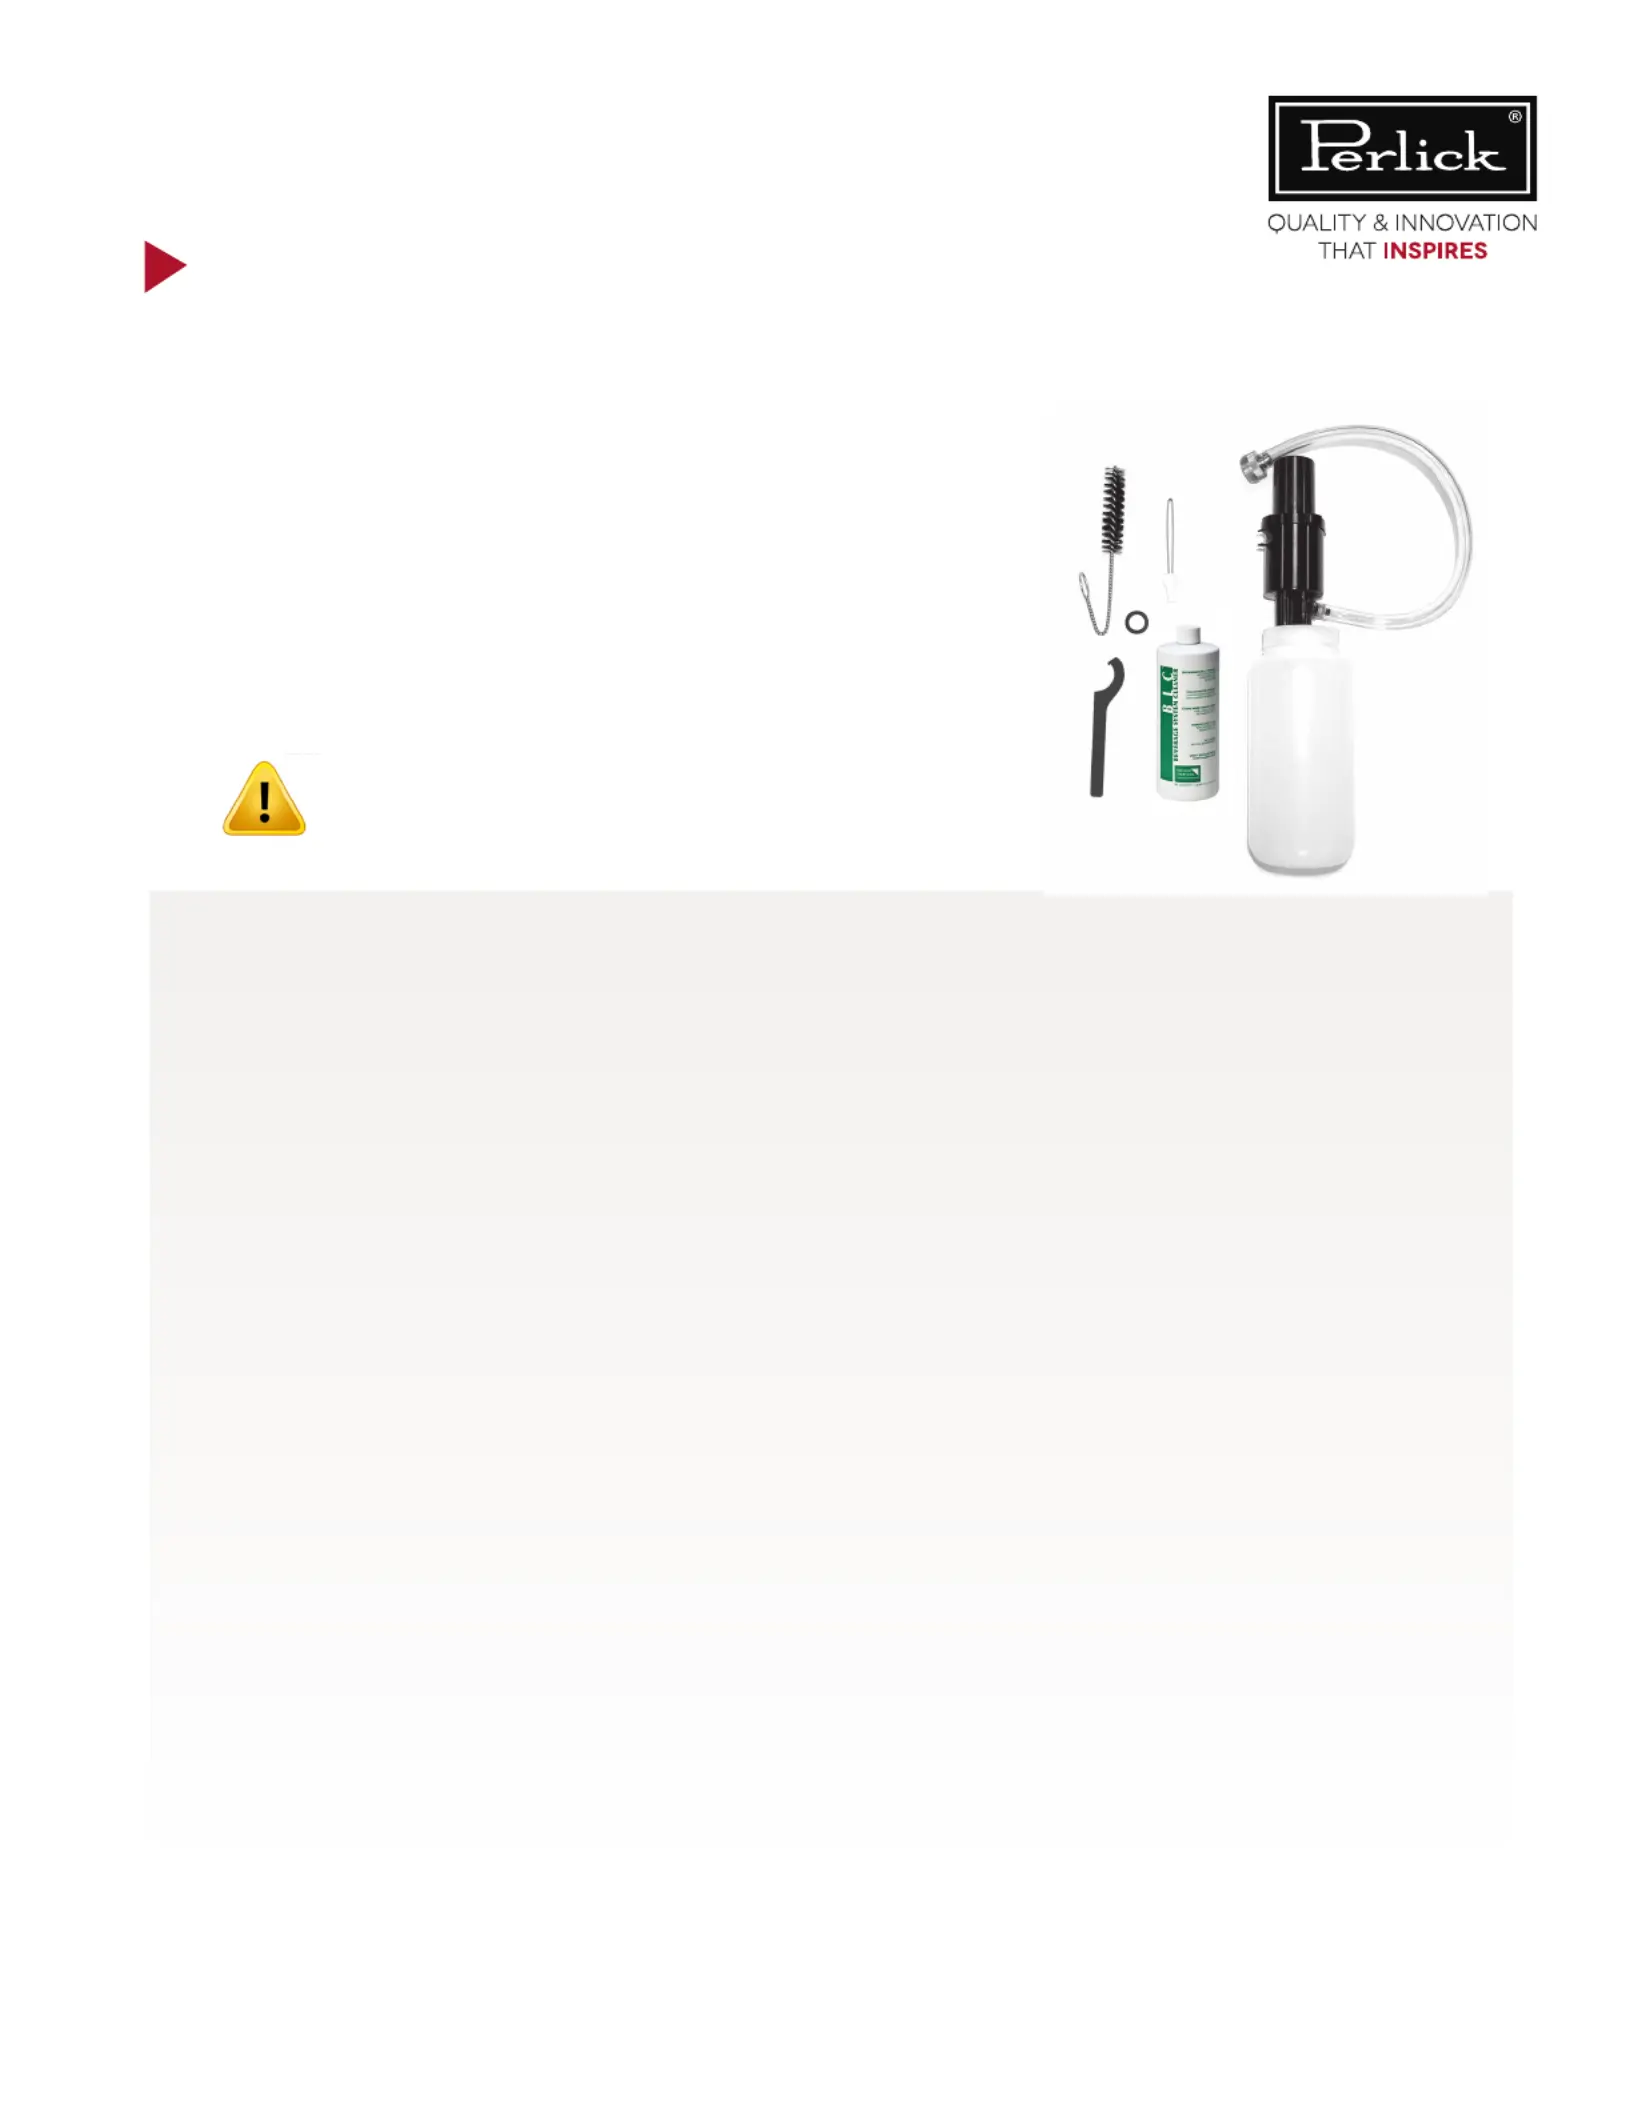
Supplies needed:
• Cleaning Kit - Includes cleaning pump jar , coupling (A)
washer , 4 oz. BLC line cleaning chemical , check (B)(C)
ball lifter , cleaning brush and spanner wrench (D)(E)(F)
(Kit Part No. 63797, shown right)
• Buckets
• Water (warm and cold)
CAUTION: The chemicals used to clean beer lines are
hazardous. Please follow all recommended safety instructions
on the chemical’s container.
1. Turn o the CO
2
, either at the CO
2
cylinder or at the air distributor.
2. Remove tapping device (keg coupler) from the barrel.
3. If tapping device contains a check ball, insert check ball lifter into the bottom of the coupler (Perlick Low Prole Coupler does
not contain a check ball).
4. Place tapping device into a small bucket.
5. Using a spanner wrench, remove the beer faucet from the dispensing head.
6. Fill cleaning pump with warm water.
7. Attach cleaning pump jar connector with washer to where faucet was removed from dispensing head.
8. Pump the warm water through the system to remove all remaining beer from the system. Empty tapping device bucket and
rinse out. Place tapping device back into the bucket.
9. Fill cleaning pump jar with water and cleaning chemical per the recommendations on the cleaning chemical container.
10. Pump cleaning solution into system, leaving about a 1/2 the solution in the cleaning pump jar.
11. Let stand 15 minutes, then pump remaining solution through the system
12. Using a cleaning brush, clean the exterior surfaces of the tapping device and rinse with clean fresh water
13. Rinse out cleaning pump jar with fresh water
14. Fill cleaning pump jar with clean warm water and pump entire jar through the system
15. Repeat step 13 using clean cold water
16. During the 15 minutes that the solution is in the system, mix a small container with water and cleaning chemical per the
instructions on the clenaing chemical container and disassemble the faucet per faucet manufacturers recommendations and
let soak in solution
17. Using cleaning brush, clean the components of the faucet
18. Rinse all components of the faucet in clean fresh water. Check all seals on the faucet for wear and replace if necessary
19. Reassemble faucet
20. Remove cleaning pump jar from dispensing tower connection and reinstall faucet using spanner wrench to tighten properly
21. Turn on CO
2
and tap new keg
D.
F.
A.
C.
E.
B.
cleaning instructions
Product specificaties
| Merk: | Perlick |
| Categorie: | Tapsysteem |
| Model: | HP24TS-4-2L-2A |
Heb je hulp nodig?
Als je hulp nodig hebt met Perlick HP24TS-4-2L-2A stel dan hieronder een vraag en andere gebruikers zullen je antwoorden
Handleiding Tapsysteem Perlick

5 Augustus 2024
5 Augustus 2024
5 Augustus 2024
5 Augustus 2024
5 Augustus 2024
5 Augustus 2024
5 Augustus 2024
5 Augustus 2024
5 Augustus 2024
5 Augustus 2024
Handleiding Tapsysteem
Nieuwste handleidingen voor Tapsysteem
14 Juli 2026
16 Juni 2026
5 Juni 2026
1 Juni 2026
14 April 2026
14 April 2026
4 April 2026
5 Maart 2026
27 Februari 2026
25 Februari 2026