Panasonic TH-L32B6M Handleiding
Bekijk gratis de handleiding van Panasonic TH-L32B6M (26 pagina’s), behorend tot de categorie Televisie. Deze gids werd als nuttig beoordeeld door 71 mensen en kreeg gemiddeld 4.2 sterren uit 8 reviews. Heb je een vraag over Panasonic TH-L32B6M of wil je andere gebruikers van dit product iets vragen? Stel een vraag
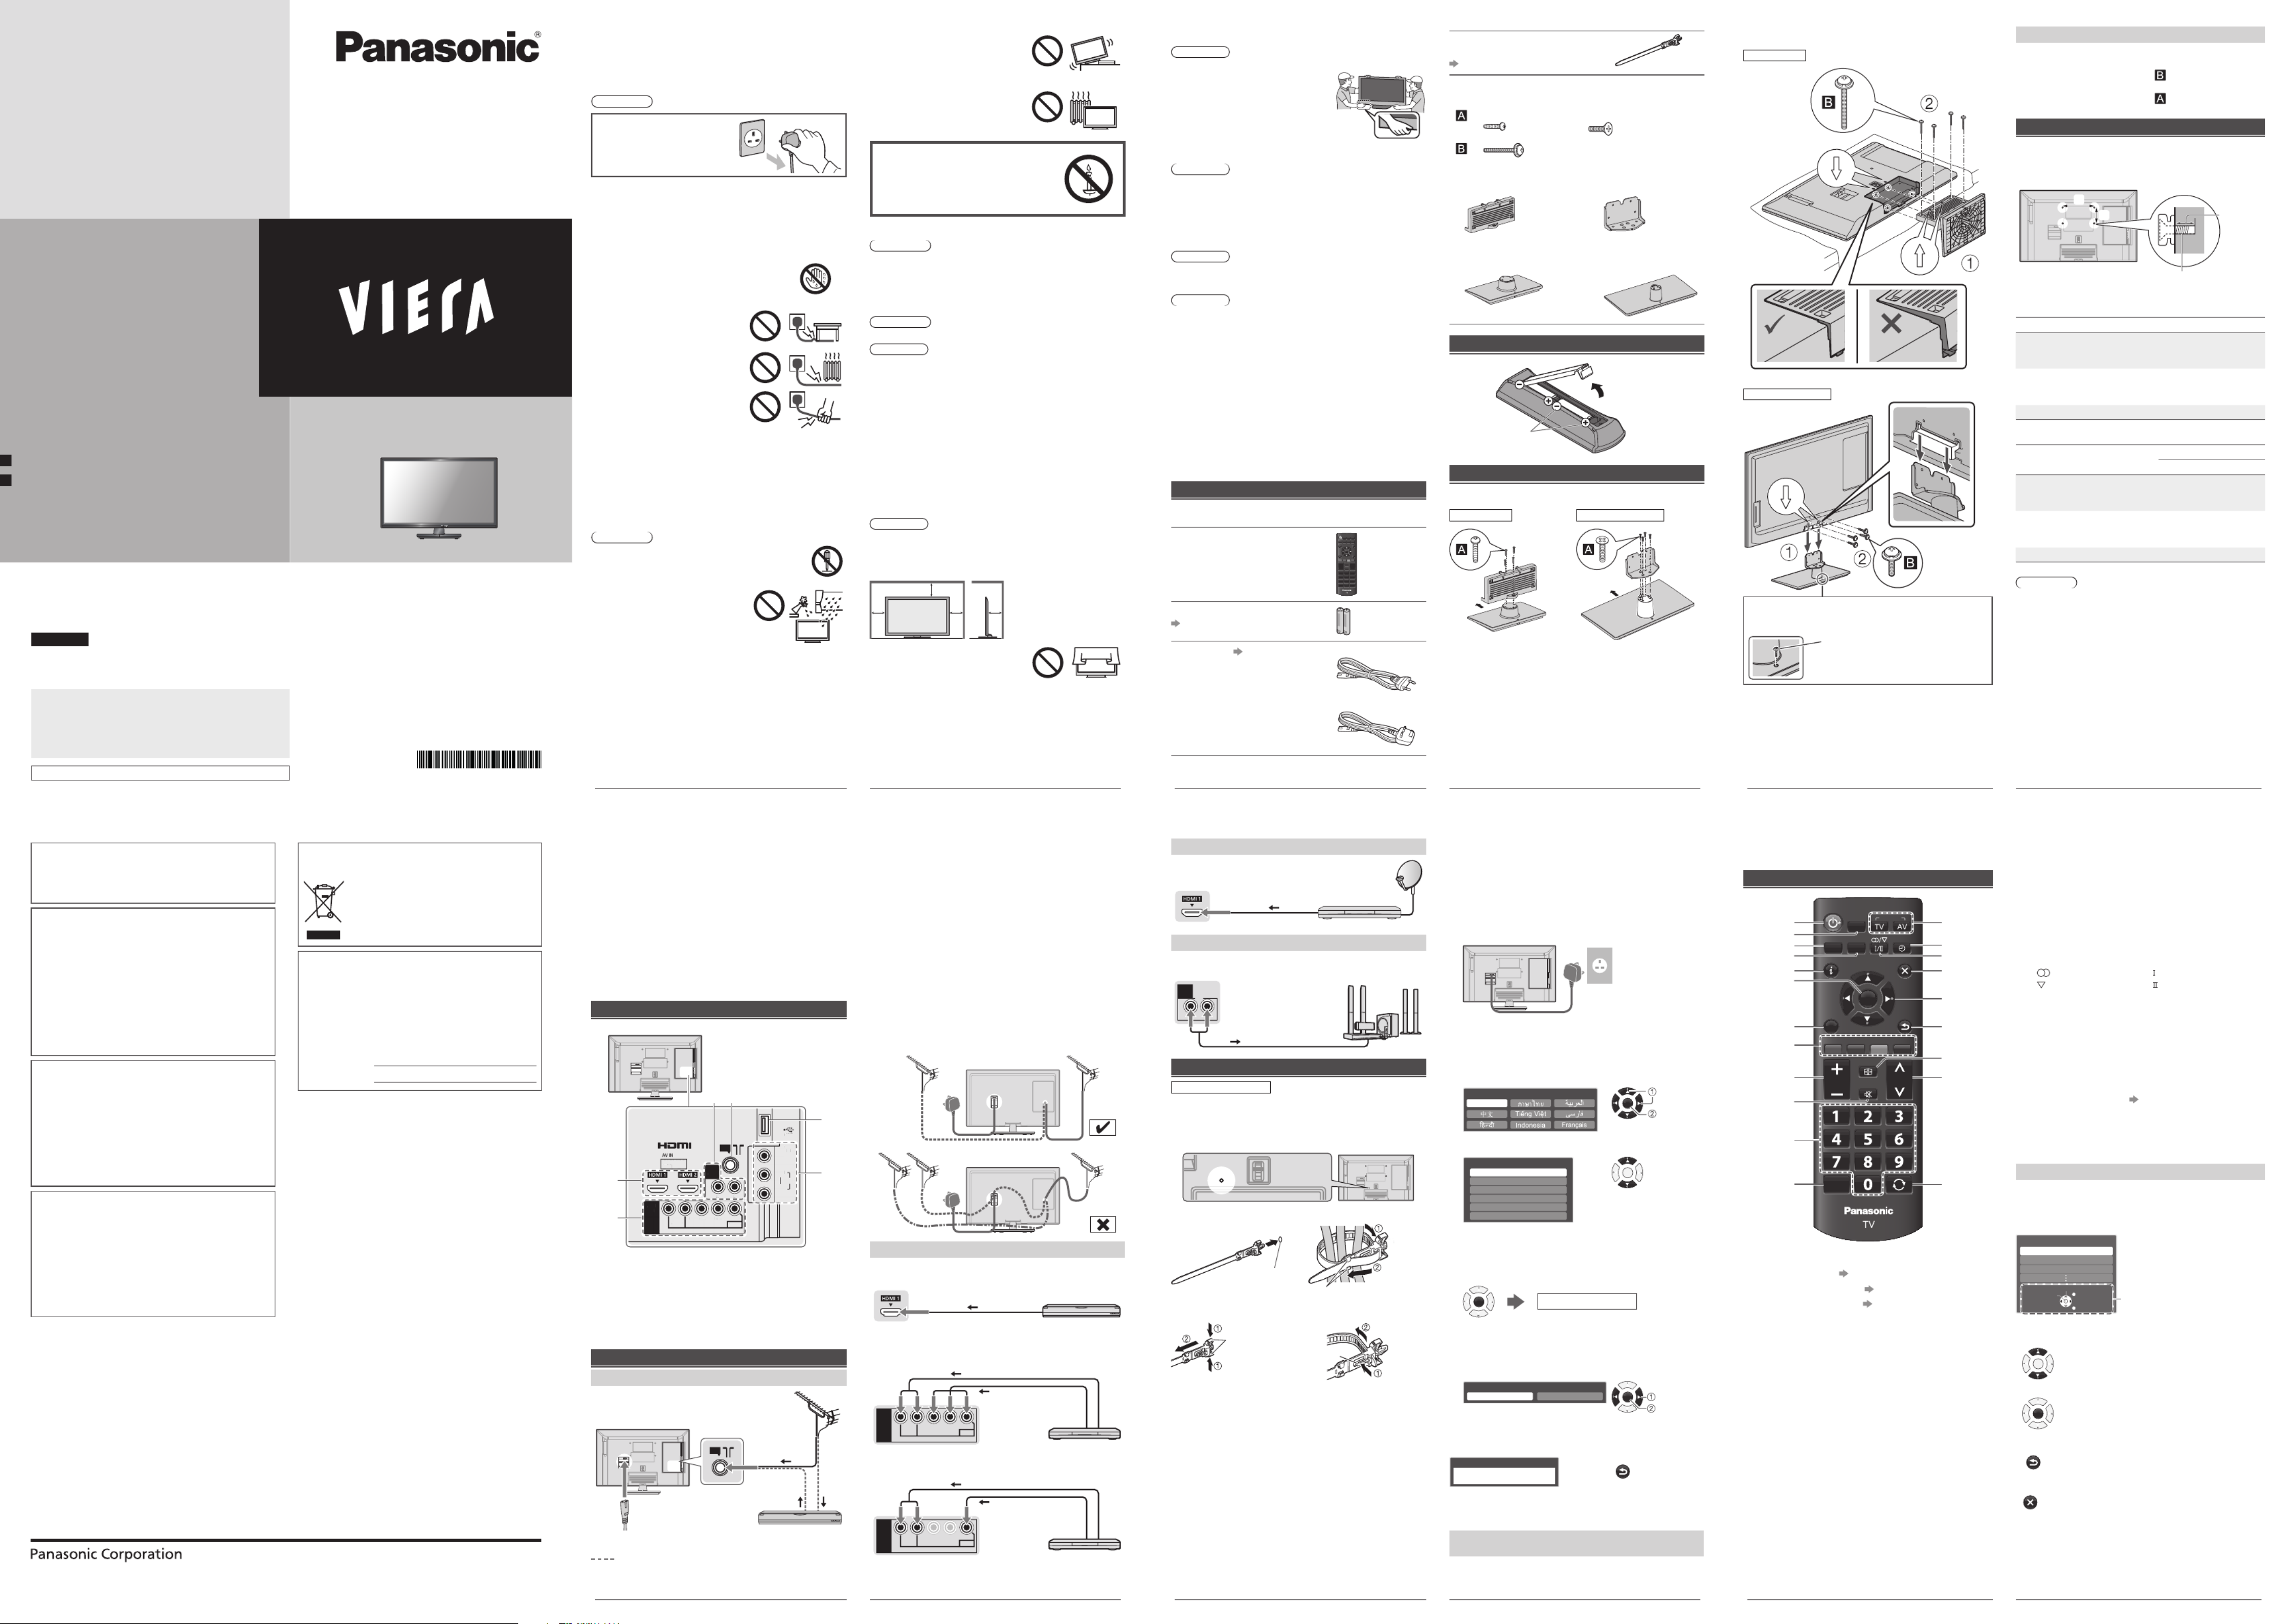
Pagina 1/26
2
Safety Precautions
To help avoid risk of electrical shock, fire, damage or injury,
please follow the warnings and cautions below:
ŶMains plug and lead
Warning
If you detect anything unusual,
immediately remove the mains
plug.
ƔMains plug types vary
between countries.
ƔThis TV is designed to operate on:
–TH-L32B6K/TH-L32B68K/TH-L32B69K:
AC 220 - 240 V, 50/60 Hz
–Other models: AC Auto 110 - 240 V, 50/60 Hz
ƔInsert the mains plug fully into the socket outlet.
ƔEnsure that the mains plug is easily accessible.
ƔDisconnect the mains plug when cleaning the TV.
ƔDo not touch the mains plug with wet hands.
ƔDo not damage the mains lead.
• Do not place a heavy object on
the lead.
• Do not place the lead near a
high temperature object.
• Do not pull on the lead. Hold
onto the mains plug body when
disconnecting the plug.
• Do not move the TV with the lead plugged into a socket
outlet.
• Do not twist the lead, bend it excessively or stretch it.
• Do not use a damaged mains plug or socket outlet.
• Ensure the TV does not crush the mains lead.
ƔDo not use any mains lead other than that provided with
this TV.
ŶTake care
Warning
ƔDo not remove covers and never modify the TV
yourself as live parts are accessible when they
are removed. There are no user serviceable
parts inside.
ƔDo not expose the TV to rain or
excessive moisture. This TV must
not be exposed to dripping or
splashing water and objects filled
with liquid, such as vases, must
not be placed on top of or above
the TV.
ƔDo not insert foreign objects into the TV through the air
vents.
ƔDo not use an unapproved pedestal / mounting equipment.
Be sure to ask your local Panasonic dealer to perform the
setup or installation of approved wall-hanging brackets.
ƔDo not apply strong force or impact to the display panel.
ƔDo not place the TV on sloped or
unstable surfaces, and ensure that
the TV does not hang over the edge
of the base.
ƔThis TV is designed for table-top use.
ƔDo not expose the TV to direct
sunlight and other sources of heat.
To prevent the spread of
fire, keep candles or other
open flames away from
this product at all times
ŶDangerous part / Small object
Warning
ƔThis product contains possibly dangerous parts such as
plastic bags, that can be breathed in or swallowed by
young children accidentally. Keep these parts out of reach
of young children.
ŶPedestal
Warning
ƔDo not disassemble or modify the pedestal.
Caution
ƔDo not use any pedestal other than the one provided with
this TV.
ƔDo not use the pedestal if it becomes warped or physically
damaged. If this occurs, contact your nearest Panasonic
dealer immediately.
ƔDuring setup, make sure that all screws are securely
tightened.
ƔEnsure that the TV does not suffer any impact during
installation of the pedestal.
ƔEnsure that children do not climb onto the pedestal.
ƔInstall or remove the TV from the pedestal with at least two
people.
ƔInstall or remove the TV by the specified procedure.
ŶVentilation
Caution
Allow sufficient space around the TV in order to help prevent
excessive heat, which could lead to early failure of some
electronic components.
Minimum distance (cm)
10
10
10 10
ƔVentilation should not be impeded
by covering the ventilation openings
with items such as newspapers,
tablecloths and curtains.
ƔWhether you are using a pedestal or not, always ensure
the vents at the bottom of the TV are not blocked and
there is sufficient space to enable adequate ventilation.
3
ŶMoving the TV
Caution
Before moving the TV, disconnect all cables.
ƔMove the TV with at least two
people. Support as shown to
avoid injury by the TV tipping
or falling.
ŶWhen not in use for a long time
Caution
This TV will still consume some power even in the Off mode,
as long as the mains plug is still connected to a live socket
outlet.
ƔRemove the mains plug from the wall socket when the TV
is not in use for a prolonged period of time.
ŶUse conditions
Caution
ƔThis appliance is intended for use in tropical climates.
ŶBattery for the Remote Control
Caution
ƔIncorrect installation may cause battery leakage, corrosion
and explosion.
ƔReplace only with the same or equivalent type.
ƔDo not mix old and new batteries.
ƔDo not mix different battery types (such as alkaline and
manganese batteries).
ƔDo not use rechargeable batteries (Ni-Cd, etc.).
ƔDo not burn or break up batteries.
ƔDo not expose batteries to excessive heat such as
sunshine, fire or the like.
ƔMake sure you dispose of batteries correctly.
Setting Up the TV
Standard accessories
Accessories may not be placed all together. Take care not to
throw them away unintentionally.
Remote Control
ƔN2QAYB000823
Batteries (R6) × 2
(p. 3)
Mains Lead (p. 5)
ƔTH-L32B6G/K/X, TH-L32B68G/K,
TH-L32B69K, TH-L39B6G/K/X,
TH-L39B68K, TH-L39B69K,
TH-L50B6G/K
ƔTH-L32B6M,
TH-L39B6M,
TH-L50B6M
Clamper
For 32” models only
(p. 6)
Pedestal
ƔAssembly screws
–32” models:–39” & 50” models:
× 4 (M5 × 16) × 4
–32” models: (M4 × 25) × 4
–39” & 50” models: (M4 × 12) × 4
ƔBracket
–32” models:–39” & 50” models:
ƔBase
–32” models:–39” & 50” models:
Inserting remote’s batteries
Note the correct
polarity (+ or -)
Press the hook and
lift the cover
Attaching the pedestal
1 Assemble the pedestal
32” models39” & 50” models
Front
Front
4
2 Attach the TV to the pedestal
32” models
39” & 50” models
Secure the base to prevent the TV from falling over.
ƔThe place where the base is secured should be thick
enough and made of hard material.
Commercially available screw
(not supplied)
Diameter: 3 mm
Length: 25 - 30 mm
Removing the pedestal from the TV
Be sure to remove the pedestal in the following way when
using the wall-hanging bracket or repacking the TV.
1 Remove the assembly screws from the TV.
2 Pull out the pedestal from the TV.
3 Remove the assembly screws from the bracket.
Optional accessories
Wall-hanging bracket (not supplied)
Please contact your local Panasonic dealer to purchase
the recommended optional accessories.
b
Rear of the TV
Screw for fixing the TV onto the
wall-hanging bracket (not supplied)
Depth of
screw
(View from the side)
a
ŶHoles for wall-hanging bracket installation
Modelsa b
TH-L32B6G/K/M/X
TH-L32B68G/K
TH-L32B69K
200 mm100 mm
TH-L39B6G/K/M/X
TH-L39B68K
TH-L39B69K
200 mm200 mm
TH-L50B6G/K/M 400 mm400 mm
ŶScrew specification
ModelsType Depth of screw
Minimum Maximum
TH-L32B6G/K/M/X
TH-L32B68G/K
TH-L32B69K
M410 mm16 mm
TH-L39B6G/K/M/X
TH-L39B68K
TH-L39B69K
M612 mm22 mm
TH-L50B6G/K/M M616 mm30 mm
Warning
ƔWhen optional accessories such as wall brackets etc.
are used, always read and follow the manufactures
installation and usage instructions.
ƔDo not mount the unit directly below ceiling lights (such
as spotlights or halogen lights) which typically give off
high heat. Doing so may warp or damage plastic cabinet
parts.
ƔWhen installing wall brackets you must ensure the
wall bracket is not electrically grounded to metal wall
studs. Always ensure that there are no electrical cables,
pipes etc. in the wall before you begin the wall bracket
installation.
ƔTo prevent fall and injury, remove the TV from its fixed
wall position when it is no longer in use.
5
ƔKeep the space between the TV and RF cable to prevent
distorted image.
ƔDo not put the RF cable close to the mains lead to avoid
noise.
ƔDo not place the RF cable under the TV.
ƔAn aerial, correct cable (75 coaxial) and correct ȍ
terminating plug are required to obtain optimum quality
picture and sound.
ƔIf a communal aerial system is used, you may require the
correct connection cable and plug between the wall aerial
socket and the TV.
ƔYour local Television Service Centre or dealer may be able
to assist you in obtaining the correct aerial system for your
particular area and the accessories required.
ƔAny matters regarding aerial installation, upgrading of
existing systems or accessories required, and the costs
incurred, are the responsibility of you, the customer.
ƔIf the aerial is placed in the wrong location, interference
might happen.
AV / Game equipment
ŶUsing HDMI terminal
TV
HDMI cableEquipment
ƔYou can also make similar connection via HDMI 2.
ŶUsing COMPONENT terminals
AV1
IN
AUDIO
VIDEO
COMPONENT
R L
P
R
/C
R
P
B
/C
B
Y/VIDEO
Equipment
Audio cable
Component
video cable
TV
ŶUsing COMPOSITE terminals
AV1
IN
AUDIO
VIDEO
COMPONENT
R L
P
R
/C
R
P
B
/C
B
Y/VIDEO
Equipment
Audio cable
Video cable
TV
ƔYou can also make similar connections via AV2 IN.
Connecting the TV
ƔExternal equipment and cables shown are not supplied
with this TV.
ƔEnsure that the unit is disconnected from the mains socket
before attaching or disconnecting any leads.
ƔCheck the type of terminals and cable plugs are correct
when connecting.
ƔWhen using an HDMI cable, use the fully wired one.
ƔKeep the TV away from electronic equipment (video
equipment, etc.) or equipment with an infrared sensor.
Otherwise, distortion of image / sound may occur or
operation of other equipment may be interfered.
ƔAlso read the manual of the equipment being connected.
Terminals
ANALOG AUDIO
via
AV1
ANT
USB
13
4
56
2
AV2
IN
VIDEO
O
L
A
U
DI
O
R
Rear of the TV
AV
1
IN
A
U
DI
O
VIDE
O
CO
MP
O
NEN
T
R
L
P
R
/C
R
P
B
/C
B
Y
/
VIDE
O
AU
DI
O
O
UT
R
L
1HDMI 1 - 2
2AV1 IN
3AV2 IN
4USB port
5Aerial terminal
6AUDIO OUT
Connections
Aerial and mains lead
ANT
DVD Recorder /
VCR
RF cable
RF cable
Mains lead
(supplied)
Aerial
Alternative connection
6
Initial Setup
When you first turn on the TV, a series of steps will pop-up
to guide you to setup your TV.
ƔThese steps are not necessary if the setup has been
completed by your local dealer.
1 Plug the mains plug into the socket
outlet, then switch on the TV
TH-L32B6K/TH-L32B68K/
TH-L32B69K:
AC 220 - 240 V,
50/60 Hz
Other models:
AC Auto 110 - 240 V,
50/60 Hz
2 Select your language
English
OSD Language
OK
Store
Select
3 Select your area
Channel Plan
Asia/W.Europe
CIS/E.Europe
China
Hong Kong
NZ/Indonesia
CATV/Other
OK
When selecting [CATV/Other], press OK, and then select
the Channel Plan from [Indian CATV], [South Africa],
[American System], [American CATV] or [Japan].
4 Start Auto Tuning
OK
Auto Tuning starts
ƔAuto Tuning searches and stores TV channels. The sorted
channel order depends on the TV signal, the broadcasting
system and reception conditions.
5 Select [Home]
Please select your viewing environment.
Home Shop
OK
Confirm
Change
Ɣ[Shop] is for shop display. If you selected [Shop], you
can return to the above screen at the stage of Shop
confirmation screen.
Shop
You have selected shop mode
RETURN
ƔTo change the viewing environment later on, you need
to initialise all settings by accessing [Shipping Condition]
(p. 11).
Setup is now complete and your TV is ready for
viewing.
Set top box
TV
Set top box
HDMI cable
Satellite dish
Speaker system
AUDIO
OUT
R L
Audio cable
Amplifier with
speaker system
TV
Using the clamper
For 32” models only
ƔDo not bundle the RF cable and mains lead together
(could cause distorted image).
ƔFix cables with clampers as necessary.
ƔWhen using the optional accessory, follow the option’s
assembly manual to fix cables.
1 2 Attach the clamperBundle the cables
Insert the clamper in a hole
hole
hooks
ŶTo remove from the TVŶTo loosen
Press both snaps
snaps
knob
Press the knob
7
13Input mode selection
ƔTV - switches to TV input mode
ƔAV - displays [Input Selection] screen (p. 8) or
press repeatedly to select the AV input mode
14OFF TIMER
ƔPress repeatedy to select the period after which the
TV will turn to Standby mode automatically.
[0] / [15] / [30] / [45] / [60] / [75] / [90] (minutes)
15Changes multiplex sound mode (if available)
Sound mode indicator:
: STEREO: MAIN I
: MONO: SUB II
16Exits to the TV viewing screen
17Cursor buttons
ƔMakes selections or adjustments.
18Returns to the previous menu / page
19 ASPECT
ƔDisplays the [Aspect Selection] screen. Follow the
operation guide to select the mode.
[16:9] / [14:9] / [Just] / [4:3] / [4:3 Full] / [Zoom1] /
[Zoom2] / [Zoom3] (p. 12)
ƔYou can also press the button repeatedly to select
the mode.
20Channel Up / Down
21Returns to the last viewed channel
About operation guide
When operating the TV with the remote control, follow the
operation guide available at the bottom of the screen to
perform the operation you want.
Example: [Aspect Selection]
Aspect Selection
16:9
14:9
Just
Select EXIT
RETURN
Change Operation guide
Referring to the operation guide:
ƔTo select the mode
OK
ƔTo change to the selected mode
OK
ƔTo return to the previous menu
RETURN
ƔTo exit the menu
EXIT
Operating the TV
Using the remote control
MENU
MEDIA
PLAYER
PICTURE
OFF TIMER
CH
EXIT
POWER
INFO
RETURN
OPTION
INPUT
R G YB
ASPECT
MUTE
STILL
LAST VIEW
VOL
OK
1 13
14
15
16
17
18
19
20
21
3
2
4
5
6
7
8
9
10
11
12
1Switches the TV On / Standby
2MEDIA PLAYER (p. 8)
3Displays [Main Menu] (p. 10)
4Selects picture mode [Viewing Mode] (p. 10)
ƔPress repeatedly to select.
5 Displays Information banner
6 OK
ƔConfirms selections.
ƔPress after selecting channel positions to quickly
change channel.
7Displays [Option Menu]
ƔShortcuts to some setting menus for picture, sound,
etc.
ƔFollow the operation guide to select / change the
settings.
8Coloured buttons
ƔPerforms multiple operations which correspond to
the operation guide displayed on the menu screen.
9Volume Up / Down
10 Sound Mute On / Off
11Numeric buttons
ƔChanges channel.
ƔWhen in Standby mode, switches TV On.
12Freezes / unfreezes picture
F0213-1033
Printed in Malaysia
Web Site: http://panasonic.net
© Panasonic Corporation 2013
Panasonic does not guarantee operation and
performance of peripheral devices made by other
manufacturers; and p1-we disclaim any liability or damage
arising from operation and/or performance from usage
of such other maker’s peripheral devices.
The recording and playback of content on this or any
other device may require permission from the owner
of the copyright or other such rights in that content.
Panasonic has no authority to and does not grant
you that permission and explicitly disclaims any right,
ability or intention to obtain such permission on your
behalf. It is your responsibility to ensure that your use
of this or any other device complies with applicable
copyright legislation in your country. Please refer to
that legislation for more information on the relevant
laws and regulations involved or contact the owner
of the rights in the content you wish to record or
playback.
Panasonic and its affiliates make no representations or
warranties of any kind with respect to the USB devices
and the performance of communication between the
USB devices and the USB port of Panasonic products,
and expressly disclaims any and all warranties,
whether express or implied or otherwise, including
without limitation any implied warranty of fitness for a
particular purpose, any loss of data, and any implied
warranties arising from course of dealing or course of
performance of data communication between the USB
devices and the USB port of Panasonic products.
This product is licensed under the AVC patent portfolio
license for the personal and non-commercial use of a
consumer to (i) encode video in compliance with the
AVC Standard (“AVC Video”) and/or (ii) decode AVC
Video that was encoded by a consumer engaged in
a personal and non-commercial activity and/or was
obtained from a video provider licensed to provide AVC
Video. No license is granted or shall be implied for any
other use. Additional information may be obtained from
MPEG LA, LLC.
See http://www.mpegla.com.
Information on Disposal in other Countries
outside the European Union
This symbol is only valid in the European
Union. If you wish to discard this product,
please contact your local authorities or
dealer and ask for the correct method of
disposal.
Customer’s Record
The model number and serial number of this product
may be found on its rear panel. You should note this
serial number in the space provided below and retain
this book, plus your purchase receipt, as a permanent
record of your purchase to aid in identification in
the event of theft or loss, and for Warranty Service
purposes.
Model Number
Serial Number
Model No.
TH-L32B6G TH-L39B6G TH-L50B6G
TH-L32B6K TH-L39B6K TH-L50B6K
TH-L32B6M TH-L39B6M TH-L50B6M
TH-L32B6X TH-L39B6X
TH-L32B68G TH-L39B68K
TH-L32B68K TH-L39B69K
TH-L32B69K
English
Thank you for purchasing this Panasonic product.
Please read these instructions carefully before operating this
product and retain them for future reference.
The images shown in this manual are for illustrative
purposes only.
Some illustrations are presented as conceptual images and
may be different from the actual products.
Illustrations shown may be different between models and
countries.
Transport only in upright position
CHT
TQB4GC1094-1
Operating Instructions
LED TV
Contents
Safety Precautions ···················2
Setting Up the TV ·····················3
Connecting the TV ····················5
Initial Setup ·····························6
Operating the TV ······················7
Watching External Inputs ···········8
Using the Media Player ·············8
Using the Menu Functions ········10
Additional Information ·············12
Troubleshooting ····················· 13
Specifications ························14
Maintenance ························· 15
Licence ································15
Product specificaties
| Merk: | Panasonic |
| Categorie: | Televisie |
| Model: | TH-L32B6M |
Heb je hulp nodig?
Als je hulp nodig hebt met Panasonic TH-L32B6M stel dan hieronder een vraag en andere gebruikers zullen je antwoorden
Handleiding Televisie Panasonic

12 Maart 2026
12 Maart 2026
12 Maart 2026
13 Februari 2026
11 Februari 2026
11 Februari 2026
11 Februari 2026
8 Januari 2026
8 Januari 2026
8 Januari 2026
Handleiding Televisie
Nieuwste handleidingen voor Televisie
24 Maart 2026
24 Maart 2026
24 Maart 2026
23 Maart 2026
23 Maart 2026
23 Maart 2026
23 Maart 2026
23 Maart 2026
23 Maart 2026
23 Maart 2026