Mr Coffee DR X5 Handleiding


Lees hieronder de 📖 handleiding in het Nederlandse voor Mr Coffee DR X5 (14 pagina's) in de categorie Koffiezetapparaat. Deze handleiding was nuttig voor 29 personen en werd door 2 gebruikers gemiddeld met 4.5 sterren beoordeeld

Pagina 1/14
Š2005 Sunbeam Products, Inc. All rights reserved.
Mr. CoffeeÂŽ is a registered trademark of Sunbeam Products, Inc.
Distributed by Sunbeam Products, Inc., Boca Raton, Florida 33431.
U.S. 1-800-MR COFFEE (1-800-672-6333)
Canada 1-800-667-8623
Visit us at www.mrcoffee.com
You will find exciting and entertaining tips and ideas,
including great recipes!
Š2005 Sunbeam Products, Inc. Todos los derechos reservados.
Mr. CoffeeÂŽ es una marca registrada es una marca de Sunbeam Products, Inc.
Distribuido por Sunbeam Products, Inc., Boca RatĂłn, Florida 33431.
VisĂ­tenos en www.mrcoffee.com
AhĂ­ encontrarĂĄ consejos e ideas excitantes y entretenidos,
ÂĄincluyendo excelentes recetas!
Printed in China/Impreso en China P.N. 115392
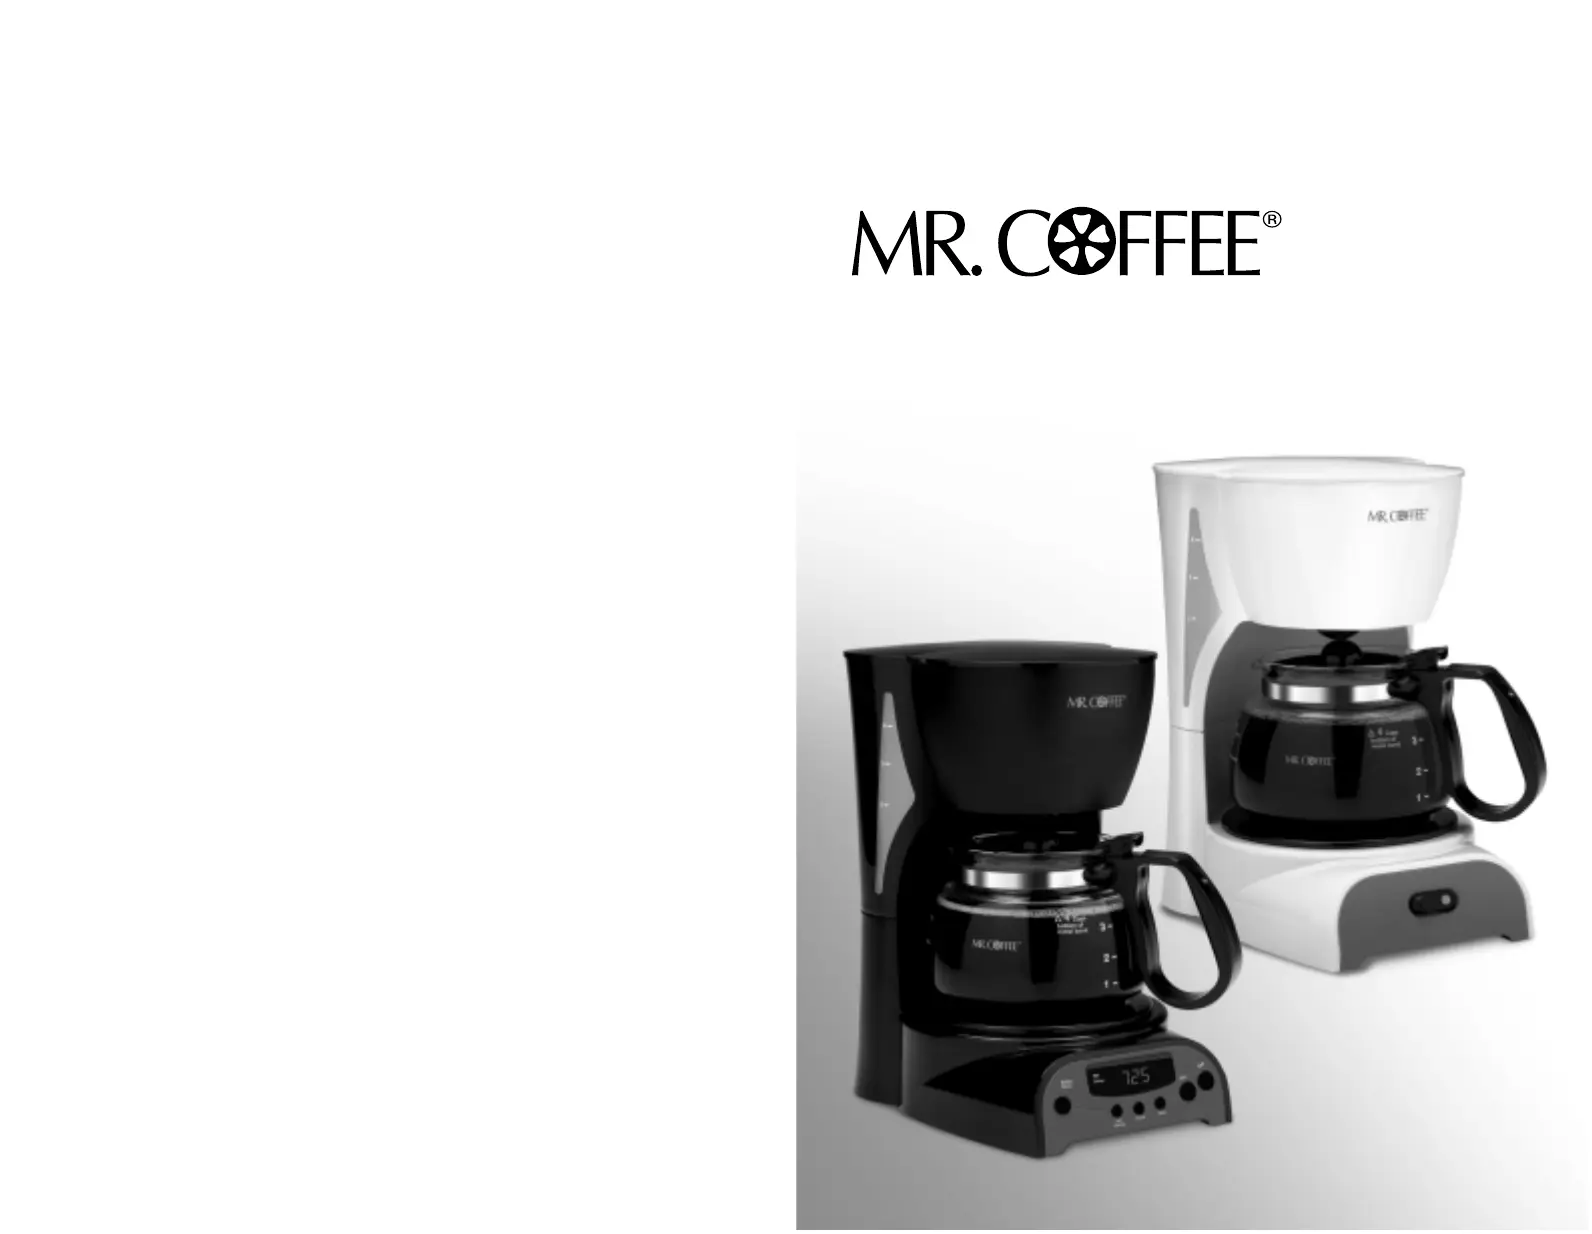
4 Cup Coffeemaker / Cafetera para 4 Tazas
DR Series / Serie DR
User Manual /
Manual del Usuario
www.mrcoffee.com
DRseries_IM 12/1/04 10:27 AM Page 1
IMPORTANT SAFEGUARDS
To reduce the risk of fire, electric shock and/or injury to persons, basic
safety precautions should always be followed when using electrical
appliances, including the following:
1. READ ALL INSTRUCTIONS BEFORE USING THE COFFEEMAKER.
2. Do not touch the coffeemaker’s hot surfaces. Use handles or knobs
and do not open the lid or cover while brewing. Scalding may occur
if the lid is removed during brewing cycles.
3. To protect against electric shock, do not immerse the power cord,
power plug or coffeemaker in water or in any other liquid.
4. Close adult supervision is necessary when this appliance is used by
or near children.
5. Turn the coffeemaker OFF and unplug the power cord from the power
source when the coffeemaker and clock are not in use and before
cleaning. Allow the coffeemaker parts to cool before putting on or
taking off parts and before cleaning the appliance.
6. Do not operate any appliance with a damaged power cord or power
plug, or operate it after the appliance malfunctions, or has been
damaged in any manner. Return this appliance only to the nearest
Authorized Service Center for examination, repair or adjustment.
7. The use of accessory attachments other than MR. COFFEEÂŽbrand
products may cause hazards or injuries.
8. Do not use the coffeemaker outdoors.
9. Do not let the power cord hang over edge of table or counter, or
allow it to come into contact with hot surfaces.
10. Do not place this coffeemaker on or near a hot gas stove or electric
burner or in a heated oven.
11. To disconnect the coffeemaker, turn it OFF, then remove the power
plug from the power supply.
12. Place the appliance on a hard, flat level surface to avoid interruption
of airflow underneath the coffeemaker.
13. Avoid contact with any moving parts.
14. This coffeemaker is designed for household use only.
15. Do not use appliance for other than intended use.
WARNING! To reduce the risk of fire or electric shock, do not remove
any service covers. There are no user serviceable parts
inside the coffeemaker. Only authorized personnel
should repair the coffeemaker.
!
Please read ALL of the instructions in this manual carefully before you
begin to use this appliance. Proper care and maintenance will ensure a
long life and a trouble-free operation for this appliance. Please save
these instructions and refer to them for cleaning and care tips.
INTRODUCTION
Welcome and congratulations on the purchase of your new MR. COFFEEÂŽCoffeemaker.
Your new DR Series coffeemaker will wake up with you in the morning and provide you
breaks and treats during your hectic daily activities. How you enjoy your MR. COFFEEÂŽ
Coffeemaker is up to you!
DECANTER USE AND CARE
Follow the instructions below to reduce or eliminate the chance of breaking the glass
decanter:
• This decanter is designed for use with your MR. COFFEE®coffeemaker and therefore
must never be used on a range top or in any oven, including a microwave oven.
• Do not set a hot decanter on a wet or cold surface.
• Do not use a cracked decanter or a decanter having a loose or weakened handle.
• Do not clean the decanter with abrasive cleaners, steel wool pads or other abrasive
materials.
• Discard the decanter immediately if it is ever boiled dry.
• Protect the decanter from sharp blows, scratches or rough handling.
SPECIAL CORD SET INSTRUCTIONS
1. For your convenience the plug is stored inside the cord storage.
2. A short power supply cord is provided to reduce the hazards resulting from a person
or pet becoming entangled in, or tripping over, a longer cord.
3. An extension cord may be purchased and used if care is exercised in its use.
4. If an extension cord is used, the marked electrical rating of the extension cord must
be at least 10 amps and 120 volts. The resulting extended cord must be arranged so
that it will not drape over a countertop or tabletop where it can be pulled on by
children or tripped over accidentally.
5. This appliance has a polarized plug (one blade is wider than the other). To reduce
the risk of electric shock, this plug will fit in a polarized outlet only one way. If the
plug does not fit fully in the outlet, reverse the plug. If it still does not fit, contact a
qualified electrician. Do not modify the plug in any way.
You can customize the length of the power cord so that it is the exact length you
desire. To increase the length of the power cord: grasp the power cord (not the
power plug) and gently lift it out of the slot, then pull it away from the coffeemaker.
To decrease the length of the power cord: Grasp the power cord (not the power
plug), lift it out of the slot and gently feed it into the coffeemaker. Lock the cord in the
slot when finished.
SAVE THESE INSTRUCTIONS
2 3
DRseries_IM 12/1/04 10:27 AM Page 3
4
COFFEEMAKER FEATURES AND BENEFITS
Your new MR. COFFEEÂŽ coffeemaker has the following features:
• Brewing Capacity – 4 cups – Glass decanter series
• Brew Basket with Removable Filter Basket – The filter basket lifts out for fast and easy
cleaning and filling.
• Pause ‘n Serve – Can’t wait for the coffee to finish brewing? The Pause ‘n Serve feature
allows you up to 30 seconds to pour a cup of coffee while the coffeemaker is still brewing.
Carefully remove the decanter and the Pause ’n Serve feature will be automatically activated,
temporarily stopping the flow of coffee into the decanter.
• Dual Water Windows – Show amount of water in the reservoir for accurate filling.
• Non-Stick Warming Plate – This feature allows you to keep your coffee hot after brewing.
The non-stick attribute prevents the decanter from sticking to the surface of the warming plate.
• Cord Storage – Safely stores excess cord to keep your countertop neat.
• On/Off Indicator Light – Lets you know when your coffeemaker is “on”.
• Additional Programmable Control Features: (DRX4/DRX5)
– Clock – The LED clock serves as a handy kitchen clock and allows you to set the
Delay Brew feature.
– Delay Brew – Would you like to wake up to a fresh pot of coffee? The timer allows
you to preset when you would like the coffeemaker to automatically brew your coffee,
up to 24 hours in advance.
– One-Hour Auto Shut-Off – This safety feature keeps your coffee warm for 1 hour
after you brew, then automatically turns off (on DRX4/DRX5).
NOTE: If you have selected any of the operating functions, the coffeemaker will act upon the last
operation selected if the power is restored within 10 seconds after a power outage.
CLEAN YOUR COFFEEMAKER BEFORE
USING THE FIRST TIME
Make sure your first cup of coffee is as good as can be by cleaning your MR. COFFEEÂŽ
Coffeemaker before its first use. Just follow these simple steps:
1. Wash the decanter, decanter lid and the filter basket in a mixture of mild detergent and water.
Rinse each thoroughly (please refer to the parts diagram listed above).
2. Replace all the parts and close the lid. Then, run a brew cycle with water only, without adding
coffee and coffee filter.
3. When brewing is complete, turn your coffeemaker off, discard the water in the decanter and
rinse the decanter, decanter lid, and filter basket.
Your coffeemaker is now ready to use. Enjoy it!
5
DIAGRAM OF PARTS
1Dual Water Windows
2Water Reservoir
3Filter Basket Lid
4Pause ’n Serve
5Cord Storage
6Warming Plate
7Control Panel (see detail below)
8Glass Decanter
9Removable Filter Basket
10 Shower Head
Coffeemaker Extras (not included with all models)
Mr. CoffeeÂŽ Brand
Permanent Filter Mr. CoffeeÂŽ Brand 4 Cup
Basket-Style Paper Filters Coffee Scoop
3
1
2
4
9
8
6
5
10
7 Control Panel,
Switch Models
(DR4/DR5)
aOn/Off Button with
On Indicator Light
a
a
i
j
hgfedc
b
7 Control Panel,
Programmable
Models
(DRX4/DRX5)
aOn Indicator Light
bOff Button
cOn Button
dClock Display
eMinute Button
fHour Button
gSet Delay Button
hDelay Indicator
iDelay Brew Button
jPM Indicator
DRseries_IM 12/1/04 10:27 AM Page 5


Product specificaties

Merk: Mr Coffee
Categorie: Koffiezetapparaat
Model: DR X5

Heb je hulp nodig?

Als je hulp nodig hebt met Mr Coffee DR X5 stel dan hieronder een vraag en andere gebruikers zullen je antwoorden


Handleiding Koffiezetapparaat Mr Coffee

Handleiding Koffiezetapparaat

Nieuwste handleidingen voor Koffiezetapparaat