Lund 99583 Handleiding
Bekijk gratis de handleiding van Lund 99583 (12 pagina’s), behorend tot de categorie Barbecue. Deze gids werd als nuttig beoordeeld door 17 mensen en kreeg gemiddeld 4.1 sterren uit 9 reviews. Heb je een vraag over Lund 99583 of wil je andere gebruikers van dit product iets vragen? Stel een vraag
Pagina 1/12
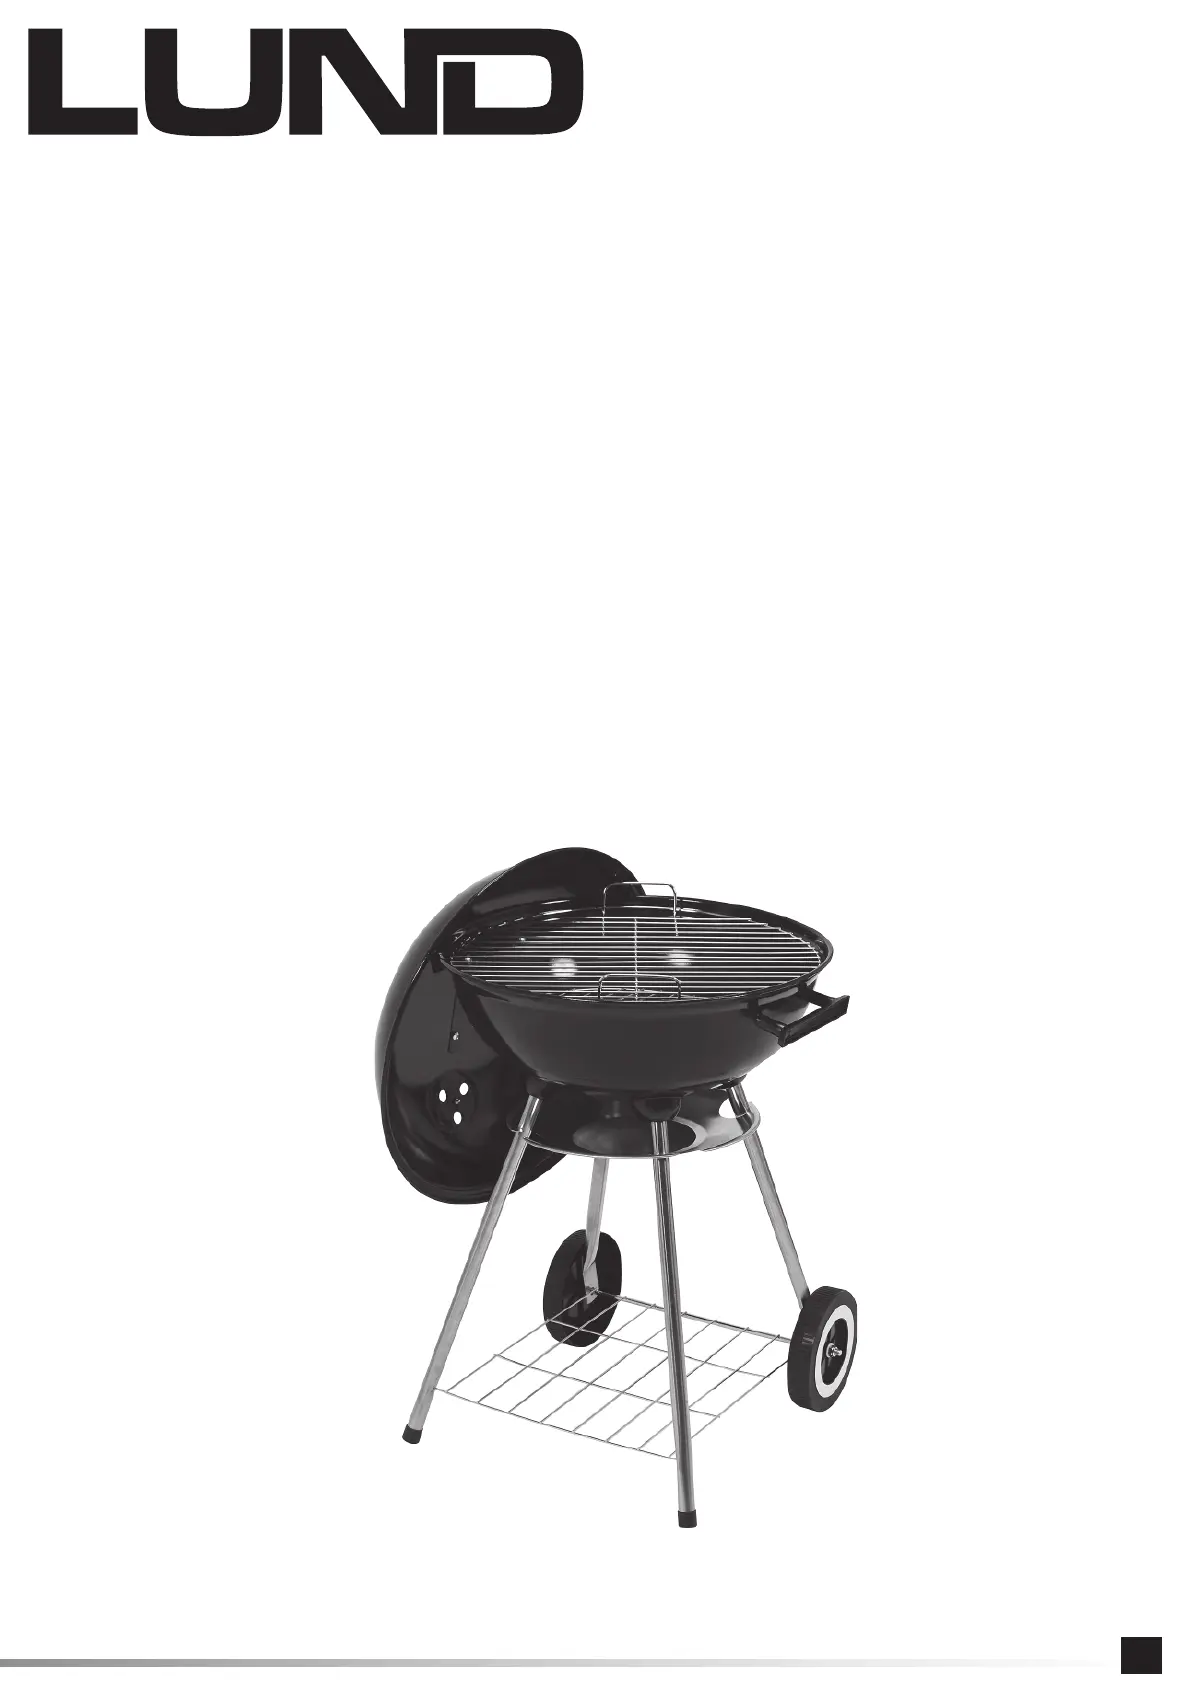
GRILL WĘGLOWY
CHARCOAL BBQ GRILL
HOLZKOHLEGRILL
ГРИЛЬ-БАРБЕКЮУГОЛЬНЫЙ
ГРИЛЬВУГІЛЬНИЙ
ANGLINIS GRILIS
KOKOGĻU GRILS
GRIL NA DŘEVĚNÉ UHLÍ
GRIL NA DREVENÉ UHLIE
FASZÉN GRILL
GRATAR CARBUNI
BARBACOA DE CARBÓN Y LENA
BARBECUE CHARBON DE BOIS
GRIGLIA A CARBONE
HOUTSKOOLGRILL
ΣΧΆΡΑΜΕ ΚΆΡΒΟΥΝΟ
INSTRUKCJA OBSŁUGI
1
PL
GB
D
RUS
UA
LT
LV
CZ
SK
H
RO
E
F
I
NL
GR
99583
Product specificaties
| Merk: | Lund |
| Categorie: | Barbecue |
| Model: | 99583 |
Heb je hulp nodig?
Als je hulp nodig hebt met Lund 99583 stel dan hieronder een vraag en andere gebruikers zullen je antwoorden
Handleiding Barbecue Lund

11 Juli 2026
10 Juli 2026
10 Juli 2026
10 Juli 2026
9 Juli 2026
9 Juli 2026
6 Juli 2026
6 Juli 2026
6 Juli 2026
6 Juli 2026
Handleiding Barbecue
Nieuwste handleidingen voor Barbecue
23 Juli 2026
22 Juli 2026
14 Juli 2026
9 Juli 2026
9 Juli 2026
8 Juli 2026
8 Juli 2026
7 Juli 2026
6 Juli 2026
1 Juli 2026