Liftmaster 3265 Handleiding
Bekijk gratis de handleiding van Liftmaster 3265 (36 pagina’s), behorend tot de categorie Garagepoortopener. Deze gids werd als nuttig beoordeeld door 18 mensen en kreeg gemiddeld 4.0 sterren uit 5 reviews. Heb je een vraag over Liftmaster 3265 of wil je andere gebruikers van dit product iets vragen? Stel een vraag
Pagina 1/36
The Chamberlain Group, Inc.
845 Larch Avenue
Elmhurst, Illinois 60126-1196
www.liftmaster.com
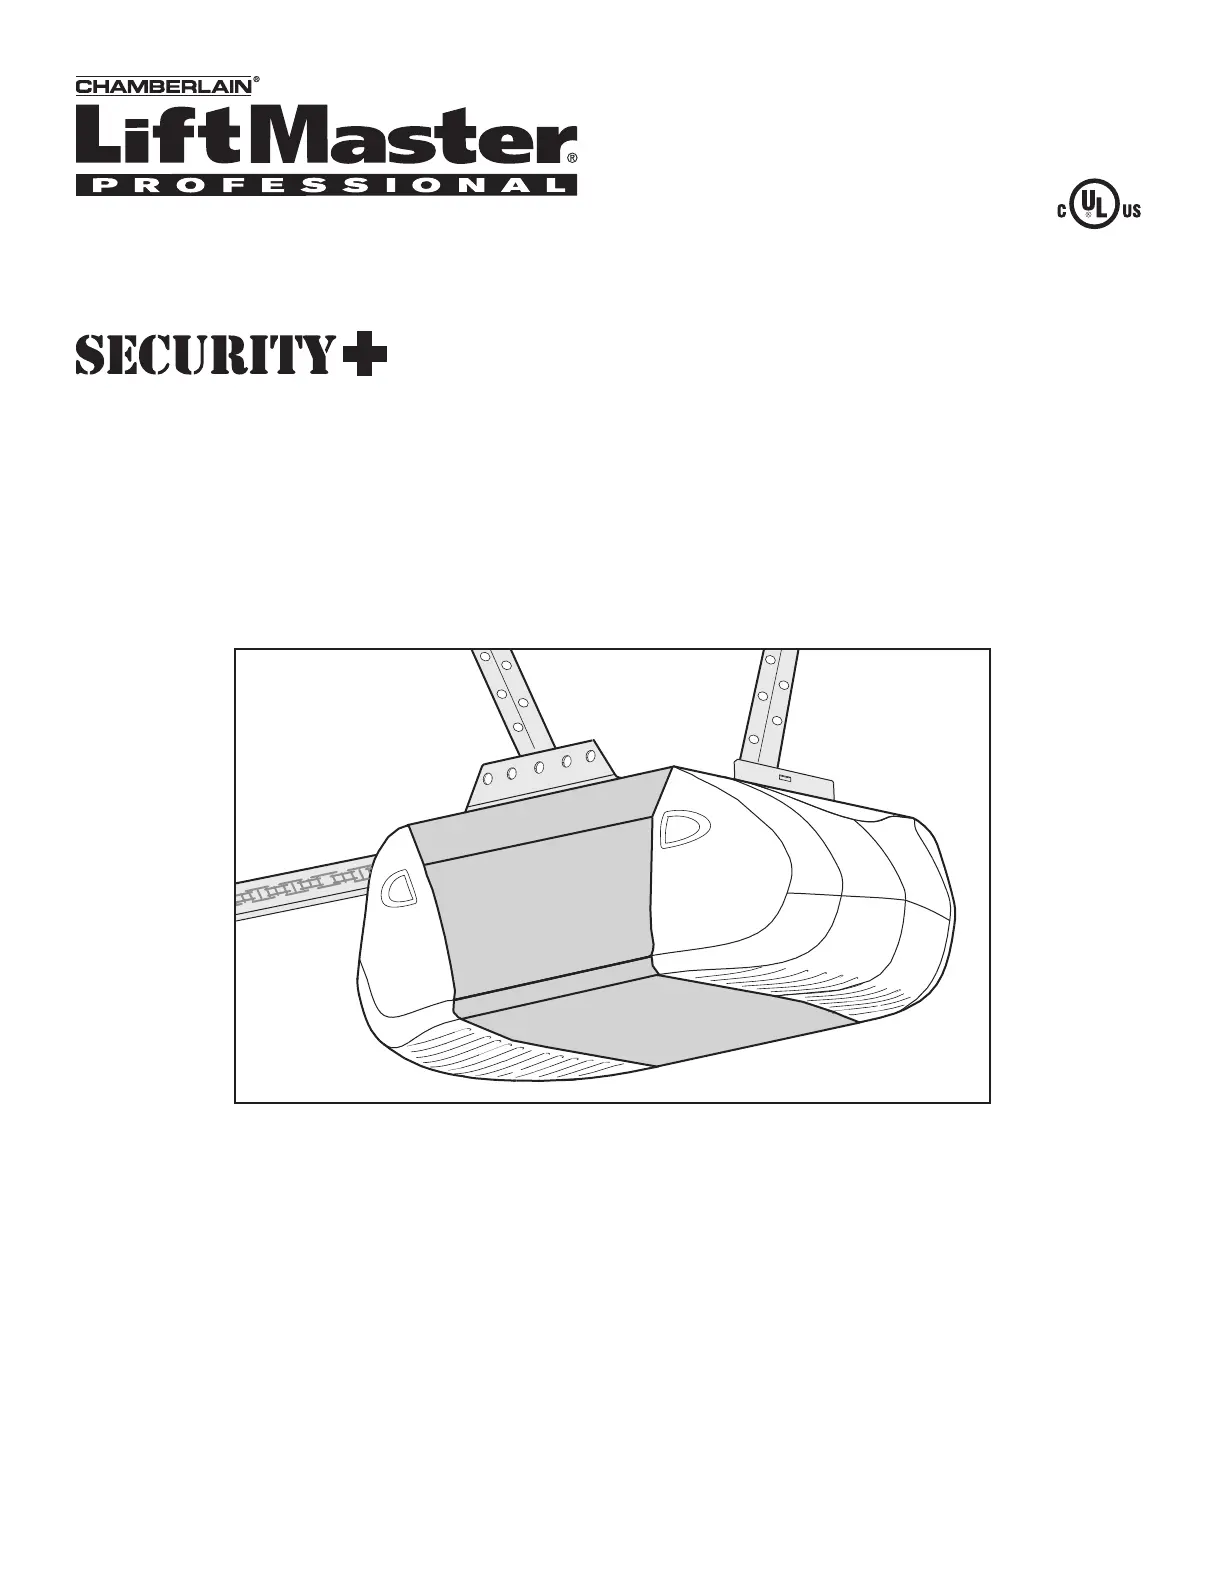
GARAGE DOOR OPENER
Model 3265 1/2 HP
For Residential Use Only
Owner’sManual
■Please read this manual and the enclosed safety materials carefully!
■Fasten the manual near the garage door after installation.
■The door WILLNOTCLOSE unless the Protector System
®
is connected and properly
aligned.
■Periodic checks of the opener are required to ensure safe operation.
■The model number label is located on the front panel of your opener.
®
Product specificaties
| Merk: | Liftmaster |
| Categorie: | Garagepoortopener |
| Model: | 3265 |
Heb je hulp nodig?
Als je hulp nodig hebt met Liftmaster 3265 stel dan hieronder een vraag en andere gebruikers zullen je antwoorden
Handleiding Garagepoortopener Liftmaster

4 Mei 2024
7 Juli 2023
6 Juli 2023
28 Juni 2023
24 Juni 2023
24 Juni 2023
23 Juni 2023
21 Juni 2023
27 Maart 2023
27 Maart 2023
Handleiding Garagepoortopener
Nieuwste handleidingen voor Garagepoortopener
7 Maart 2026
2 Januari 2026
23 December 2025
11 December 2025
26 November 2025
22 November 2025
22 November 2025
21 November 2025
8 November 2025
7 November 2025