KRK RoKit 5 G4 Handleiding

KRK Monitor RoKit 5 G4

Lees hieronder de đź“– handleiding in het Nederlandse voor KRK RoKit 5 G4 (37 pagina's) in de categorie Monitor. Deze handleiding was nuttig voor 81 personen en werd door 2 gebruikers gemiddeld met 4.5 sterren beoordeeld

Pagina 1/37
USER MANUAL
DSP CONTROLLED
STUDIO MONITOR
Welcome to ROKIT G4. We wanted to give you some history. In 2016, aer working for 2 years with
more than 300 professionals, KRK launched the V Series 4 monitors. They have become very
popular with pro producers, engineers and power users and the reviews have been stellar. As we
developed the ROKIT G4 we started with the goal of bringing the sound and look of the V Series 4
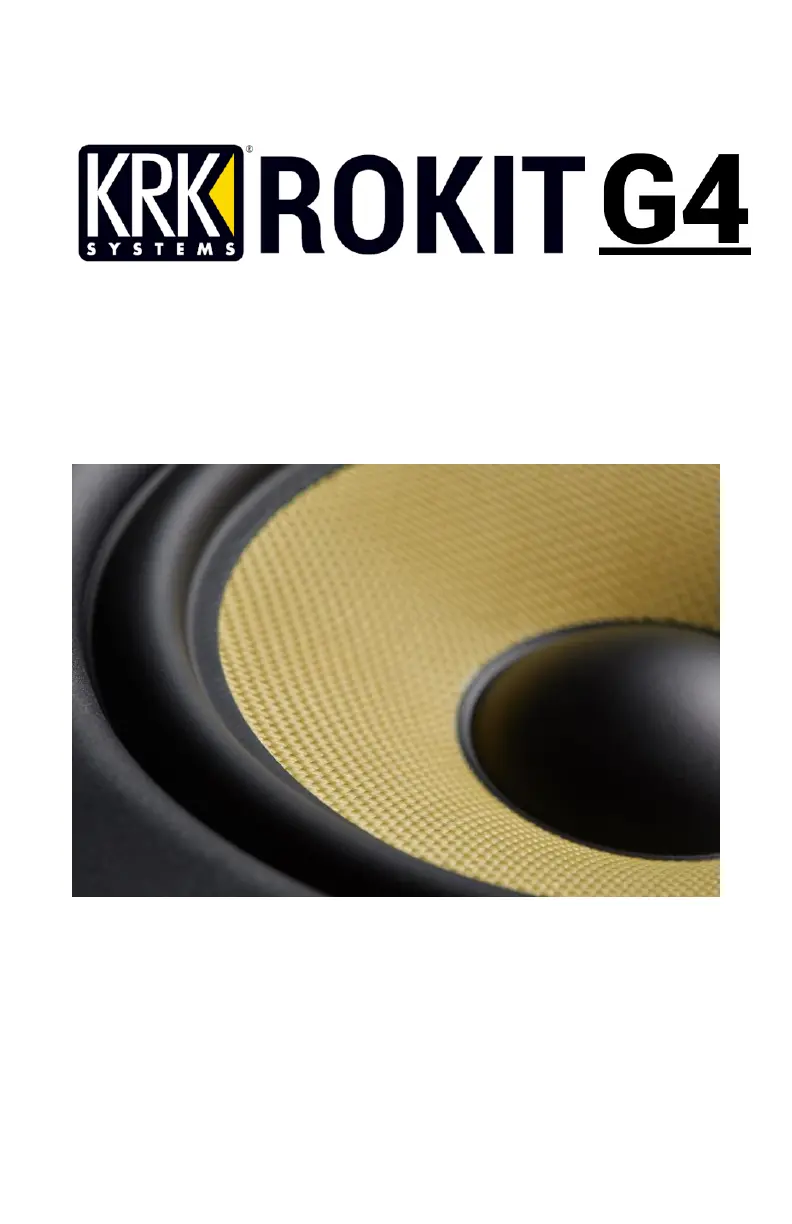
to you, the ROKIT G4 customer. This meant, for the rst me in ROKIT history, using drivers
designed with Kevlar® as we have done in our premium monitor lines for over 30 years. Like the V
Series 4, we used a powerful DSP to give you an incredible soundscape as well as deep EQ control
to help you with room acouscs. And this was just the beginning.
Below are some more tips and tricks as well as informaon to help you get the most out of your
listening experience.
Room placement and set up.
The KRK design team has painstakingly modeled and analyzed hundreds of monitor placement and
room acoustic situaons to ensure that KRK delivers the most useful tools with minimal EQ
adjustments. Room acouscs are the biggest issue in today’s studios because we are not in the
perfectly built rooms now. Many great studios are just in a revamped house. We are giving you
control to correct some of the anomalies you get from these types of situaons.
With the LOW EQ HIGH and EQ, we have given you dierent combinaons voicings to 25 of EQ
help you correct for your studio acouscs to deliver more accurate monitoring. Start with ’s LOW
EQ EQ and HIGH set to 3: FLAT, which is truly flat, no cut or boost and the VOLUME set to 0.0dB.
Set them up in your room per the informaon and diagrams below. Listen to some of your favorite
songs and mixes. Try dierent posions in your room dierent placements before making and EQ
adjustments and then adjust the to give you your best listening and monitoring experience. EQ
SYSTEM SETUP Overall system setup is crucial to avoid unnecessary room acousc interacon. A
room’s natural acouscs may alter the sound level at various frequencies due to abnormal damping
or reecons. Follow the checklist below for more details.
1. 1 The system setup (studio monitors and work table) should be placed within the front
1/3 of the room. Doing so will reduce reecon buildup of peak frequencies.
2. 2 The le and right sides of the system setup should be centered an equal distance from
the le and right walls. This will produce even mid and low frequency response and
preserve stereo imaging.
3. 3 Avoid a listening posion (your ears) that is closer than 3 feet (1 meter) from any wall.
Also avoid large objects (such as lamps or decoraons) near the studio monitor and
listening posion.
4. 4 Diusers and absorpon material in the corners and back of a room will help remove
room interacon by prevenng reecons.
5. 5 Carpeng will help prevent reecons from hard oor surfaces.
6. 6 Studio monitor isolators (foam or rubber pads) will help remove low frequency
coupling between the stands and desk. Low frequency coupling will cause the stand or
desk to vibrate causing unwanted sounds.
7. 7 A low noise oor in your room (no outside interference from refrigerators or fans) is
important to prevent the masking of low frequency detail. Rales due to studio monitor
playback should be xed as well.
Within the system setup, the studio monitors and listening placement should be posioned in a
near eld conguraon as follows: The le and right studio monitors should be approximately 3 to
5 feet (1 to 1.5 meters) apart and directed at a 60 degree angle towards the listening locaon.
Measure the distance between the le and right studio monitors and sit in the listening posion
that is equal distance to both sides. This will form an equilateral triangle. It is important that both
le and right studio monitors are level matched (same volume).
The ROKIT G4, in the 5 , 7 ” ” and 8” version, is a two-way studio monitor with a tweeter (producing
high frequencies) and a woofer (producing mid and low frequencies) in one enclosure. In between
the tweeter and woofer is the acousc axis point where the full frequency range comes together.
The ideal locaon for the acousc axis point is located at ear level in the listening posion. It is
acceptable to angle the studio monitors so the acousc axis is pointed in the correct direcon.
The ROKIT G4 10-3 is a three-way studio monitor with a tweeter (producing high frequencies), a
midrange driver (producing mid frequencies) and a woofer (producing low frequencies) in one
enclosure. Whether using the 10-3 in vercal or horizonal mode, the center of the midrange driver
is the acousc axis point where the full frequency range comes together. The ideal locaon for the
acousc axis point is located at ear level in the listening posion. It is acceptable to angle the studio
monitors so the acousc axis is pointed in the correct direction.
Now that we have giving you a great starting place, feel free to break the rules and try what works
for you. For instance, the ROKIT G4 like its big brother, the V Series 4, has a very wide sweet spot so
instead of direcng them at a 60 degree angle to the listening posion, try them at a 70 or 80
degree angle and then try sing closer to them or further away but always have the acousc axis
point directed at your ears. Listen to the sound scape and again, choose what sounds great to you.
Tips and tricks and features
Grilles
You may decide to purchase the user installable grilles for your monitors. They are only available
for the 5”, 7” and 8” versions. While most producers/mixer prefer a monitor to have exposed
drivers, there are some instances where having a grille is important or useful.
They are to use in high trac situaons for the protecon of your monitor’s drivers. For instance,
in mobile recording trucks or studios with a lot of foot traî…¶c. You can use them in your home
studio to protect them from lile pokey ngers Use them to protect the drivers as you travel to .
dierent studios Because the grille is held on magnecally, you can put them on just during .
transport and then switch back to the no grille bae when you arrive.
The front bae is aached magnecally. To install the grille, simply reach into the port near the
le or right side pull the faceplate forward and o, then snap on the faceplate w/grille. and
If you do decide to use the grilles, you can have conî…¬dence that they will not aî…©ect the sound of
the ROKIT G4. Because of the design of the grille, for all intents and purposes, there is no change in
frequency response from grille to no grille.
EVA Cushion
EVA foam cushion on the boom of your monitors aid in keeping your monitors in place when
playing music. It adds punch and clarity because you lose energy due to cabinet movement. don’t
The foam also isolates the monitor from your desk.
VOLUME on the HOME SCREEN is the monitor’s input sensivity
We call it volume because it is the easiest way to understand Input sensivity Our amplier runs .
wide open and then you adjust how “hard” you hit it with input sensivity, also known as a pad.
For ROKIT G4 if you put the VOLUME at 0.0dB that is professionally known as +4 dBu. If you put the
VOLUME at 11.0dB that is professionally known as -10dBV.
Running at +4 is “quieter” than 10 hits the amp a lot harder so it is perceived as “louder”. But-10. - ,
in essence, this is incorrect. All you are doing is reducing your headroom and dynamic range. The


Product specificaties

Merk: KRK
Categorie: Monitor
Model: RoKit 5 G4

Heb je hulp nodig?

Als je hulp nodig hebt met KRK RoKit 5 G4 stel dan hieronder een vraag en andere gebruikers zullen je antwoorden


Handleiding Monitor KRK

Handleiding Monitor

Nieuwste handleidingen voor Monitor