Joy-it BUTTON22 Handleiding
Joy-it Niet gecategoriseerd BUTTON22
Bekijk gratis de handleiding van Joy-it BUTTON22 (4 pagina’s), behorend tot de categorie Niet gecategoriseerd. Deze gids werd als nuttig beoordeeld door 101 mensen en kreeg gemiddeld 4.6 sterren uit 7 reviews. Heb je een vraag over Joy-it BUTTON22 of wil je andere gebruikers van dit product iets vragen? Stel een vraag
Pagina 1/4
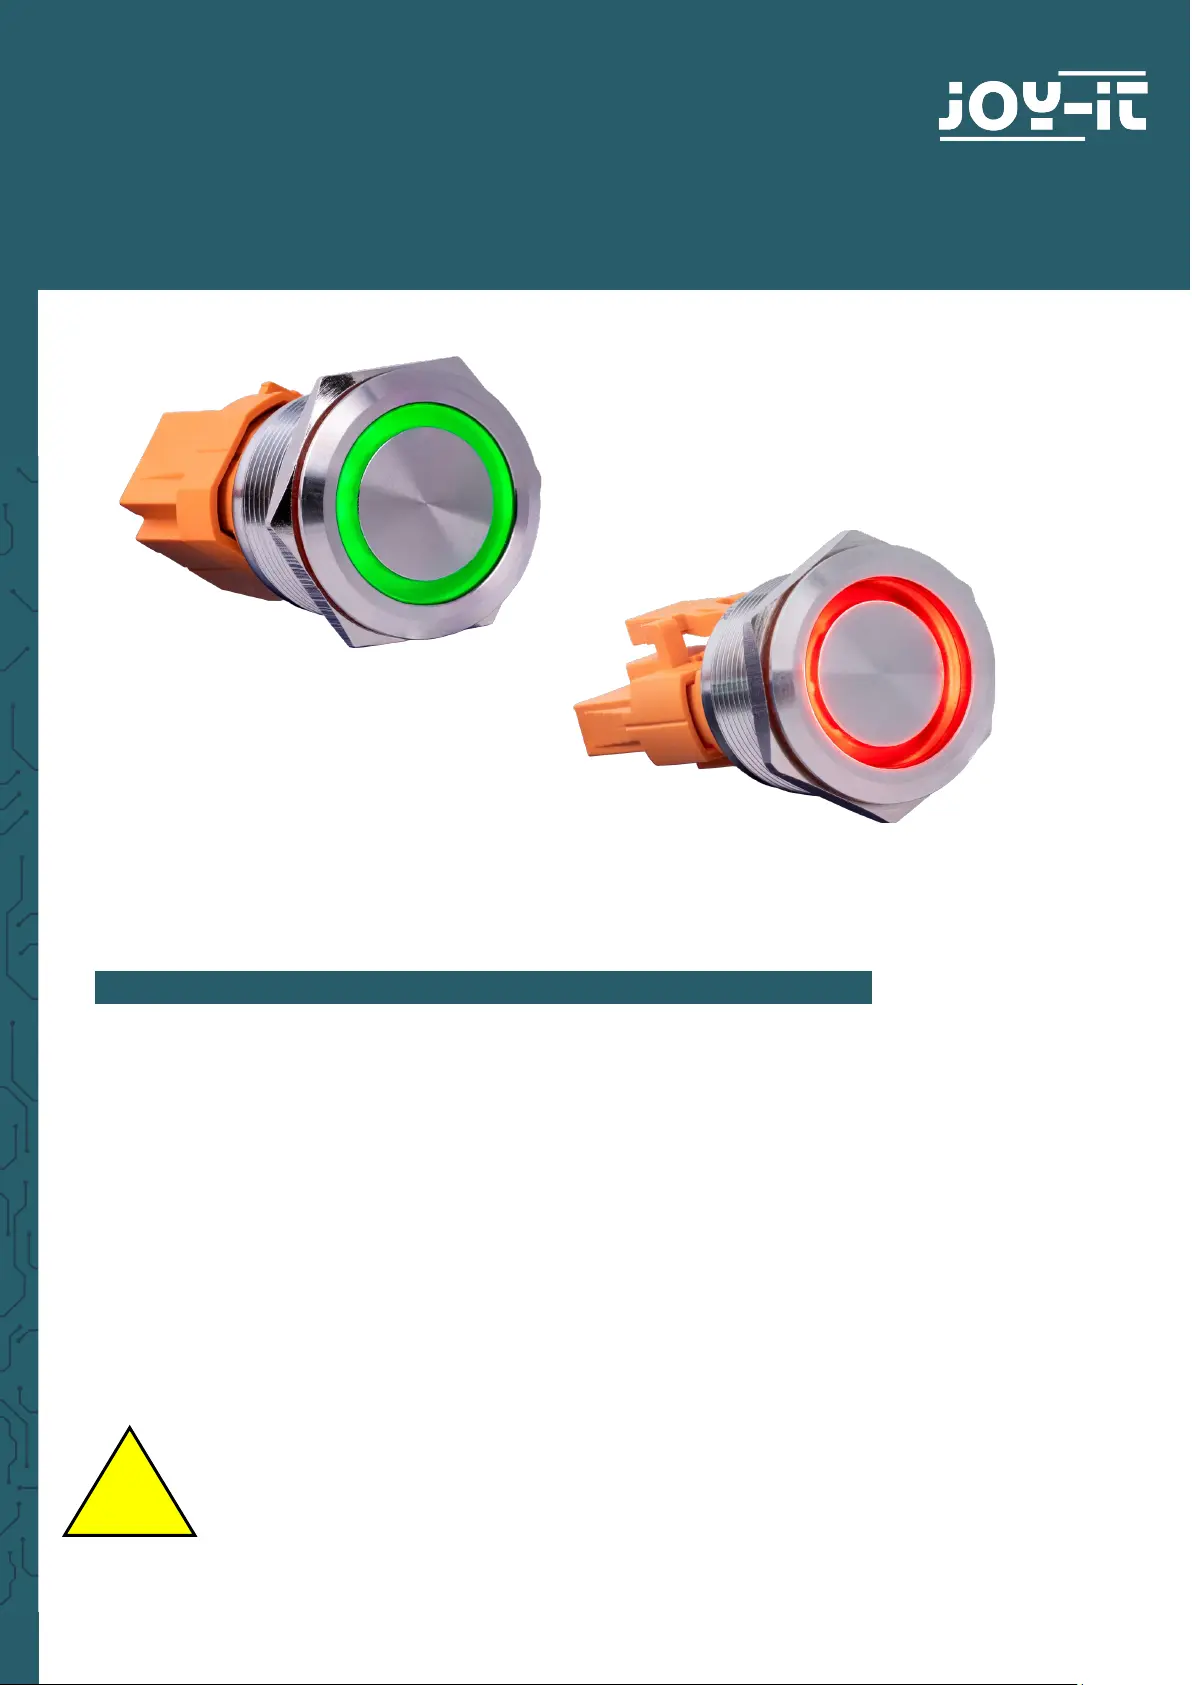
BUTTON22
High-current microswitch button with LED light
1. GENERAL INFORMATION
Dear customer,
Thank you for purchasing our product. In the following, we will show you
which things should be noted during the use.
Should you encounter any unexpected problems, do not hesitate to
contact us.
This manual is about the Button22A, Button22B and Button22C. In the
following, you will find how to connect your button and what you have to
consider during your usage.
For your own safety, this product may only be
installed by a qualified electrician! Working on
electric devices / systems implies the hazard of
electric shocks which may cause serious injuries or
even death!
!
Product specificaties
| Merk: | Joy-it |
| Categorie: | Niet gecategoriseerd |
| Model: | BUTTON22 |
Heb je hulp nodig?
Als je hulp nodig hebt met Joy-it BUTTON22 stel dan hieronder een vraag en andere gebruikers zullen je antwoorden
Handleiding Niet gecategoriseerd Joy-it

13 Mei 2026
12 Mei 2026
11 Mei 2026
2 Maart 2026
24 November 2025
30 September 2025
29 September 2025
4 Augustus 2025
4 Augustus 2025
4 Augustus 2025
Handleiding Niet gecategoriseerd
Nieuwste handleidingen voor Niet gecategoriseerd
8 Juni 2026
8 Juni 2026
8 Juni 2026
7 Juni 2026
7 Juni 2026
7 Juni 2026
7 Juni 2026
7 Juni 2026
6 Juni 2026
6 Juni 2026