Joy-it ARD-RS232 Handleiding
Joy-it Niet gecategoriseerd ARD-RS232
Bekijk gratis de handleiding van Joy-it ARD-RS232 (5 pagina’s), behorend tot de categorie Niet gecategoriseerd. Deze gids werd als nuttig beoordeeld door 70 mensen en kreeg gemiddeld 4.7 sterren uit 3 reviews. Heb je een vraag over Joy-it ARD-RS232 of wil je andere gebruikers van dit product iets vragen? Stel een vraag
Pagina 1/5
Joy-IT powered by SIMAC Electronics GmbH - Pascalstr. 8 - 47506 Neukirchen-Vluyn - www.joy-it.net
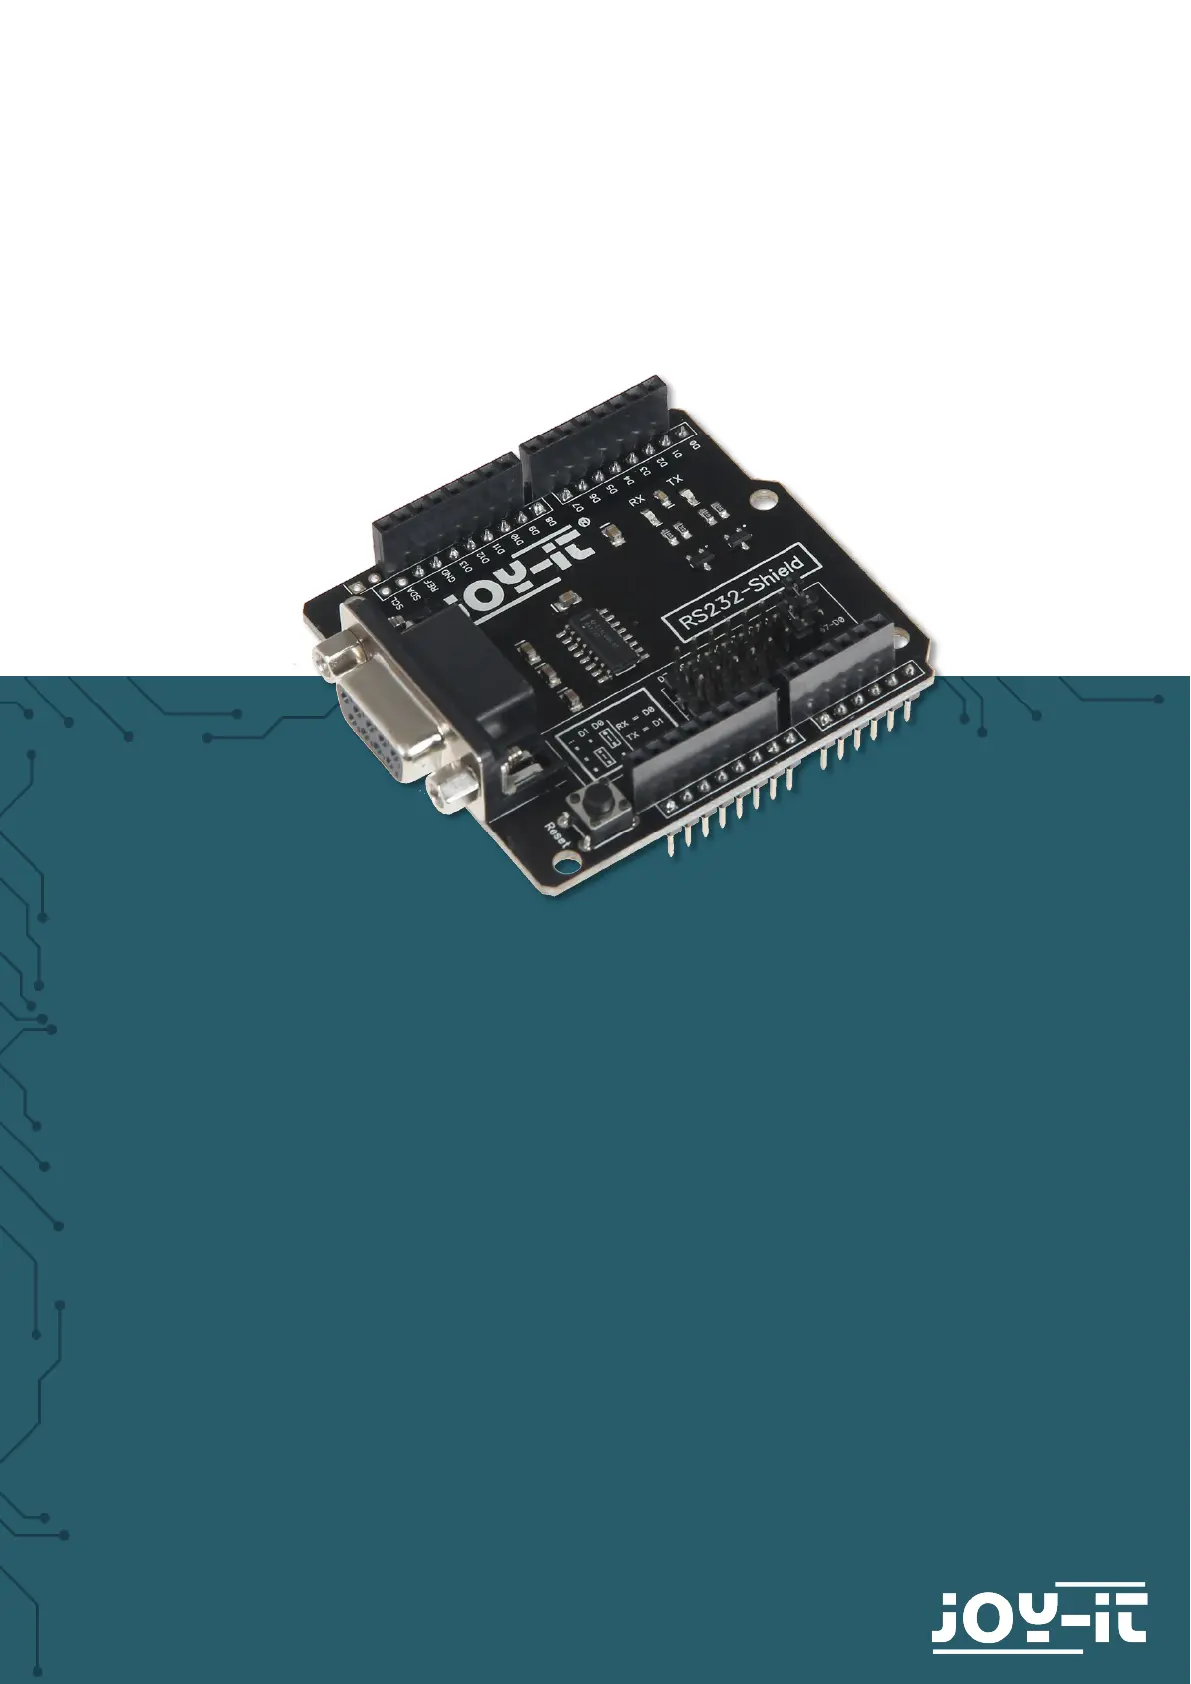
RS232-SHIELD
ARD-RS232
Product specificaties
| Merk: | Joy-it |
| Categorie: | Niet gecategoriseerd |
| Model: | ARD-RS232 |
| Gewicht: | 28 g |
| Breedte: | 55 mm |
| Diepte: | 67 mm |
| Merkcompatibiliteit: | Arduino |
| Compatibiliteit: | Arduino |
| UART: | Ja |
| Type product: | RS232-schild |
Heb je hulp nodig?
Als je hulp nodig hebt met Joy-it ARD-RS232 stel dan hieronder een vraag en andere gebruikers zullen je antwoorden
Handleiding Niet gecategoriseerd Joy-it

13 Mei 2026
12 Mei 2026
11 Mei 2026
2 Maart 2026
24 November 2025
30 September 2025
29 September 2025
4 Augustus 2025
4 Augustus 2025
4 Augustus 2025
Handleiding Niet gecategoriseerd
Nieuwste handleidingen voor Niet gecategoriseerd
8 Juni 2026
8 Juni 2026
8 Juni 2026
7 Juni 2026
7 Juni 2026
7 Juni 2026
7 Juni 2026
7 Juni 2026
6 Juni 2026
6 Juni 2026