Ikan PT17-TM Handleiding
Ikan Niet gecategoriseerd PT17-TM
Bekijk gratis de handleiding van Ikan PT17-TM (5 pagina’s), behorend tot de categorie Niet gecategoriseerd. Deze gids werd als nuttig beoordeeld door 14 mensen en kreeg gemiddeld 4.7 sterren uit 2 reviews. Heb je een vraag over Ikan PT17-TM of wil je andere gebruikers van dit product iets vragen? Stel een vraag
Pagina 1/5
www.ikancorp.com | 1.713.272.8822 | [email protected] because we’re toofilmmakers
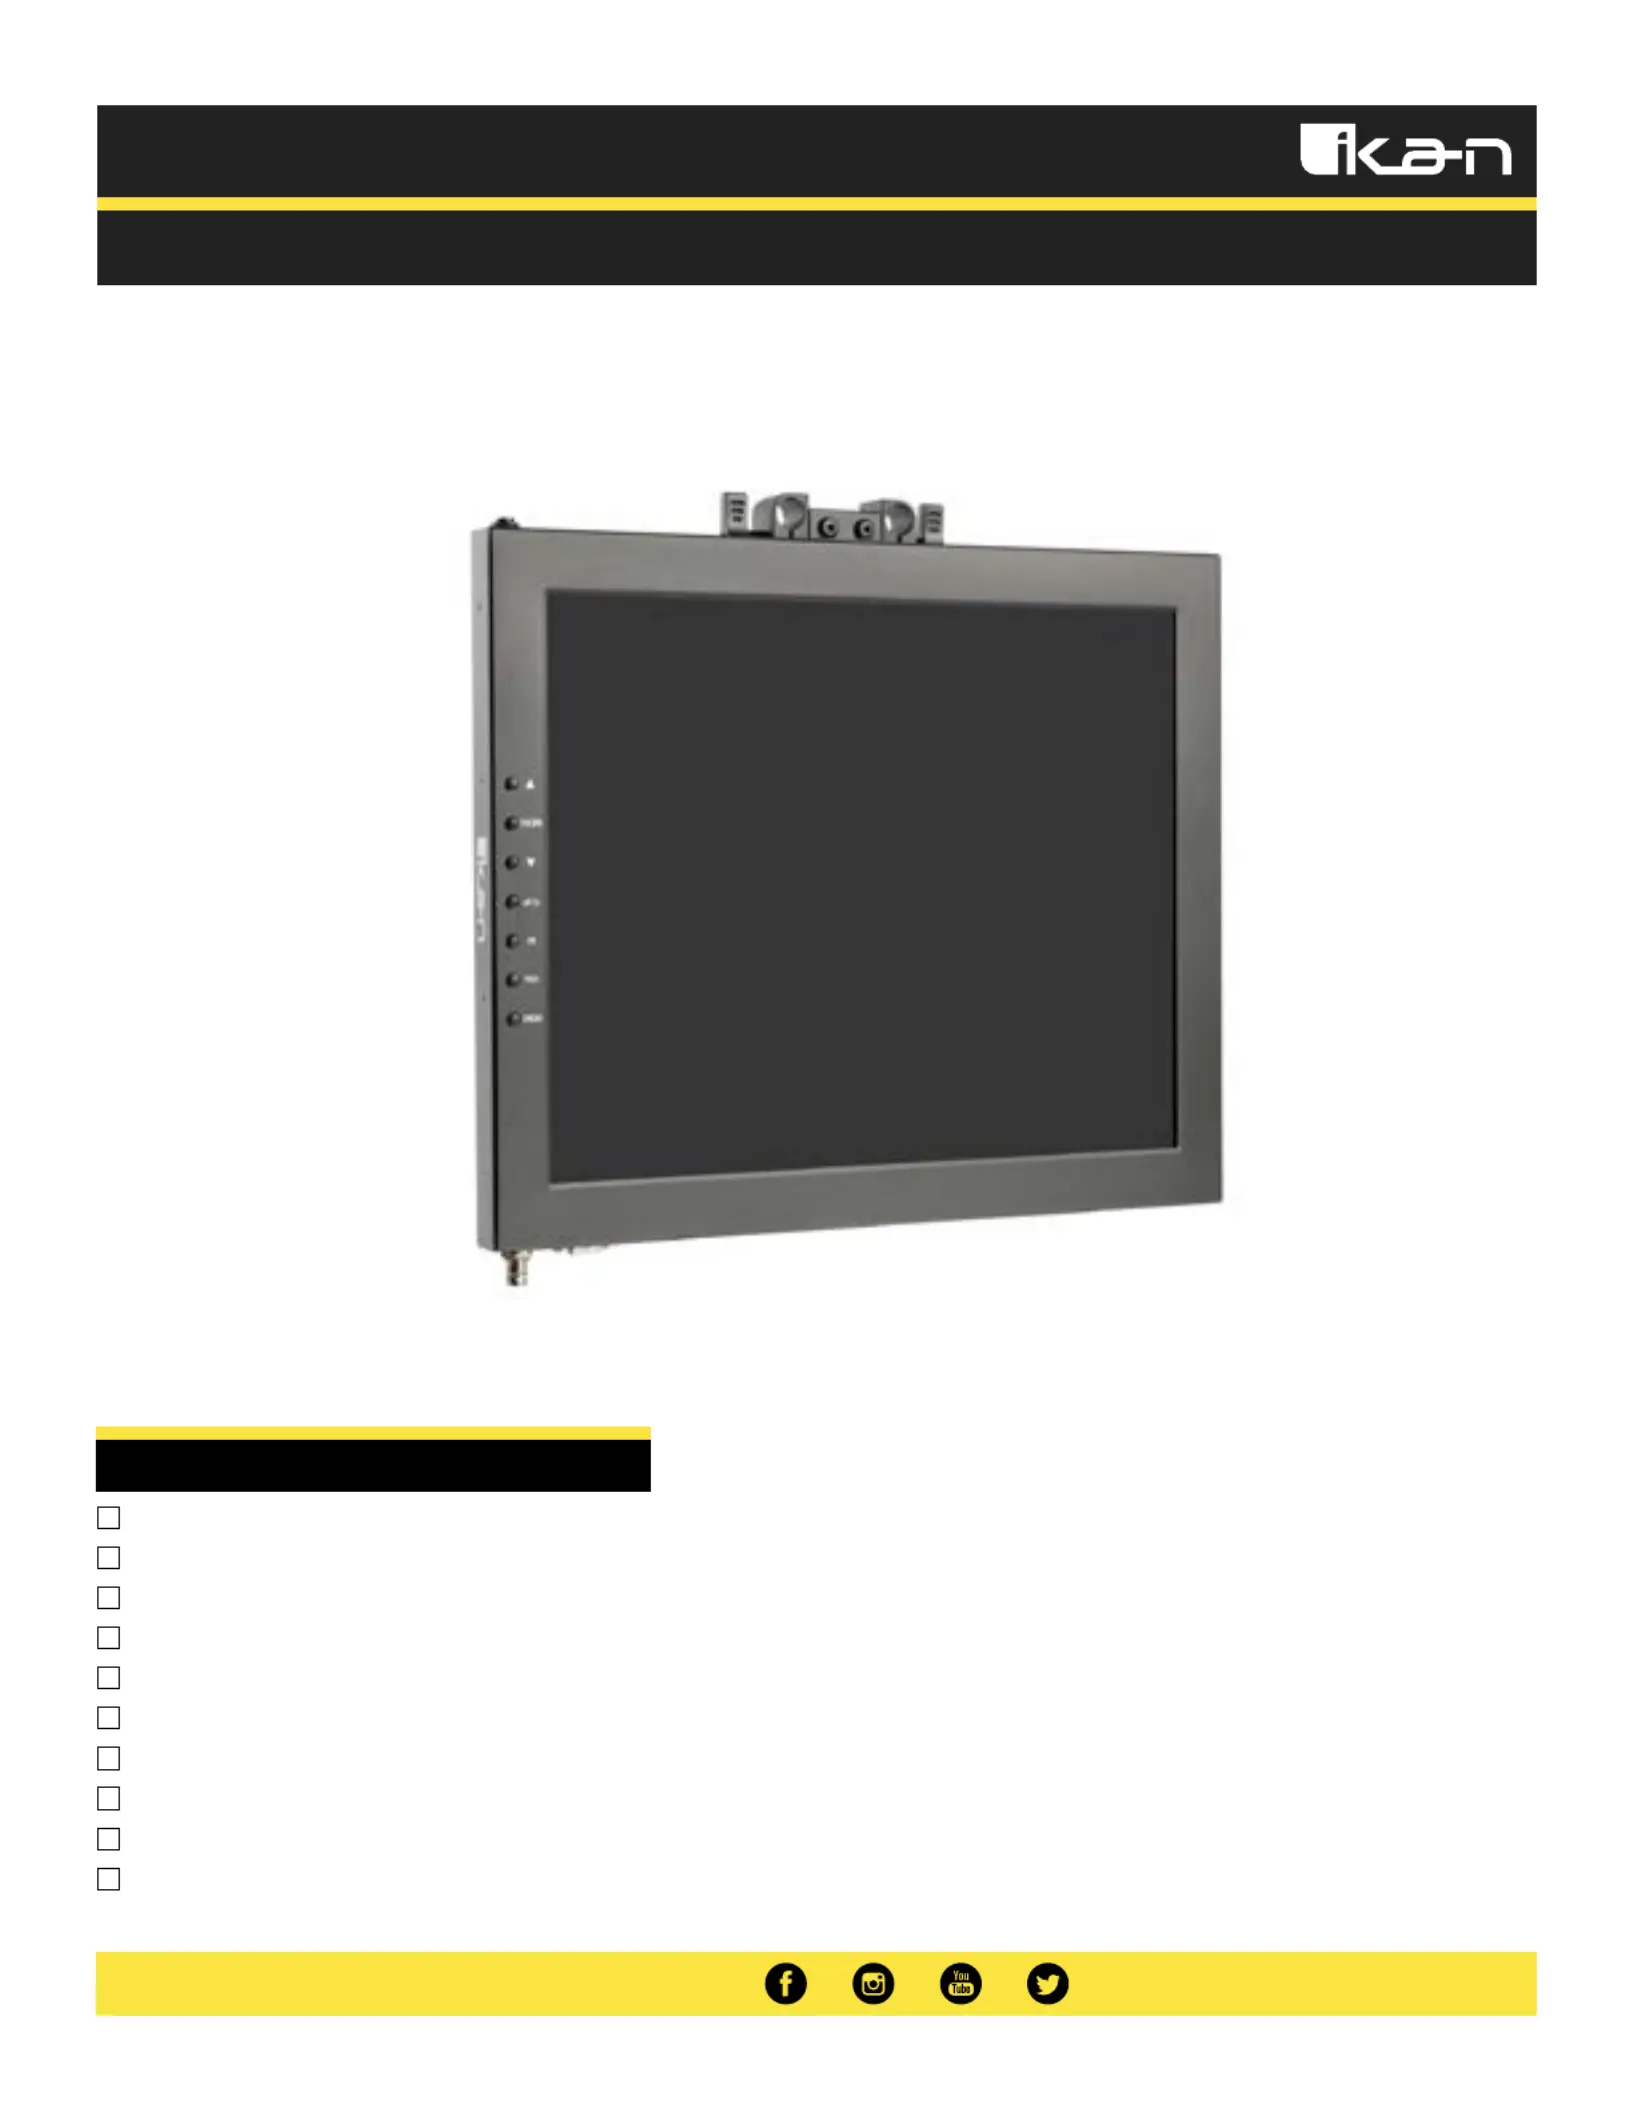
PT15-TM / PT17-TM
Quick Start Guide
Talent Monitor Add On Kit for PT4500 / PT4700
What’s Included
1 x Teleprompter Monitor
1 x Power Adapter with Cable
1 x VESA Monitor Mount
1 x 15mm Rod Adapter
1 x Mounting Knob
4 x 10mm Screws
4 x 15mm Screws
2 x Large Screws
4 x Riser Washers
1 x Adjustable Plate
Product specificaties
| Merk: | Ikan |
| Categorie: | Niet gecategoriseerd |
| Model: | PT17-TM |
Heb je hulp nodig?
Als je hulp nodig hebt met Ikan PT17-TM stel dan hieronder een vraag en andere gebruikers zullen je antwoorden
Handleiding Niet gecategoriseerd Ikan

23 Juni 2026
23 Juni 2026
14 Mei 2026
12 Mei 2026
11 Mei 2026
27 Maart 2026
3 Maart 2026
2 Maart 2026
25 November 2025
11 November 2025
Handleiding Niet gecategoriseerd
Nieuwste handleidingen voor Niet gecategoriseerd
23 Juli 2026
23 Juli 2026
23 Juli 2026
23 Juli 2026
23 Juli 2026
22 Juli 2026
22 Juli 2026
22 Juli 2026
22 Juli 2026
22 Juli 2026