HP LaserJet Ultra MFP M133 Handleiding
Bekijk gratis de handleiding van HP LaserJet Ultra MFP M133 (48 pagina’s), behorend tot de categorie Printer. Deze gids werd als nuttig beoordeeld door 73 mensen en kreeg gemiddeld 4.8 sterren uit 9 reviews. Heb je een vraag over HP LaserJet Ultra MFP M133 of wil je andere gebruikers van dit product iets vragen? Stel een vraag
Pagina 1/48
1
Dansk19 .............
Català16 .............
Español13 ...........
Italiano10 ...........
Deutsch7 .............
Français4 ............
English1 ..............
Norsk37 ..............
Lietuvių.......... 34
Latviešu31 ..........
Suomi28 .............
Eesti ...............25
Nederlands22 ......
Svenska43 ..........
Português40 .......
Windows
1. For Windows 7 or lower, do not connect the USB cable before installing
the software. The installation process prompts to connect the cable at
the appropriate time. If the cable is already connected, restart the printer
when installation prompts to connect the cable.
2. Continue to “6. Locate or download the software installation les.”
NOTE: During Windows software installation, select the option to connect
through a network.
Mac
1. For Mac, connect the USB cable between the computer and the printer
before installing the software.
2. Continue to “6. Locate or download the software installation les.”
Wireless network connection
(wireless models only)
Touchscreen control panels
1. To connect the printer to a wireless (Wi-Fi) network, on the printer control
panel, touch the Wireless button.
2. Touch Wireless Menu, and then touch Wireless Setup Wizard. Select the
network name from the SSID list, or enter the network name if it is not
listed.
3. Use the keyboard to enter the passphrase, and then touch the button.OK
4. Wait while the printer establishes a network connection.
5. On the printer control panel, touch the Network button. If an IP address
is listed, the network connection has been established. If not, wait a few
more minutes and try again. Note the IP address for use during software
installation. Example IP address: 192.168.0.1
6. To print from a computer, continue with “6. Locate or download the
software installation les.” To print from a phone or tablet only,
continue with “8. Mobile and wireless printing (optional).”
2-line control panels
1. To connect the printer to a wireless (Wi-Fi) network, make sure that the
printer, access point, and computer are turned on and that the computer
is connected to the wireless network.
2. A USB cable will be required.
3. Disconnect any USB or Ethernet cable that is connected to the printer.
4. To print from a computer, continue with “6. Locate or download the
software installation les.” To print from a phone or tablet only,
continue with“8. Mobile and wireless printing (optional).”
NOTE: During software installation, select the option to Help me set up a
rst-time wireless connection.
Wired (Ethernet) network connection
(optional)
Use a standard network cable.
1. Connect the network cable to the printer and to the network. Wait a few
minutes for the printer to acquire a network address.
2. Continue to “6. Locate or download the software installation les.”
NOTE: During software installation, select the option to Connect through
a network.
www.hp.com/support/ljM129MFP www.register.hp.com
USB connection directly between the
printer and the computer
Use an A-to-B type USB cable.
IMPORTANT:
Follow Steps 1 - 3 on
the printer hardware setup
poster, then continue
with Step 4.
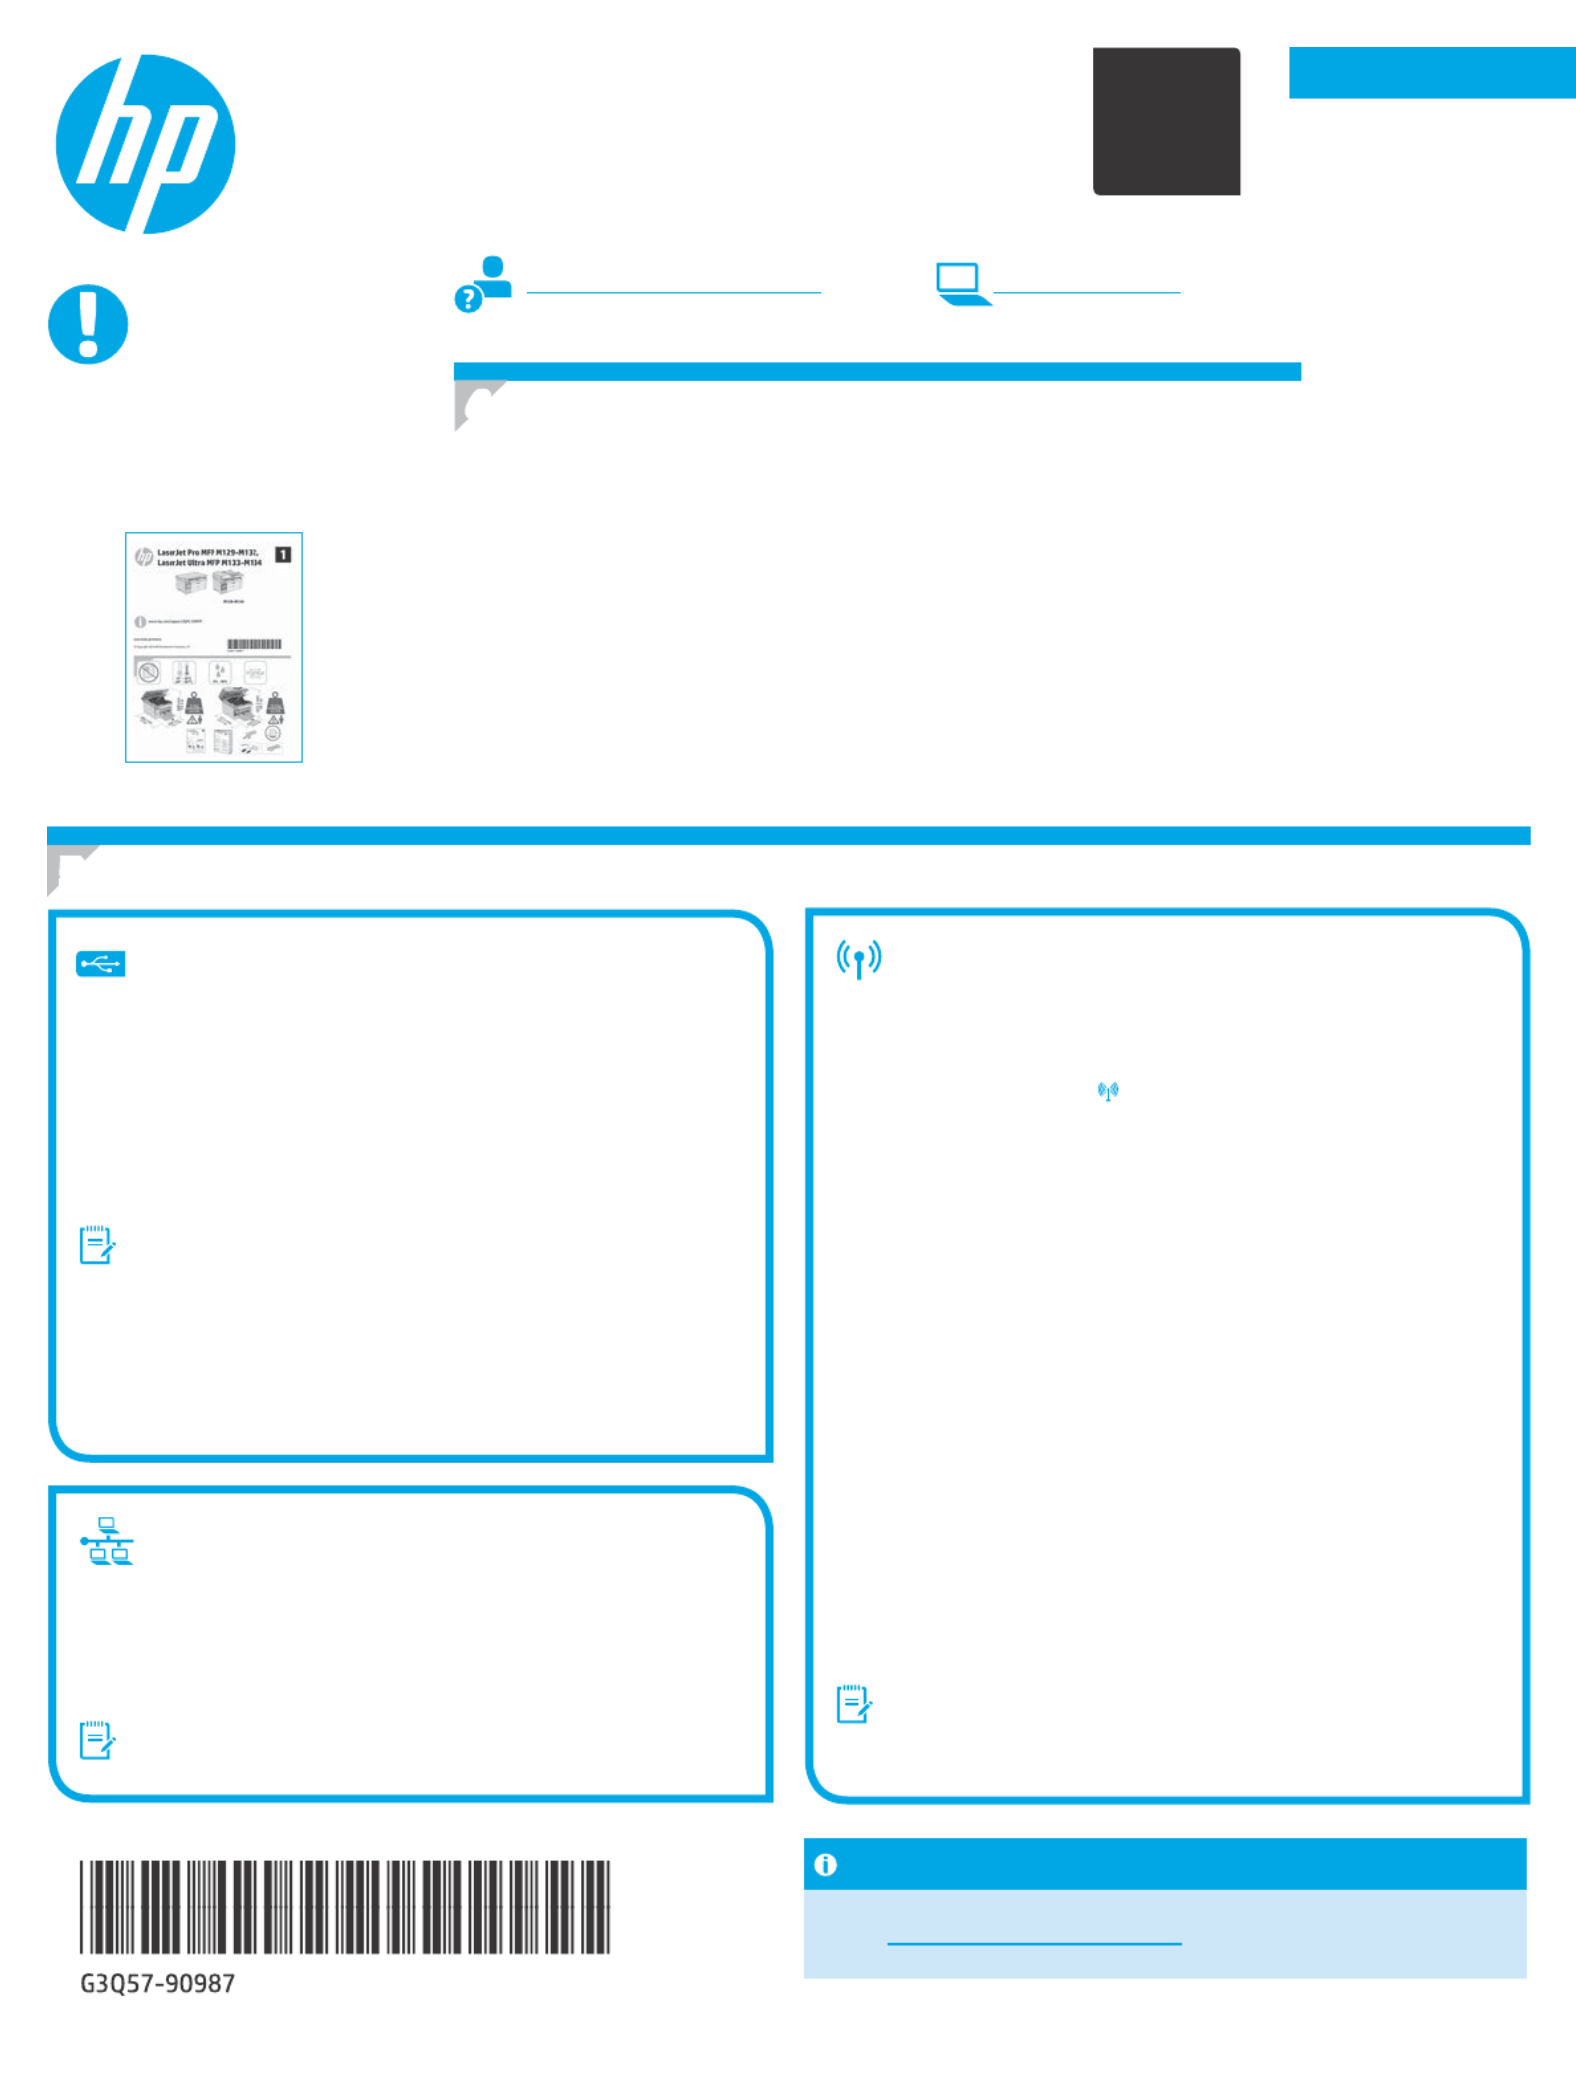
2
5.
Select a connection method
4.
Set up the control panel
At the printer control panel, check the display status before beginning software installation.
Manually congure the IP address
See the printer user guide for information on how to manually congure the IP
address www.hp.com/support/ljM129MFP.
LaserJet Pro MFP M129-M132,
LaserJet Ultra MFP M133-M134
Getting Started Guide
Product specificaties
| Merk: | HP |
| Categorie: | Printer |
| Model: | LaserJet Ultra MFP M133 |
Heb je hulp nodig?
Als je hulp nodig hebt met HP LaserJet Ultra MFP M133 stel dan hieronder een vraag en andere gebruikers zullen je antwoorden
Handleiding Printer HP

13 Mei 2026
12 Mei 2026
7 Mei 2026
2 Mei 2026
2 Mei 2026
1 Mei 2026
1 Mei 2026
1 Mei 2026
1 Mei 2026
Handleiding Printer
Nieuwste handleidingen voor Printer
8 Juli 2026
8 Juli 2026
8 Juli 2026
7 Juli 2026
7 Juli 2026
7 Juli 2026
7 Juli 2026
7 Juli 2026
6 Juli 2026
2 Juli 2026