Hortus 210-134 Handleiding
Hortus
Niet gecategoriseerd
210-134
Bekijk gratis de handleiding van Hortus 210-134 (4 pagina’s), behorend tot de categorie Niet gecategoriseerd. Deze gids werd als nuttig beoordeeld door 31 mensen en kreeg gemiddeld 4.4 sterren uit 16 reviews. Heb je een vraag over Hortus 210-134 of wil je andere gebruikers van dit product iets vragen? Stel een vraag
Pagina 1/4

Manual | Brugsanvisning
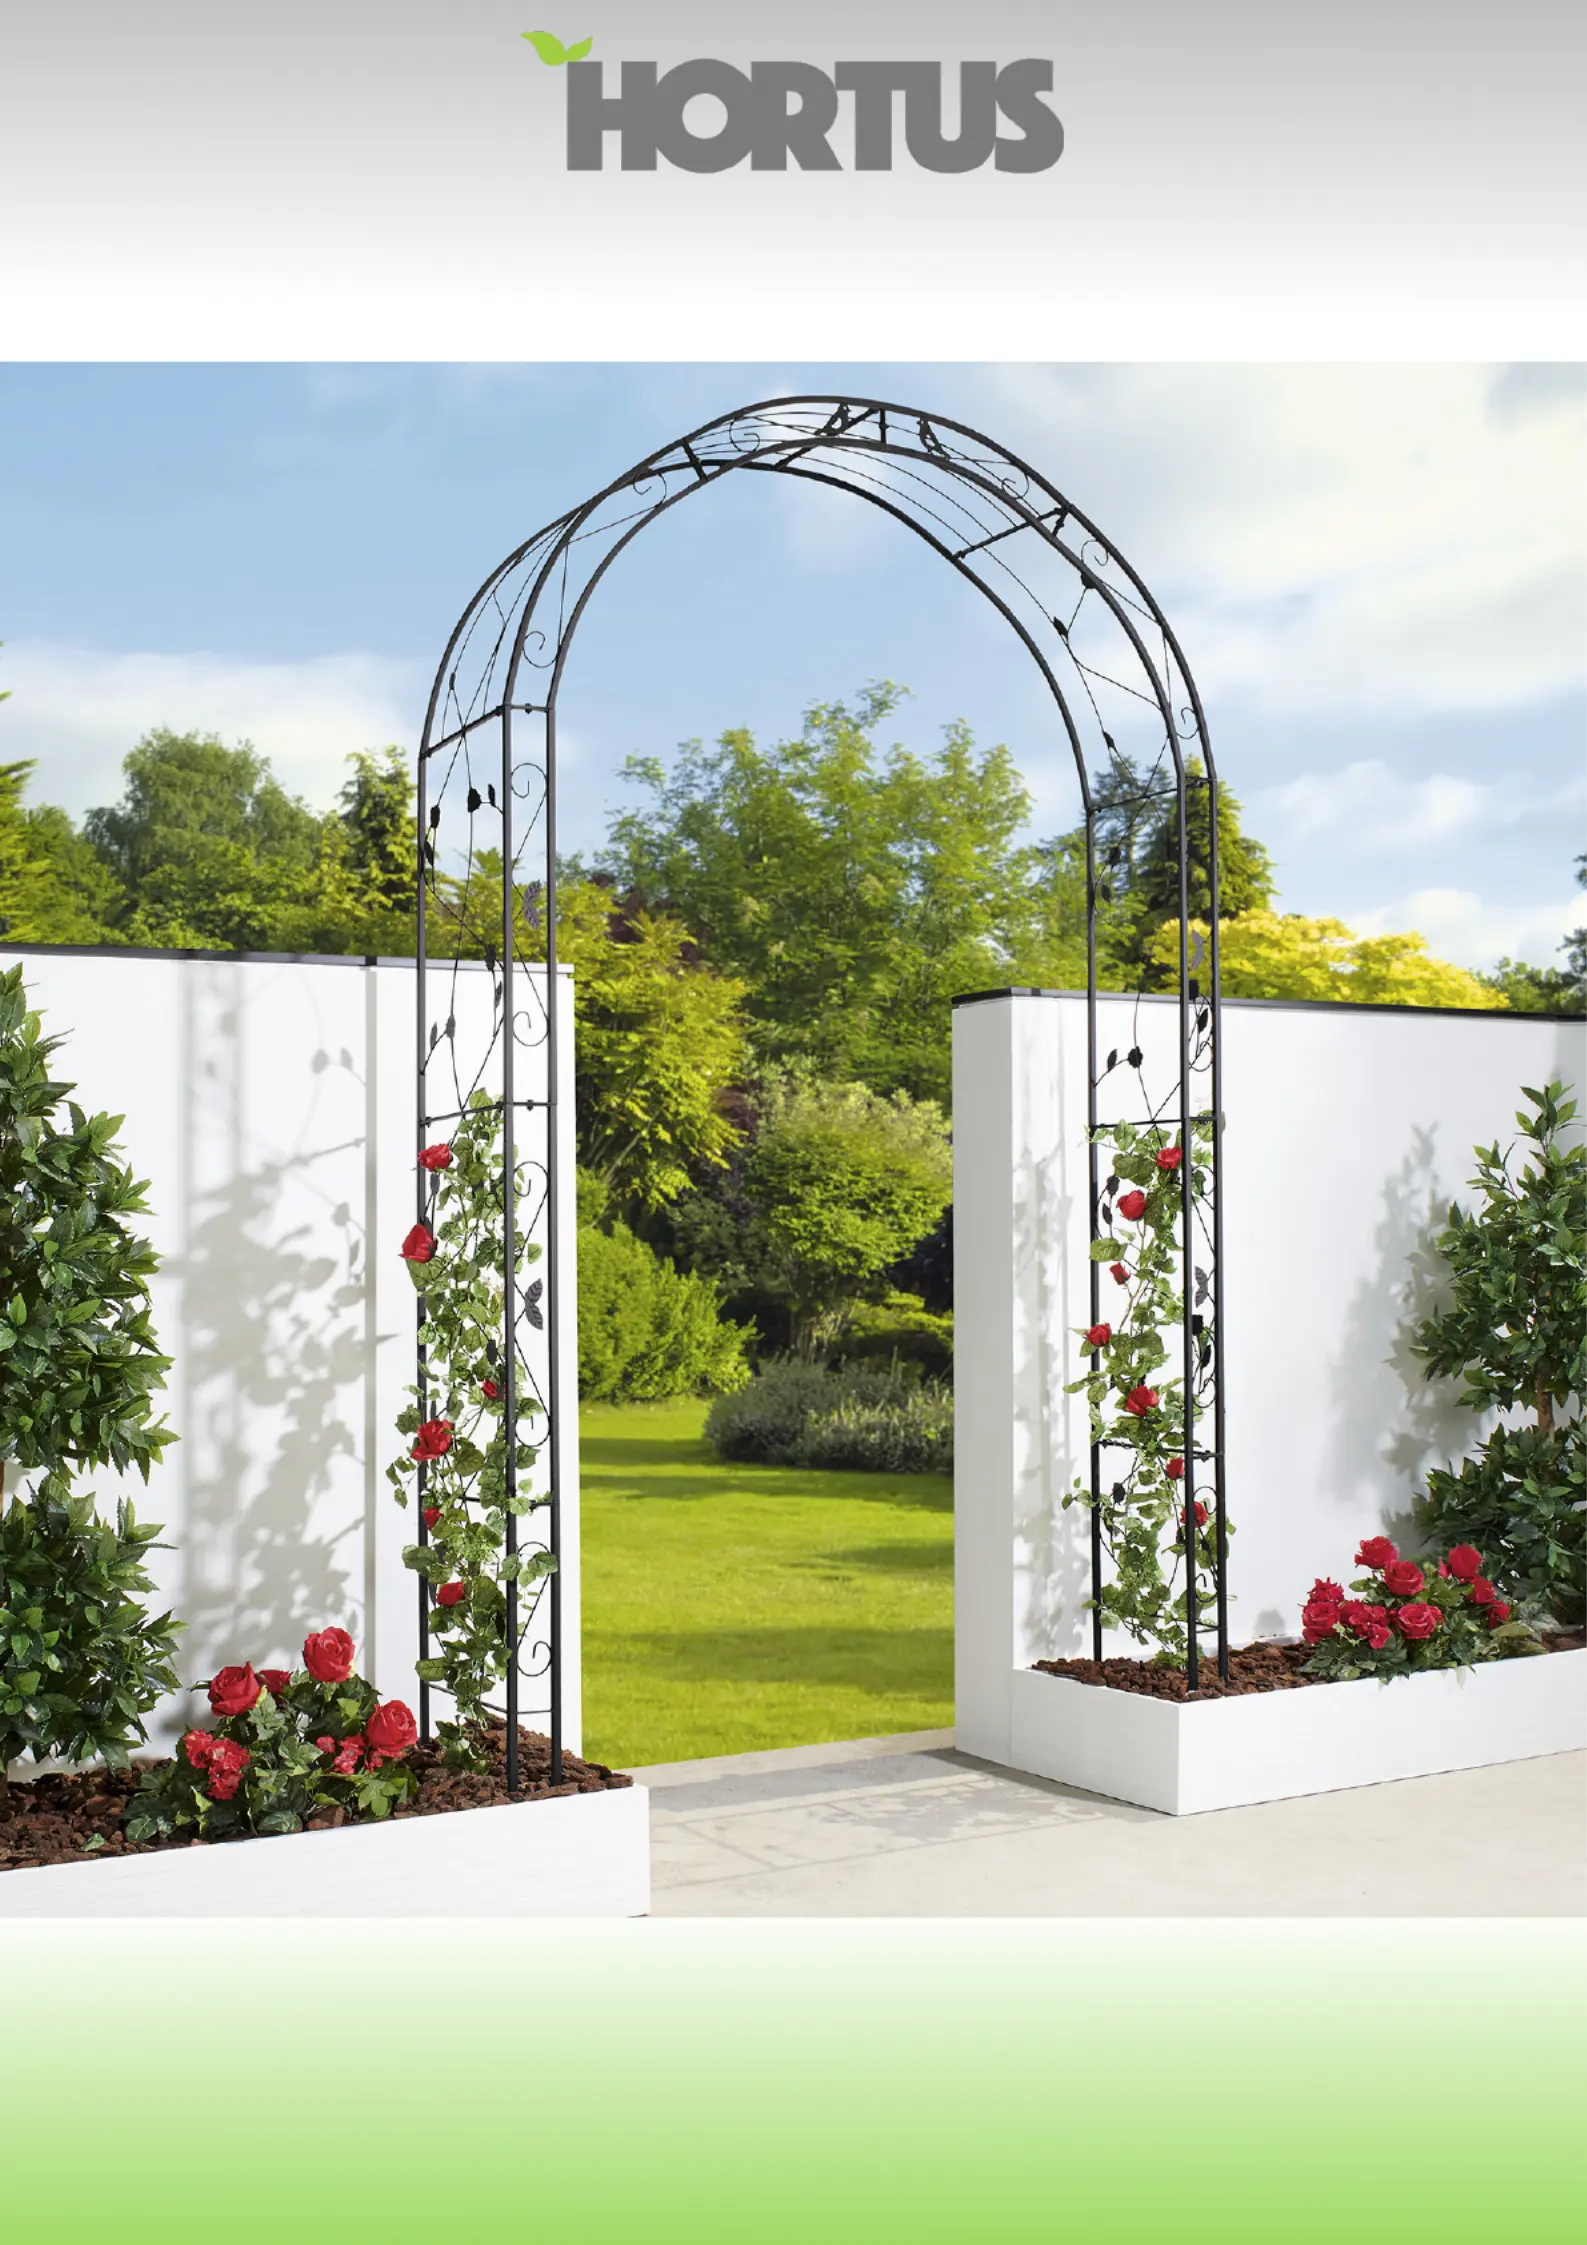
Garden arch - Rosenbue
Art. no. 210-134
EAN 5705858704746
Size: 145 x 260 x 38 cm Imported by / Importeret af
NSH NORDIC A/S
Virkefeltet 4
DK-8740 Braedstrup
Made in PRC

Congratulation with your new garden arch. Just follow a few good advices and the assembling will go
easy and smoothly.
Start by controlling the contents of the packing. (see part list)
The assembling of the garden arch is easiest if you assemble the garden arch in a laying position.
Nuts and screws are inserted as shown at the picture. When the metal parts are placed correct next
to each other tighten the nuts and bolts rmly. When the garden arch is assembled, put it in a upright
position and placed on the spot you have chosen. Pres the integrated ground spikes into the ground
and you are ready to enjoy the beautiful sight of your new garden arch.
NOTE! When the arch is nished, there will be 1 angle screw and 2 angle collectors in excess.
These are used if you wish to put 2 garden arch together into a double arch.
GB
1.Part list
A. 1 pcs.
B. 2 pcs.
C. 1 pcs.
D. 1 pcs.
E. 1 pcs.
F. 1 pcs.
G. 2 pcs.
H. 1 pcs.
2. Screws 28 pcs.
3. Nuts 30 pcs.
4. Angle screw 1 pcs.
(only used if you make a double arch)
5. Angle connectors 2 pcs.
(only used if you make a double arch)
6. Spanners 2 pcs.
7. Integrated ground spikes.

Tillykke med deres nye rosenbue. Ved hjælp af nogle få gode råd, tager det kun kort tid, at samle og
opstille denne otte rosenbue.
Start med at kontrollere indholdet i emballagen. (se stykliste)
Rosenbuen samles liggende, hvilket gør det lettere at styre delene. Møtrikker og bolte sættes i som
vist på tegningen. Metaldelene placeres korrekt ud for hinanden og møtrikker og bolte strammes. Når
rosenbuen er samlet rejses denne og placeres på det udvalgte spot. Tryk de integrerede
jordspyd i jorden og de er klar til at nyde synet af deres nye otte rosenbue.
BEMÆRK! Når buen er færdigsamlet vil der være 1 vinkelskrue og 2 vinkel beslag i overskud.
Disse benyttes, hvis man ønsker at sætte 2 rosenbuer sammen til en dobbelt rosenbue.
DA
1.Stykliste
A. 1 stk.
B. 2 stk.
C. 1 stk.
D. 1 stk.
E. 1 stk.
F. 1 stk.
G. 2 stk.
H. 1 stk.
2. Bolte 28 stk.
3. Møtrikker 30 stk.
4. Vinkelskrue 1 stk. (kun til dobbelt bue)
5. Vinkel beslag 2 stk. (kun til dobbelt bue)
6. Spændenøgle 2 stk.
7. Integrerede jordspyd.
Product specificaties
Merk: | Hortus |
Categorie: | Niet gecategoriseerd |
Model: | 210-134 |
Heb je hulp nodig?
Als je hulp nodig hebt met Hortus 210-134 stel dan hieronder een vraag en andere gebruikers zullen je antwoorden
Handleiding Niet gecategoriseerd Hortus
4 April 2025
25 September 2024
29 Mei 2024
29 Mei 2024
29 Mei 2024
29 Mei 2024
29 Mei 2024
29 Mei 2024
29 Mei 2024
29 Mei 2024
Handleiding Niet gecategoriseerd
- SereneLife
- Dobar
- PurAthletics
- Gator Frameworks
- ZLine
- Laine
- Jedo
- Nimble
- Dreambaby
- Klauke
- Audiovox
- Bora
- Energy Sistem
- Imperia
- One Stop Systems
Nieuwste handleidingen voor Niet gecategoriseerd
17 Juni 2025
17 Juni 2025
17 Juni 2025
17 Juni 2025
17 Juni 2025
17 Juni 2025
17 Juni 2025
17 Juni 2025
17 Juni 2025
17 Juni 2025