DS18 NXL-IQ6 Handleiding
Bekijk gratis de handleiding van DS18 NXL-IQ6 (8 pagina’s), behorend tot de categorie Speaker. Deze gids werd als nuttig beoordeeld door 24 mensen en kreeg gemiddeld 4.2 sterren uit 6 reviews. Heb je een vraag over DS18 NXL-IQ6 of wil je andere gebruikers van dit product iets vragen? Stel een vraag
Pagina 1/8
ENGLISH | ESPAÑOL
MANUAL DEL USUARIO
OWNER'S MANUAL
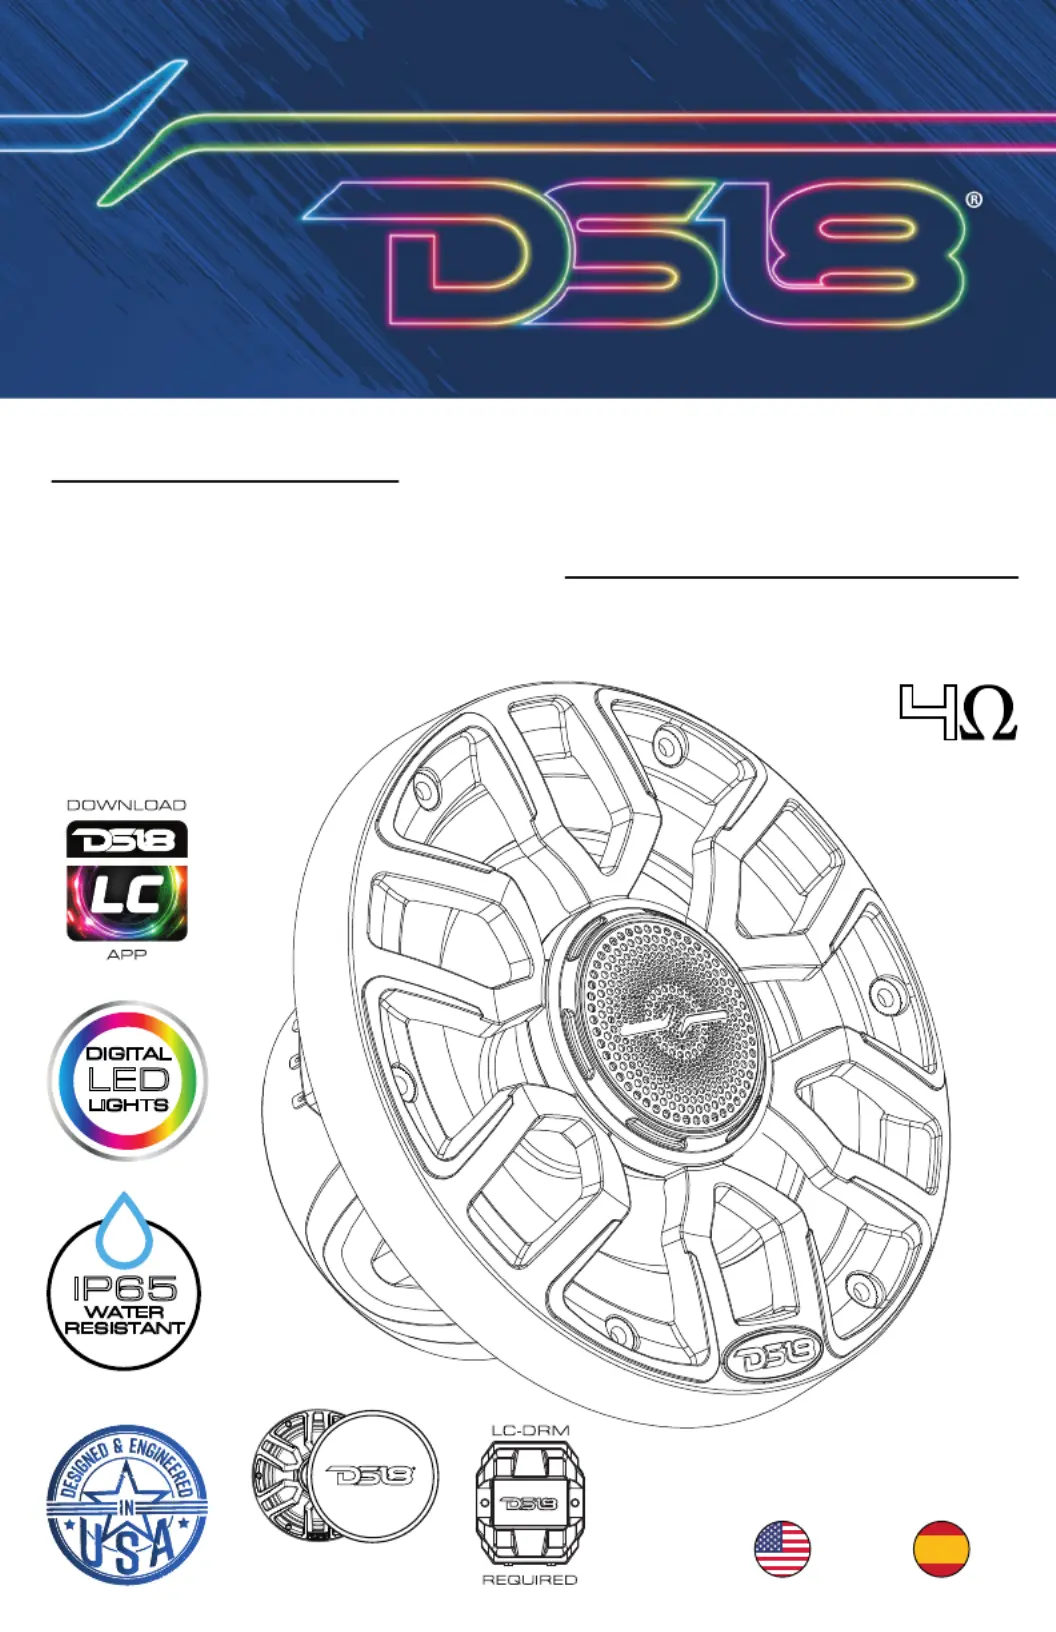
6.5" MARINE GRADE COAXIAL SPEAKER WITH
DIGITAL LED LIGHTS AND BULLET TWEETER
ALTAVOZ COAXIAL DE 6.5" DE GRADO MARINO
CON LUCES LED DIGITALES Y TWEETER DE BALA
NXL-IQ6
DIGITAL
LED
LIGHTS
IP65
WATER
RESISTANT
2 SPEAKER
COVERS
INLCUDED
Product specificaties
| Merk: | DS18 |
| Categorie: | Speaker |
| Model: | NXL-IQ6 |
Heb je hulp nodig?
Als je hulp nodig hebt met DS18 NXL-IQ6 stel dan hieronder een vraag en andere gebruikers zullen je antwoorden
Handleiding Speaker DS18

9 Juli 2026
9 Juli 2026
12 Januari 2026
12 Januari 2026
11 Januari 2026
11 Januari 2026
9 Januari 2026
7 Januari 2026
7 Januari 2026
7 Januari 2026
Handleiding Speaker
Nieuwste handleidingen voor Speaker
9 Juli 2026
9 Juli 2026
9 Juli 2026
8 Juli 2026
8 Juli 2026
8 Juli 2026
8 Juli 2026
8 Juli 2026
8 Juli 2026
8 Juli 2026