Cherry MultiBoard V2 G81-7000 Handleiding
Cherry Niet gecategoriseerd MultiBoard V2 G81-7000
Bekijk gratis de handleiding van Cherry MultiBoard V2 G81-7000 (14 pagina’s), behorend tot de categorie Niet gecategoriseerd. Deze gids werd als nuttig beoordeeld door 16 mensen en kreeg gemiddeld 4.6 sterren uit 8 reviews. Heb je een vraag over Cherry MultiBoard V2 G81-7000 of wil je andere gebruikers van dit product iets vragen? Stel een vraag
Pagina 1/14
1
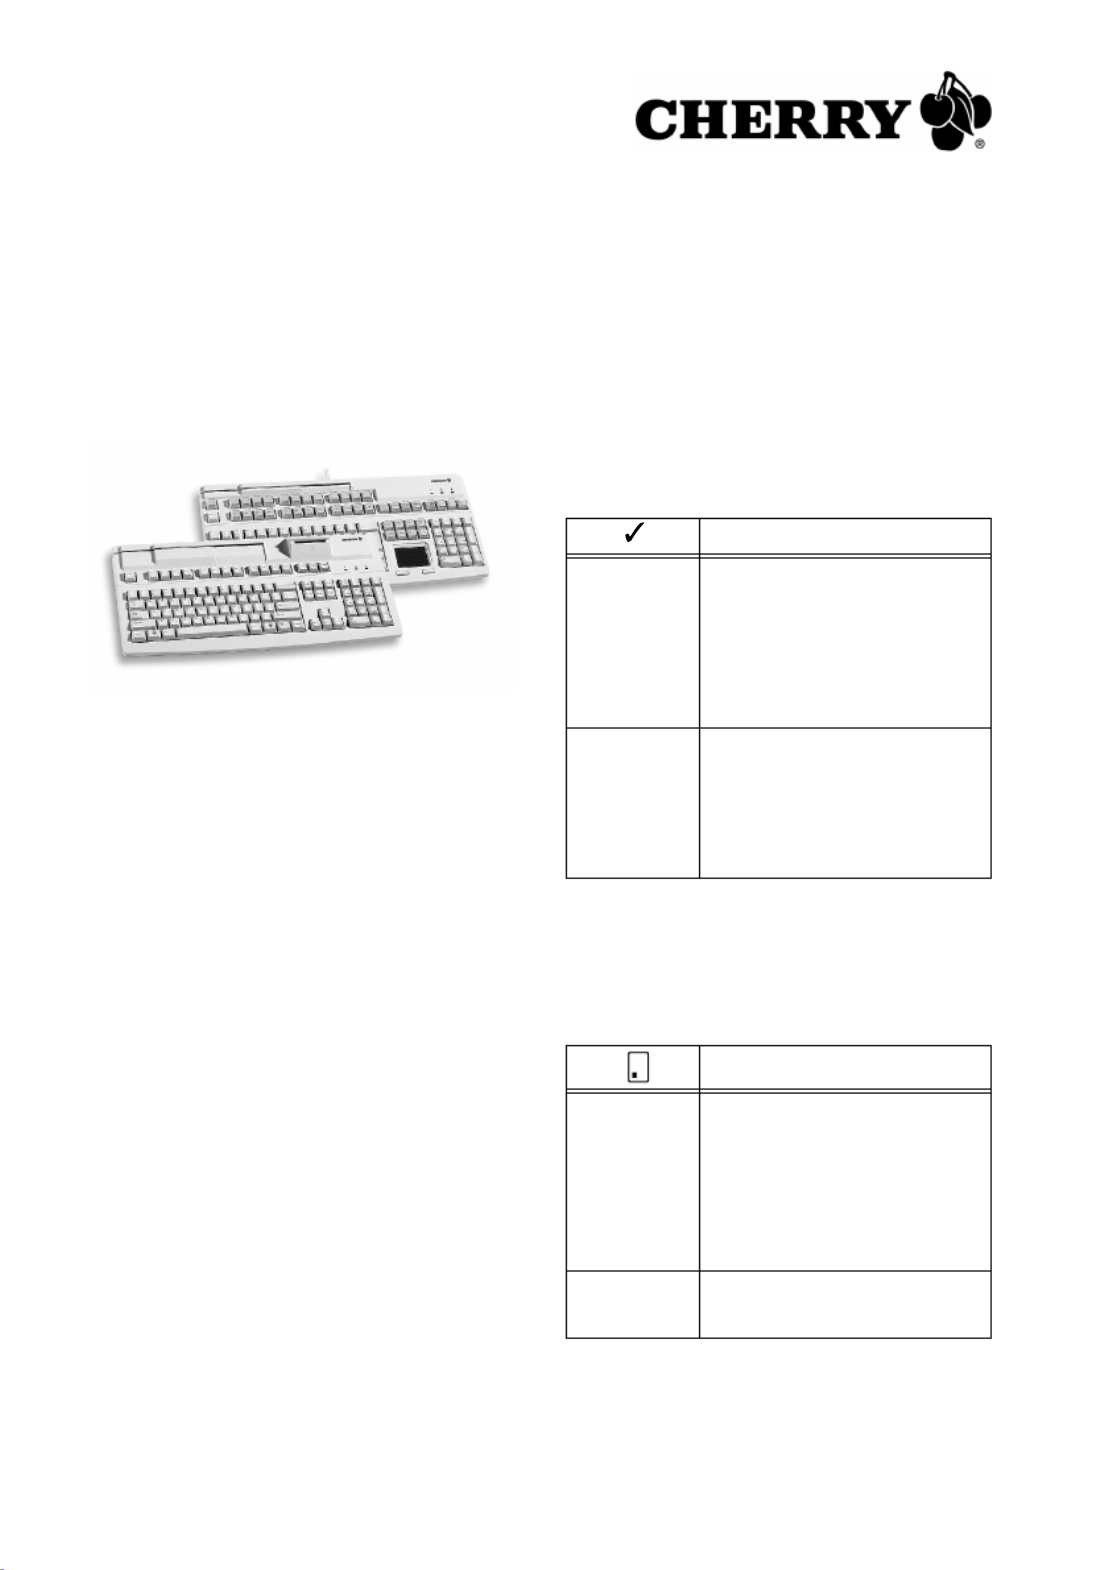
MultiBoard
G8x-7xxx/-8xxx
1 Advantages
•CHERRY MX key technology with Gold
Crosspoint contacts (G80)
•CHERRY FTSC key technology (G81)
•Robust and reliable
•Fully programmable USB 2.0 keyboard
•Programming can be selected – manually or via
software macros
•UnifiedPOS supported (OPOS/JavaPOS)
•Integrated memory
•Provision of statistics data via WMI (Windows
Management Instrumentation)
Alongside the functions of a standard keyboard,
the MultiBoard keyboards offer the following additi-
onal functions depending on the model:
•Magnetic card reader
•PC/SC smartcard reader (EMV 2000 approved)
• Touchpad
•Additional keys (extended layout)
•Inscribable keys
2Status displays
The left and center LEDs show the status of the
Caps Lock key, Num-Lock key and the shift key.
The right LED shows the status of the scroll key or
has different functions depending on the model as
outlined below:
2.1Models with magnetic card reader
2.2Models with smartcard reader,
Models with smartcard and magnetic
card reader
LED ()Function
Lights up
green for
approx.
4 sec. (after
connecting or
switching on
the PC)
The magnetic card reader has
been numbered and can be used
(hardware ready for use).
Lights up
green (after
the magnetic
card has
been swiped
through)
The magnetic card has been
read correctly. Configuration via
CHERRY Tools: On/Off and
light-up duration (Standard: On,
200 ms).
LED ()Function
Lights up
green
constantly
(after
connecting or
switching on
the PC)
The smartcard reader has been
numbered and can be used
(hardware ready for use).
Flashes redCommunication with the
smartcard.
User Manual
6440502-04 US, RU, CN Jul 2011
Product specificaties
| Merk: | Cherry |
| Categorie: | Niet gecategoriseerd |
| Model: | MultiBoard V2 G81-7000 |
| Kleur van het product: | Zwart |
| Snoerlengte: | 1.75 m |
| Gewicht verpakking: | 2000 g |
| Breedte verpakking: | 455 mm |
| Diepte verpakking: | 277 mm |
| Hoogte verpakking: | 72 mm |
| Gebruiksaanwijzing: | Ja |
| Connectiviteitstechnologie: | Bedraad |
| Type stroombron: | PS/2 |
| Aantal toetsen, toetsenbord: | 105 |
| Materiaal: | Kunststof |
| Bedoeld voor: | Pc/server |
| Ondersteunt Windows: | Ja |
| Aanbevolen gebruik: | Kantoor |
| Temperatuur bij opslag: | -20 - 60 °C |
| Backlight: | Nee |
| Aansluiting: | PS/2 |
| Stroomverbruik: | 45 mA |
| Inclusief muis: | Nee |
| Windows-toetsen: | Ja |
| Ondersteunt Linux: | Ja |
| Oppervlakte kleur: | Monochromatisch |
| Polssteun: | Nee |
| Ingebouwd geheugen: | Ja |
| Toetsenbord formaat: | Volledige grootte (100%) |
| Stijl toetsenbord: | Recht |
| Dimensies toetsenbord (BxDxH): | 405 x 220 x 64 mm |
| Gewicht toetsenbord: | 1650 g |
| Bedrijfstemperatuur (T-T): | 0 - 50 °C |
| Taal toetsenbord: | Frans |
| Levensduur toetsenbordtoetsen: | 50 miljoen tekens |
| Magnetische kaartlezer: | Ja |
Heb je hulp nodig?
Als je hulp nodig hebt met Cherry MultiBoard V2 G81-7000 stel dan hieronder een vraag en andere gebruikers zullen je antwoorden
Handleiding Niet gecategoriseerd Cherry

26 November 2025
14 Juli 2025
24 November 2024
17 November 2024
17 November 2024
17 November 2024
17 November 2024
17 November 2024
17 November 2024
17 November 2024
Handleiding Niet gecategoriseerd
Nieuwste handleidingen voor Niet gecategoriseerd
8 Juni 2026
8 Juni 2026
8 Juni 2026
8 Juni 2026
8 Juni 2026
8 Juni 2026
8 Juni 2026
8 Juni 2026
7 Juni 2026
7 Juni 2026